In this article
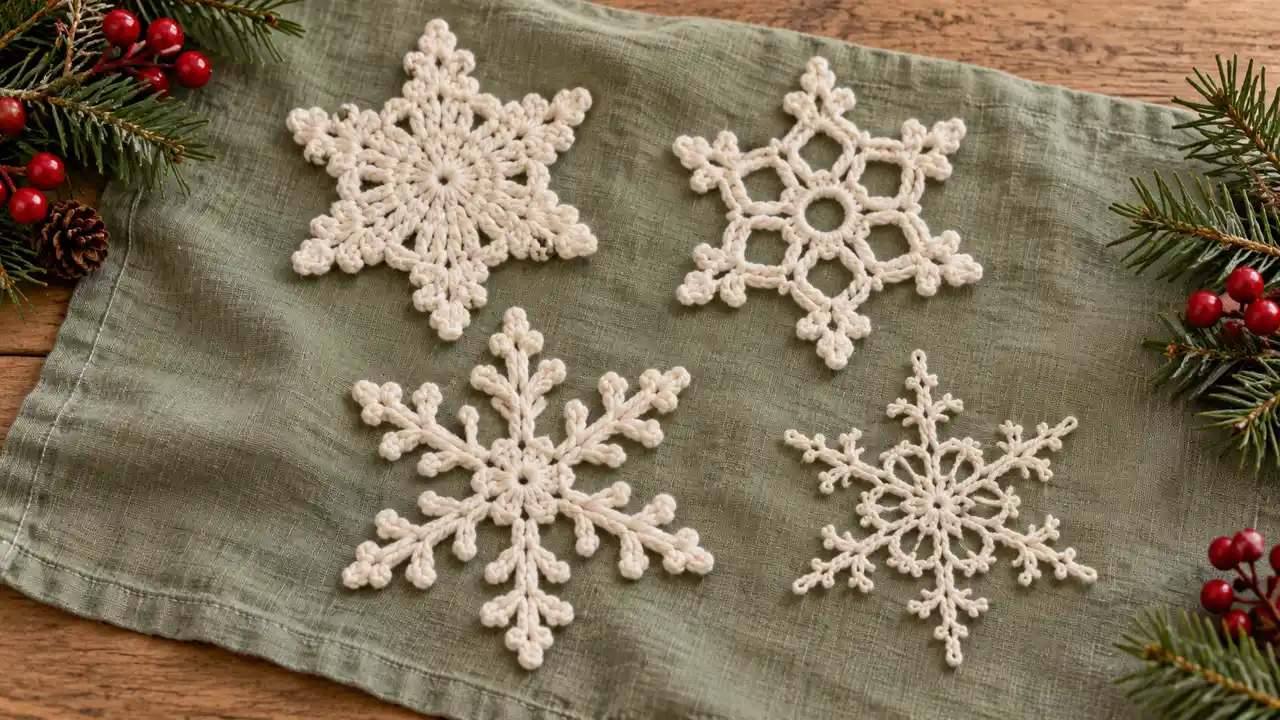
The spaces inside a crochet snowflake can change its character as much as the outer points. A solid center feels different from an open ring; long plain spokes have a different rhythm from short fans or small branching arms. Looking at those features separately makes it easier to choose a motif you want to make.
These nineteen directions compare that geometry without pretending a photograph is a counting chart. Use a complete pattern for the actual repeats, starting method and joins. Choose a supported yarn and hook, inspect the unblocked motif and use only finishing compatible with its materials. Whether you plan a flat display, a hanging ornament or a shallow layered piece, begin with one sample before committing to several matching decorations.
Look at the gaps before the points
Compare the center, the main arms and the spaces between them as three separate choices. A motif with a simple center can carry more branching at the tips, while an intricate middle may look clearer with quieter arms. Choose the amount of counting and finishing you want to practice, not only the most delicate-looking picture.
1. Solid-center snowflake
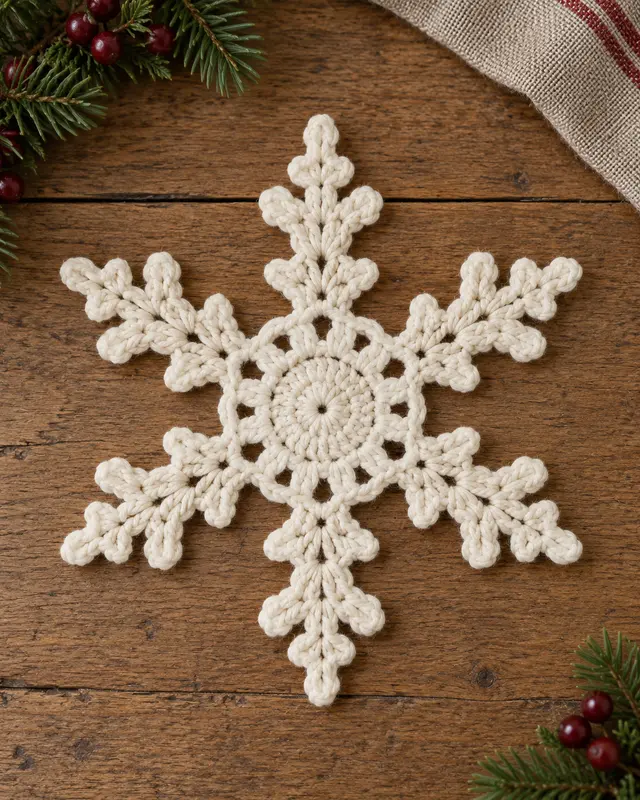
A compact solid center gives the snowflake a clear visual anchor before the arms spread outward. Follow a complete six-point motif pattern and check the center’s flatness before continuing. The outer outline should not depend on pulling the center out of shape during finishing. Compare the finished size with the display location, including the amount of open space you want around each arm.
2. Open-ring snowflake
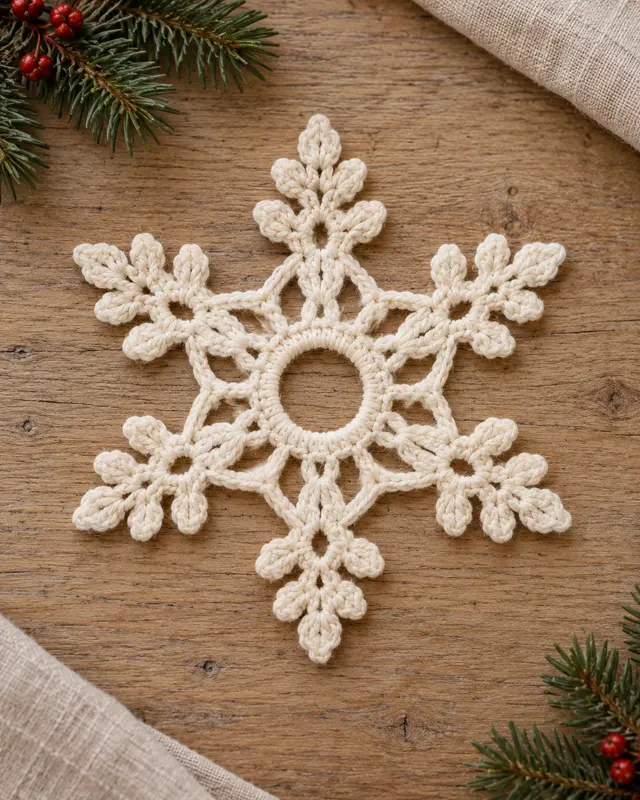
An open ring makes the center feel lighter and allows the background to show through. Its size and joining method need to suit the arms that grow from it. Follow the starting instructions and secure the ring as directed. An opening that looks appealing in a photograph still needs an appropriate construction, especially where a hanging loop or later finishing will put strain on the motif.
3. Hexagon-center snowflake

A hexagonal center gives each of six arms an obvious place in the composition. Keep track of the corner positions and check the pattern’s repeats rather than using the photograph as a counting chart. A small error near the middle can affect every outer section. Inspect the flat unblocked motif first, then use only the finishing method compatible with the actual yarn.
4. Petal-center snowflake
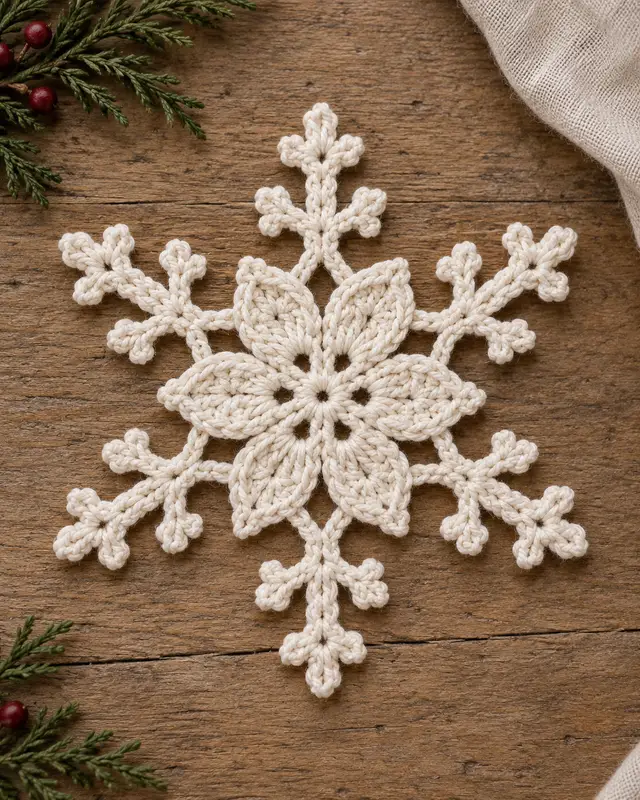
A petal-like center gives a snowflake a softer inner shape before the branches begin. Read where the petals end and the outer rounds attach so the transition remains clear. The decorative resemblance does not identify an exact stitch sequence. Choose a complete design with a readable repeat, and assess whether its small inner spaces will remain visible in the yarn thickness you plan to use.
5. Long-spoke snowflake
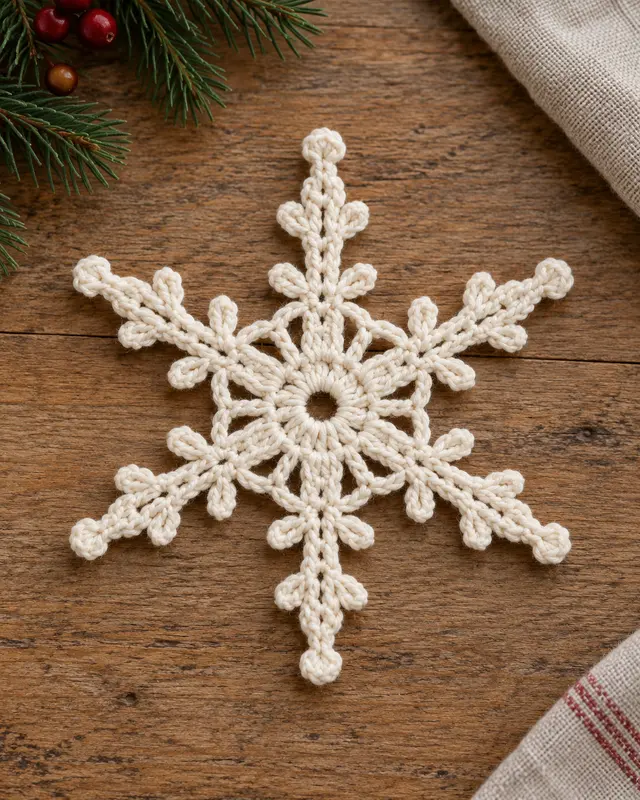
Long spokes create an airy outline with plenty of background between the arms. That openness can make uneven lengths especially visible, so check corresponding sections as you work. Follow the same repeat and tension for each spoke. The finished hanging or flat display should suit the motif’s actual firmness; do not expect a delicate long arm to behave like a rigid branch without an appropriate design.
6. Short broad-arm snowflake
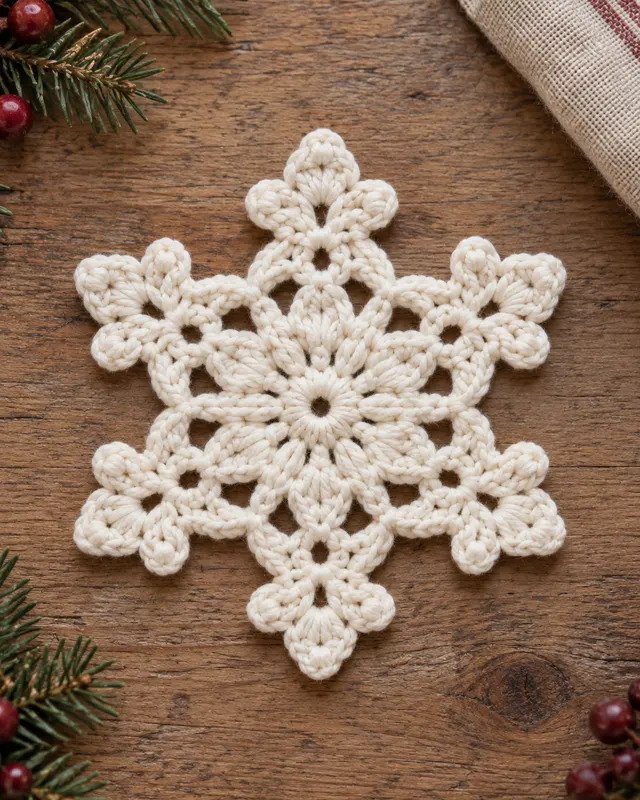
Short broad arms make a more compact snowflake that can read clearly in a small display. Compare the outer width with the center so the shape does not become an unrelated round medallion. A dense-looking photograph does not establish the correct yarn or hook. Use the pattern’s materials and finished dimensions, and check the edges before deciding whether extra finishing is needed.
7. Picot-tip snowflake
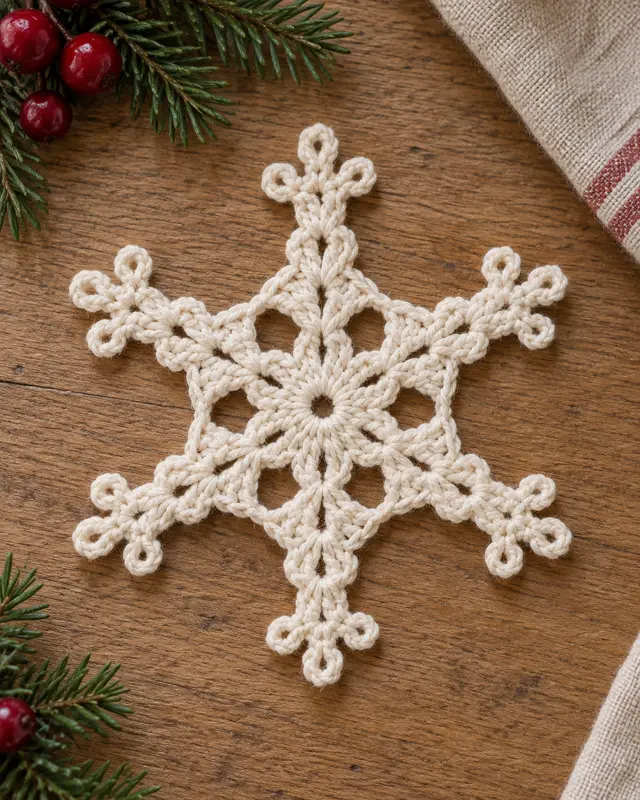
Tiny picot loops add a crisp detail at the end of an otherwise plain arm. They introduce more small actions than the overall size may suggest. Read the picot instructions and try a sample before making the whole motif. Keep the loops consistent and avoid pulling them sharply during finishing; the written design should determine their scale and attachment, not a forced attempt to match a picture.
8. Double-branch snowflake

Paired side branches make each main arm more complex without filling the spaces completely. Count the branch repeats and compare opposite arms while the work is still easy to inspect. Missing one small section can change the balance of the entire outline. Choose a pattern with clear round instructions, and leave enough time to finish all the short yarn ends neatly.
9. Loop-tip snowflake
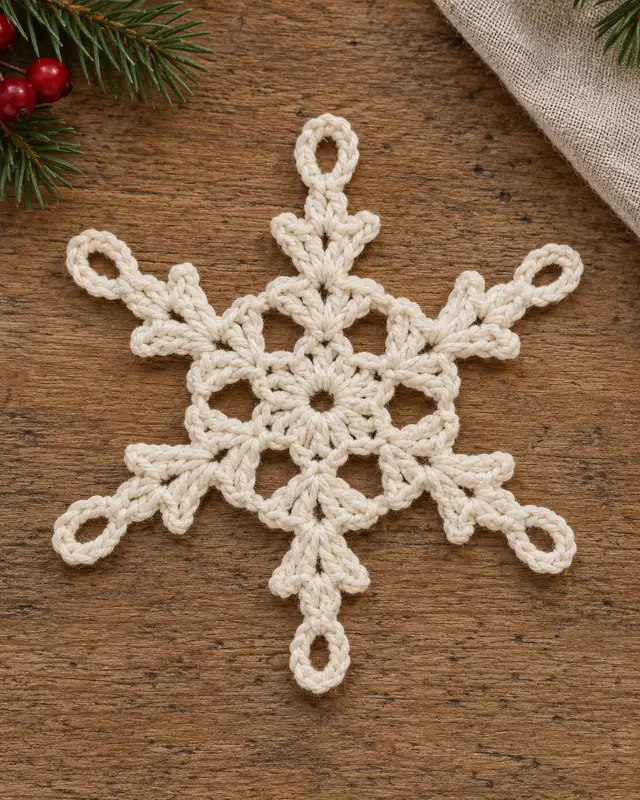
An oval loop at each tip changes the outer edge from sharp points to open rounded ends. Check the loop size against the connecting arm and keep all six repeats consistent. The loops are part of the motif rather than convenient places for unrelated decorations. Follow a separate appropriate hanging-loop instruction so display strain does not distort one decorative tip more than the others.
10. Fan-arm snowflake
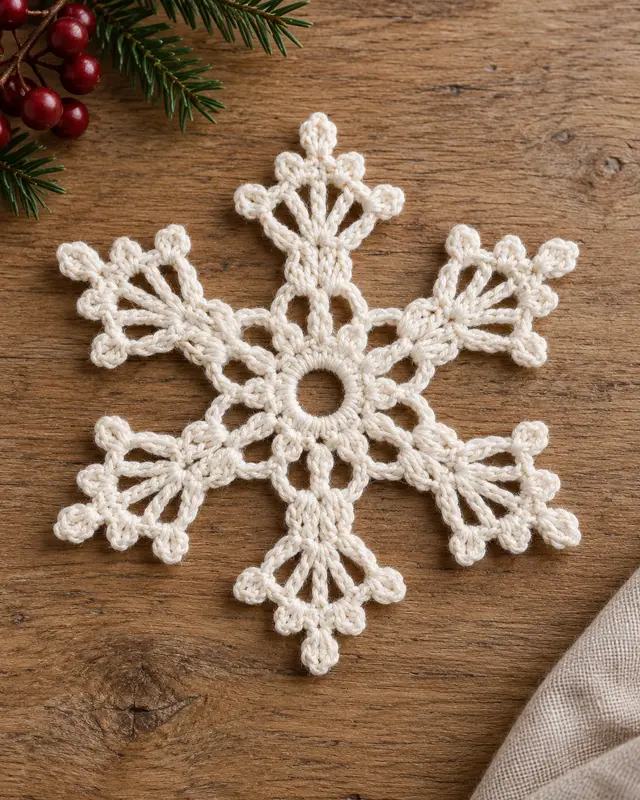
Fan-shaped arms give the snowflake broader sections of open fabric around a small center. A fan repeat can involve increases and spaces that must line up with the next round. Read that transition before beginning and compare the actual stitch multiple. The photograph helps you choose an outline, but it cannot tell you how many stitches belong in each fan.
11. Diamond-window snowflake
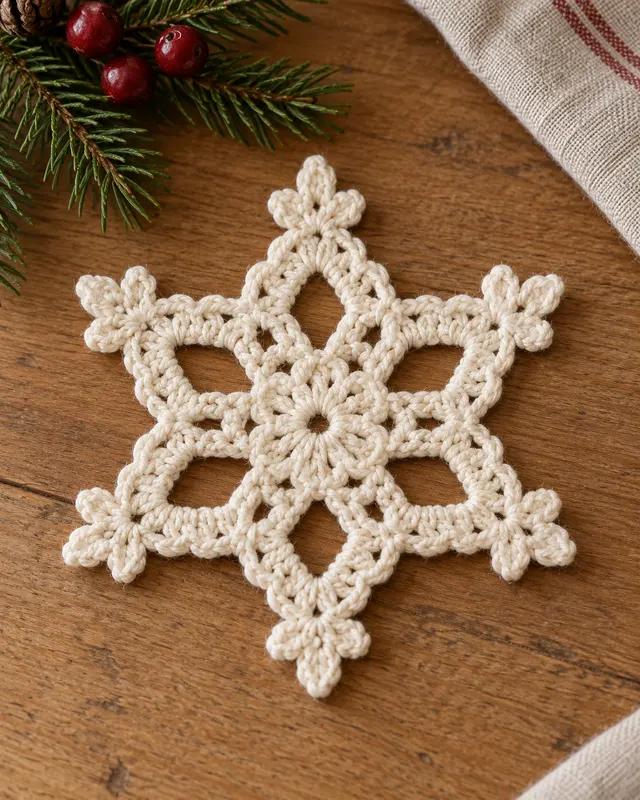
Diamond-shaped windows create a graphic arrangement of spaces between the center and tips. Their size depends on the pattern’s increases, chains and joins, so work from complete instructions. Check the window shapes before finishing; stretched blocking cannot reliably correct a missing repeat. A plain background makes this direction easy to compare with denser motifs when you are choosing how much openness you prefer.
12. Framed hexagon snowflake

A thin frame joining the outer points gives a snowflake a more enclosed perimeter. Read how the frame travels between the arms and whether it introduces a separate round or joining step. It needs enough length to lie flat without becoming loose. Compare the six sides as you work, and use the pattern’s finishing guidance instead of tightening the last segment to force a match.
13. Raised-center snowflake
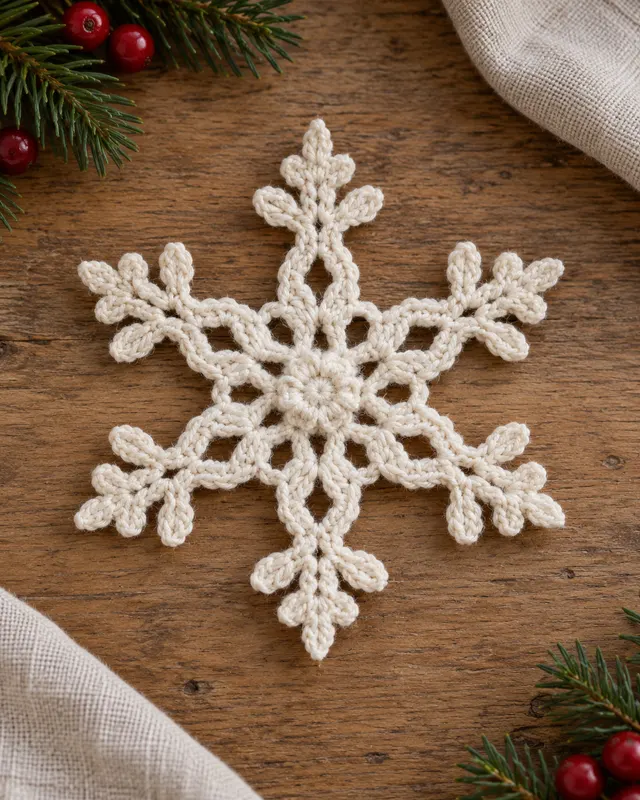
A slightly raised center adds depth while keeping the arms comparatively flat. The middle and outer rounds may need different handling during finishing, so read the full design before choosing a method. Do not flatten a raised detail simply to make the whole motif look pressed. Check whether the yarn and display purpose suit the intended contrast between a textured middle and more delicate edges.
14. Two-round openwork snowflake
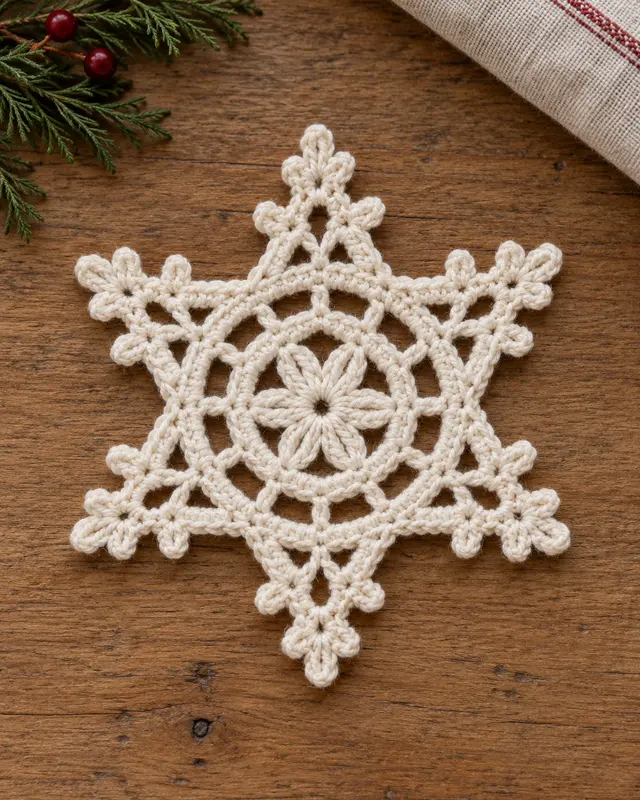
Two concentric bands of openwork create a layered pattern within one flat motif. Keep the connecting points aligned and mark the start of each round as the instructions direct. The outer band can emphasize an error that began closer to the center. Inspect each completed round before moving outward, particularly if the repeats are similar enough that it is easy to lose your place.
15. Broad border snowflake

A broader outer border gives the snowflake a more defined silhouette than fine individual tips. It can also change the finished size noticeably, so include it when measuring the intended display space. Follow the pattern’s treatment of corners and branches. An edge that ripples or draws inward needs a count and tension check before you try to correct its behavior through finishing.
16. Long-and-short branch snowflake
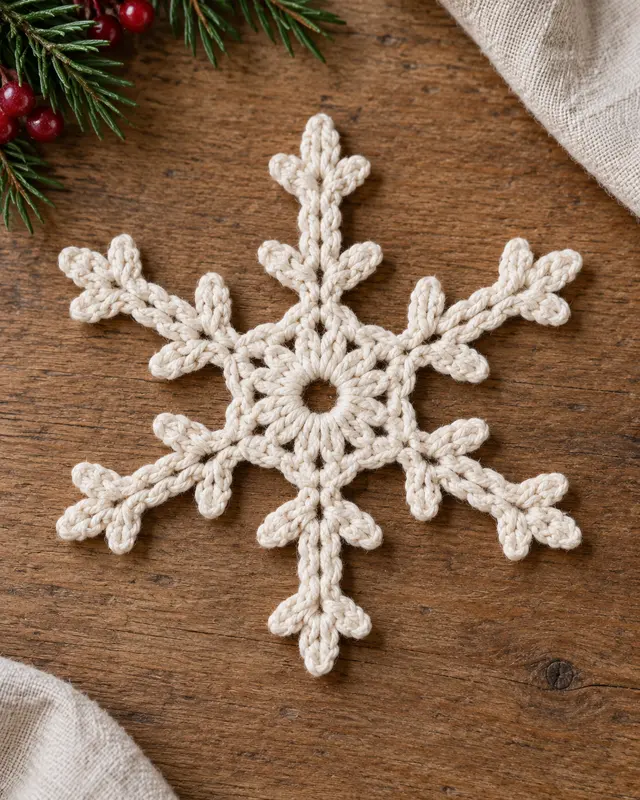
Long main arms with smaller branches near the center create two distinct scales within the outline. The contrast can make a restrained single-color motif interesting without extra embellishment. Read the order of the small branches carefully, since several nearby details can be easy to confuse. Compare corresponding arms before completing the final round and let the actual pattern establish their proportions.
17. Dense miniature snowflake
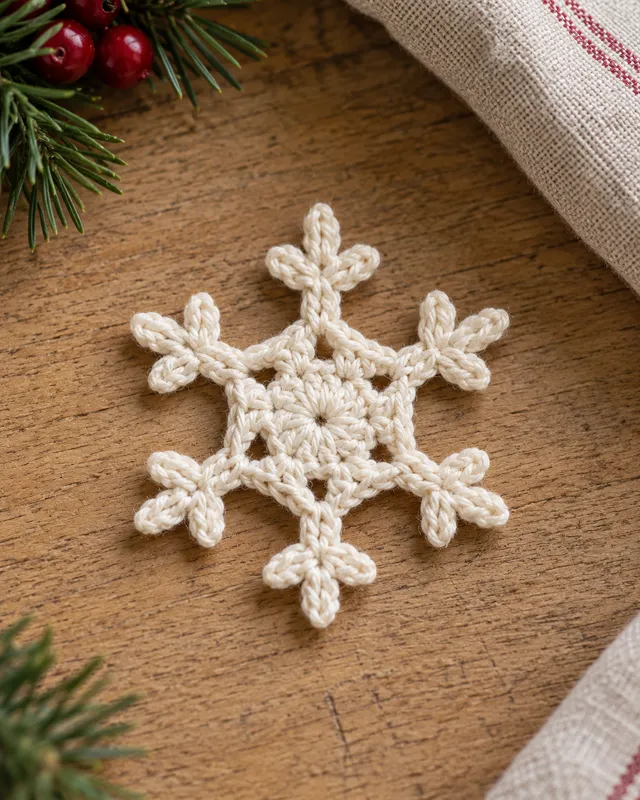
A dense miniature snowflake gives you a compact outline with fewer wide openings. Small does not necessarily mean easier: the last joins and little branches can be difficult to hold and see. Choose a yarn and hook combination supported by the pattern and comfortable for your own hands. A slightly larger supported size may be a better learning option than forcing the tiniest version.
18. Fine-thread airy snowflake
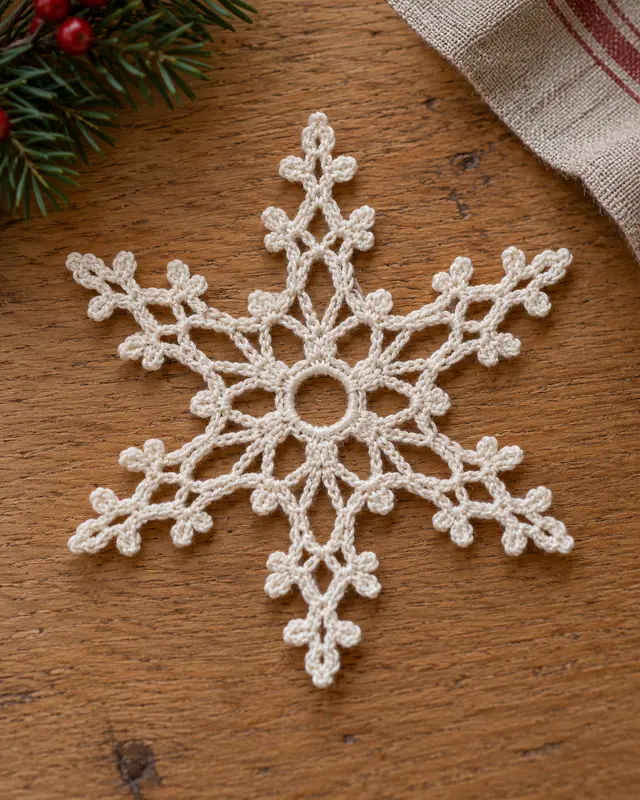
Fine crochet thread can make a delicate snowflake with very narrow arms and small open spaces. It brings a different scale of counting and handling from ordinary yarn. Try a small complete repeat before committing to a set, and use the hook system specified for the thread. The airy appearance is a design choice, not a reason to skip the pattern’s care and finishing instructions.
19. Layered two-piece snowflake
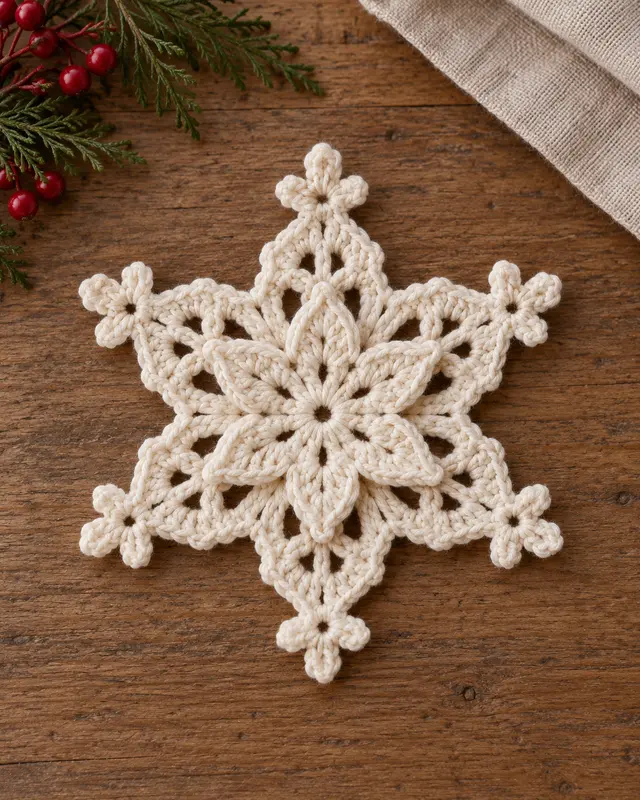
Two joined motifs create a shallow layered snowflake rather than a single flat shape. Finish and compare both pieces before attaching their centers, following a pattern intended for that arrangement. The offset points should remain deliberate and readable. Check the reverse and hanging balance after assembly; the extra layer adds joins and weight, even when each individual motif is small and light.
One motif, three display checks
| Display | Check on your finished sample |
|---|---|
| Flat on a surface | The center and arms lie as the pattern intends without forced stretching |
| Hanging | The intended loop carries the motif without pulling one tip out of shape |
| Layered | Both motifs and their center joins remain readable from either side |
Keep a record for next winter
- Save the pattern name, actual yarn and hook with the finished set.
- Record only the finishing method compatible with those materials.
- Let pieces dry fully and store fine arms without crushing them.
Use the ornament materials guide to plan the sample. If a different outline would suit your display better, compare the broader ornament ideas instead of forcing a delicate snowflake to do every decorative job.
- 13 Crochet Gingerbread and Snowman Decoration Ideas
Browse 13 crochet gingerbread and snowman decoration ideas, comparing flat motifs, padded figures, panels and simple seasonal pairings.
- How to Plan Handmade Christmas Projects Before the Holidays
Plan handmade Christmas projects from actual handover dates, recipient needs, complete samples, realistic sessions and a manageable display list.
- 23 Crochet Christmas Gift Ideas for Family
Find 23 crochet Christmas gift ideas for family, with notes on recipient use, measured fit, complete assembly and a clear care handover.
- 15 Crochet Christmas Tree Skirt Styles
Explore 15 crochet Christmas tree skirt styles by footprint, center opening, access split, border and closure before choosing a complete pattern.
- 17 Crochet Christmas Garland Inspirations
Compare 17 crochet Christmas garland inspirations by motif, spacing and display span, with notes on connections, background and storage.
- How to Choose Yarn for Durable Crochet Ornaments
Choose yarn for crochet ornaments by construction, visible detail, care and display. Build one sample before planning a matching seasonal set.
- 21 Crochet Christmas Stocking Design Ideas
Compare 21 crochet Christmas stocking designs by shape, cuff, texture and construction, with practical guidance on lining, joins and hanging details.
- 25 Crochet Christmas Ornament Ideas for Handmade Trees
Explore 25 crochet Christmas ornament ideas, from flat stars to small padded shapes, with useful notes on loops, reverse sides, display and finishing.
- Christmas Crochet Ideas for Gifts, Ornaments and Winter Decor
Plan Christmas crochet gifts, ornaments and winter decor by purpose, materials and time, with guidance on scale, storage, finishing and reusable wrapping.