In this article
Pumpkin crochet becomes more interesting when the changes go beyond another orange yarn. A tall narrow form changes a shelf rhythm, a flat applique belongs on a receiving surface, and an open pumpkin-like basket has an actual opening to plan. Choose the object’s role before deciding how much texture or color its surface should carry.
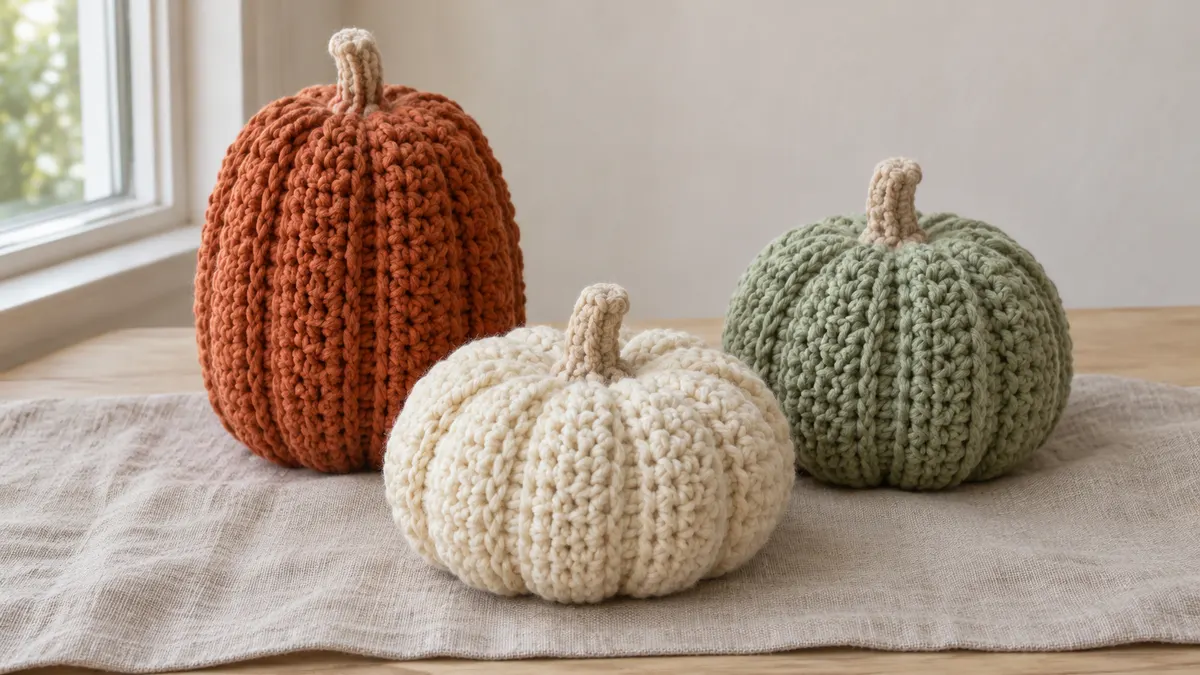
The twenty-five concepts below separate those roles while keeping the familiar seasonal outline. They do not supply counted instructions or evidence of tested construction. Work from an appropriate complete design, identify the actual material and finish the important shaping or joining sample. A photograph can show a surface and silhouette without proving a hidden closure, a flat back, storage capacity or toy suitability.
Choose a resting shape or a flat-object job
| Direction | First useful check |
|---|---|
| Filled shelf form | Actual base, depth and closed construction |
| Flat motif | Outline, receiving surface and attachment |
| Container | Opening, usable interior and appropriate contents |
| Panel or band | Supported connection and ordinary removal |
Use the fall and Halloween hub to give the pumpkin a real location. A color name alone does not decide what kind of object you are making.
1. Round ribbed pumpkin
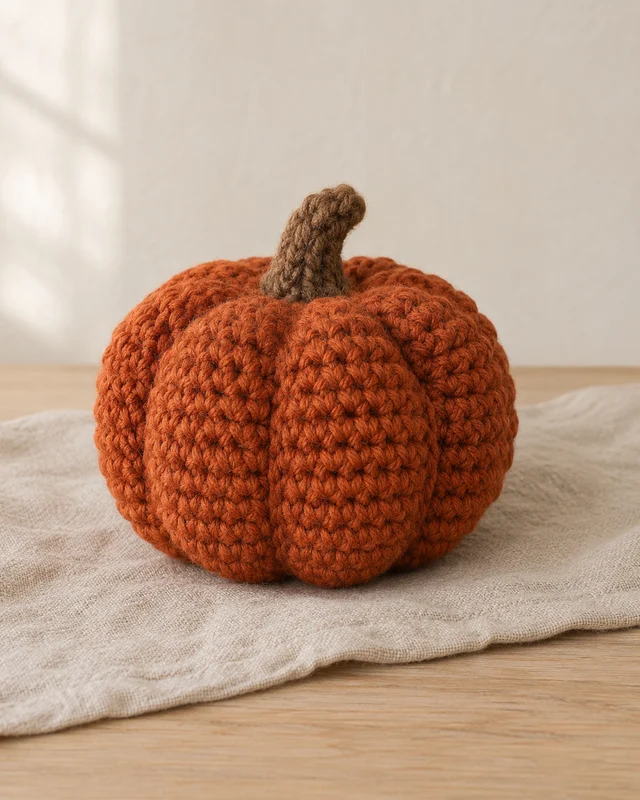
A round ribbed pumpkin makes the vertical shaping the main feature. Follow the selected closed construction and segment method so the channels stay deliberate rather than appearing wherever the filling happens to settle. Keep the stem soft and securely attached. A small plain version is a useful reference for comparing other pumpkins, especially when the display will mix several colors or yarn surfaces.
2. Tall narrow pumpkin

A tall narrow pumpkin changes the shelf rhythm without needing additional decoration. Its height and base need to work together so the finished object rests as intended. Use a complete design for the elongated shape rather than simply adding rows to a squat version. Compare the closed sample from the side as well as the front before deciding whether it belongs beside wider seasonal pieces.
3. Squat cream pumpkin
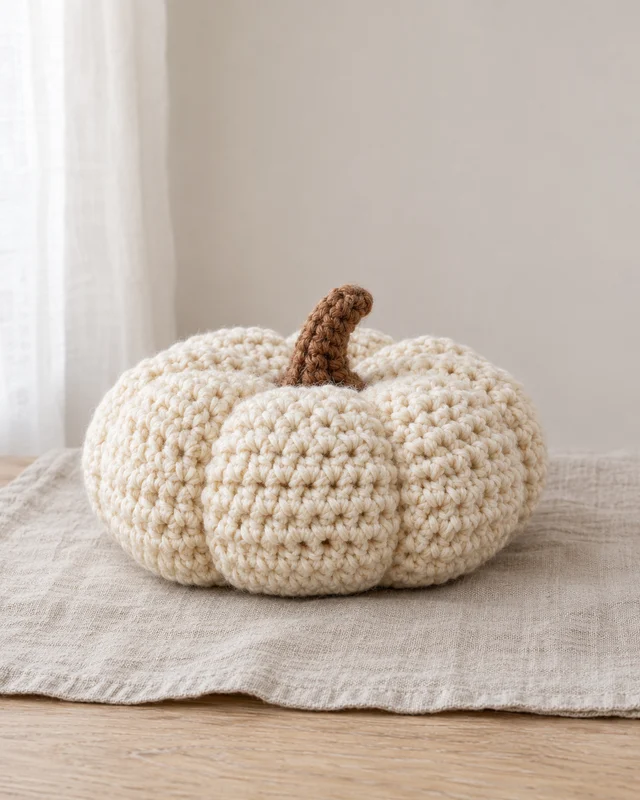
A squat cream pumpkin can bring a quiet highlight to a darker autumn arrangement. Keep enough height for the segments to remain visible while assessing the actual resting base. The pale surface also makes uneven gathering easier to notice before the stem is attached. Finish the form through its intended method, then choose its place on the shelf instead of compressing it to fit a space.
4. Sage shelf pumpkin

Sage gives a plain pumpkin a softer connection to leaves and neutral textiles. Let the silhouette carry the idea when the surface has few details. The actual yarn and filling still need compatible construction and care. Compare the finished piece in the room’s ordinary light, because the same green can look subdued on cream linen and nearly disappear against a deep charcoal background.
5. Two-tone pumpkin
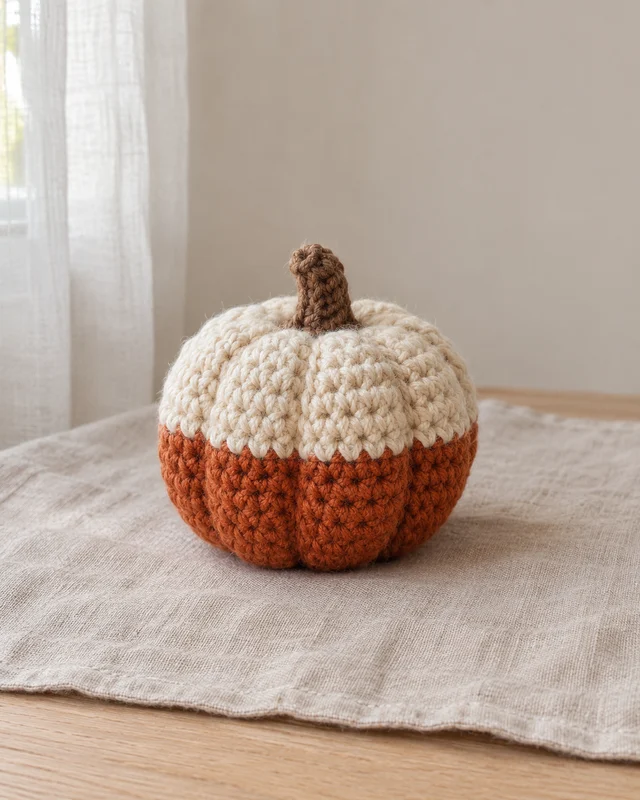
A two-tone pumpkin makes the horizontal color boundary part of the shape. Keep the change at a deliberate position and preserve the shaping counts through it. The lower color need not imply a separate base or stronger construction. Make a small sample of the transition if the yarns differ in feel, and choose materials whose care works for the complete filled object.
6. Granny-panel pumpkin
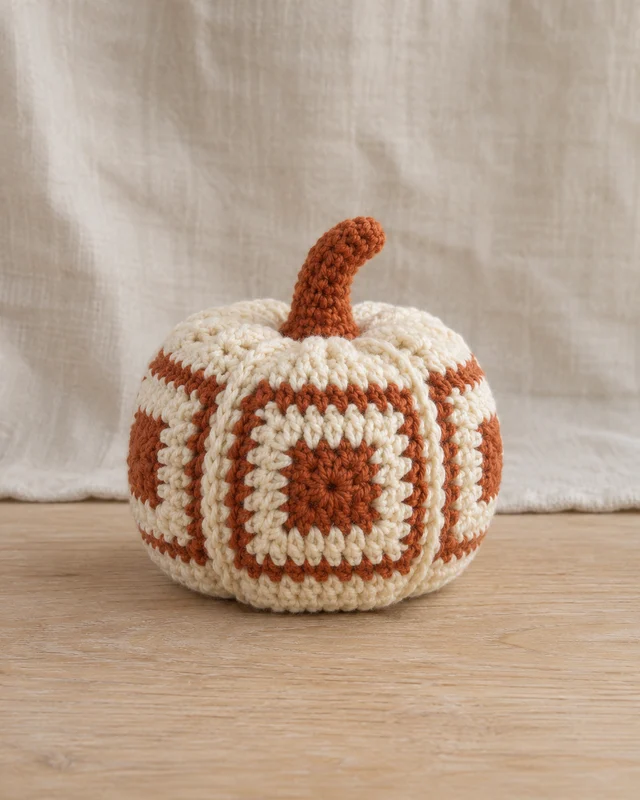
Square panels bring a patchwork idea into a rounded pumpkin. Their joined size and corner treatment must belong to the chosen construction so the motifs can settle around the form. Lay the arrangement out before assembly. An appealing grid on the table does not prove it will curve evenly once filled, especially when contrasting yarns produce slightly different finished fabrics or motif dimensions.
7. Pebbled texture pumpkin
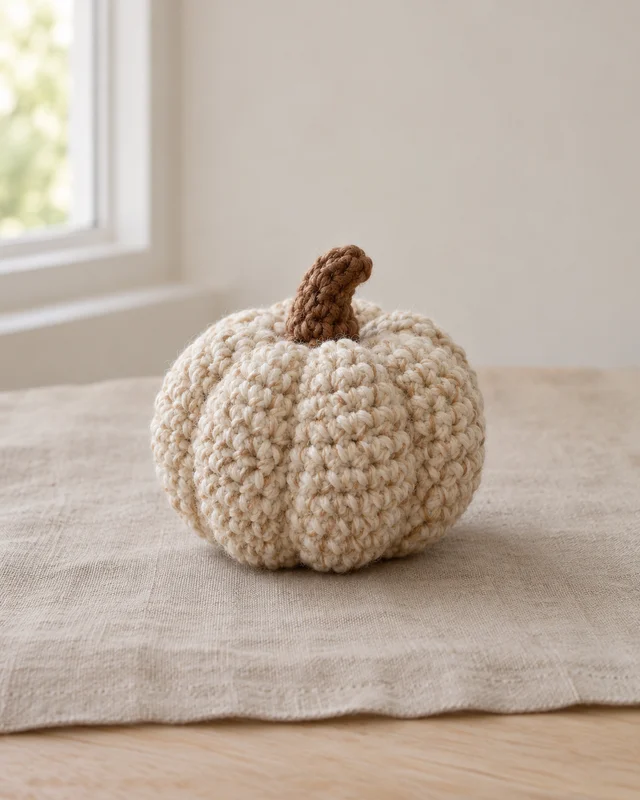
A pebbled surface can make an oatmeal pumpkin interesting without adding another color. Work the entire texture repeat in a sample and compare its firmness with the intended shaping method. Raised stitches can change how the fabric closes and gathers. Keep the stem and segments visually simple, allowing the actual surface to remain clear rather than hiding it under several separate decorative pieces.
8. Smooth segmented pumpkin
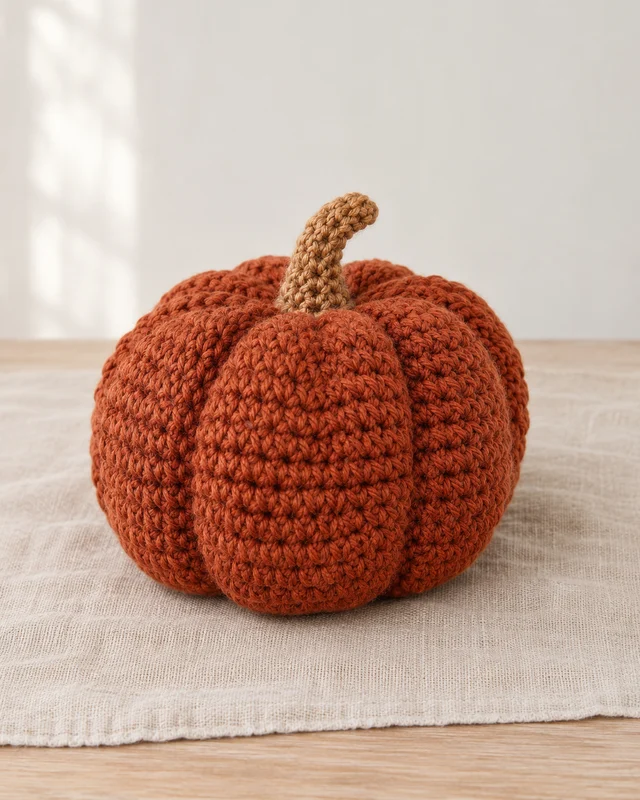
Plain fabric gathered into broad segments gives the silhouette a calm, rounded look. The gathering path and closure need to come from a complete design rather than being inferred from the visible channels. Adjust the form through the chosen assembly method, not through random tight pulls. Set the finished pumpkin down from several directions to judge its resting shape before adding the final stem.
9. Long-stem decorative pumpkin
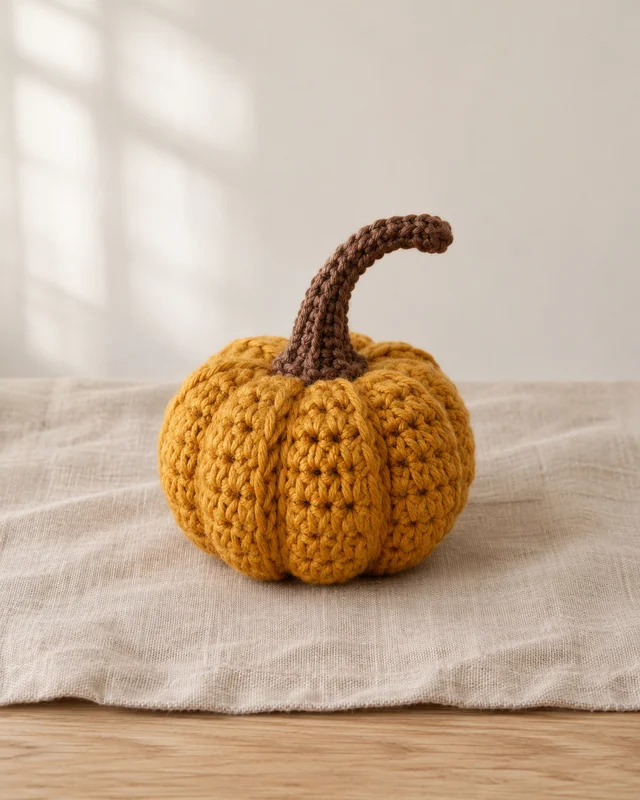
A longer curved stem adds movement above a small pumpkin. Its weight, attachment and enclosed ends deserve attention because the stem is a separate handled part. A soft yarn construction can suggest the curve without an improvised hidden wire. Keep the actual display purpose clear and assess the whole object, rather than using a dramatic stem to conceal a body that has not settled properly.
10. Leaf-accent pumpkin
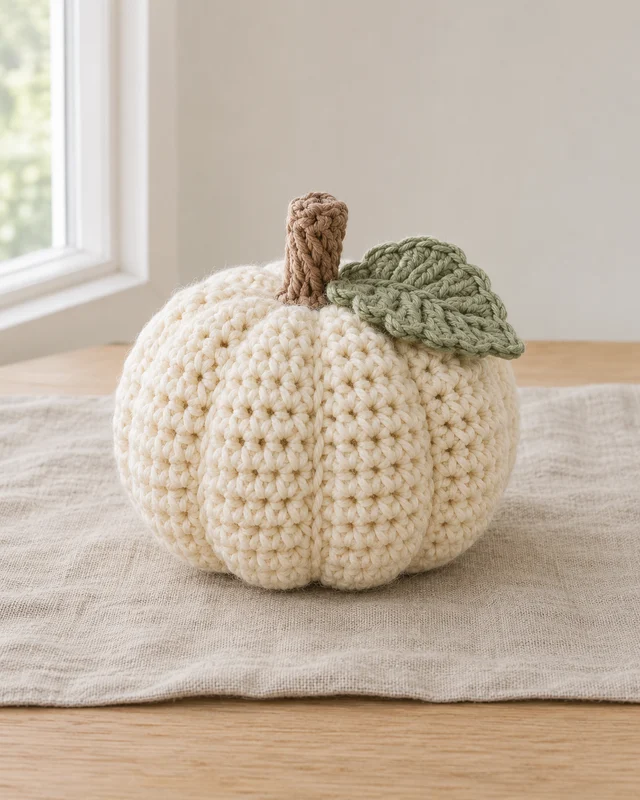
One flat leaf can identify a seasonal accent without covering the pumpkin’s main shaping. Complete the leaf separately and try its placement beside the stem before stitching. Its attachment should remain secure without drawing the upper fabric into a new pucker. Keep both yarns’ care information together; a small contrasting piece is still part of the finished object when cleaning or storing it.
11. Striped pumpkin
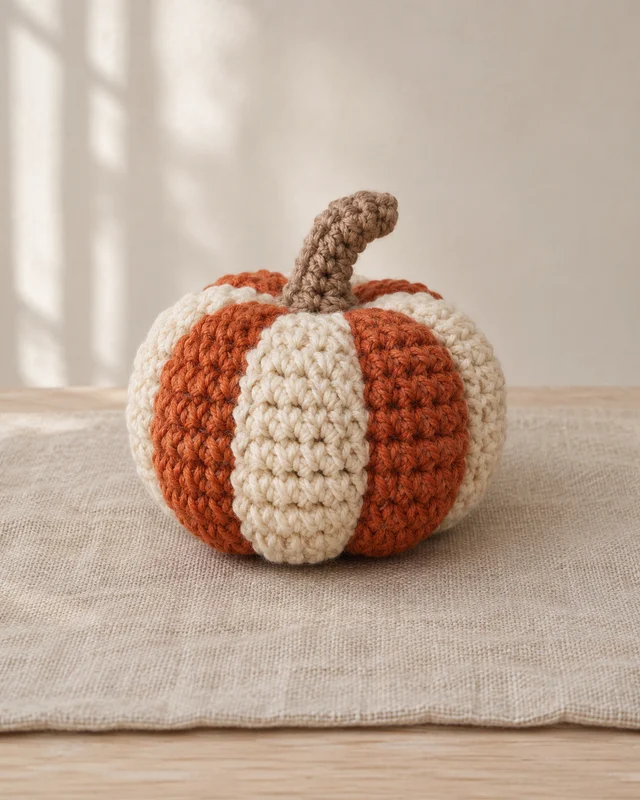
Vertical color sections can echo the pumpkin’s segments and make their arrangement easier to read. Plan the color sequence and joins before closing the body. Keep similar finished fabric across the sections so one stripe does not stretch differently around the filling. The geometric effect is strongest when the boundaries follow the actual construction, rather than being added to hide an uneven seam.
12. Mini pumpkin trio
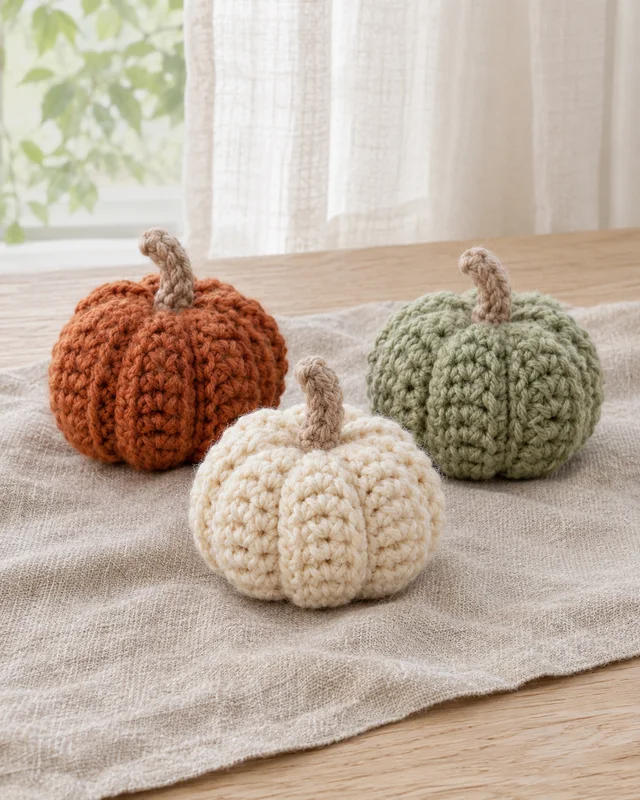
A miniature trio creates scale contrast without asking one pumpkin to provide all the detail. Complete the smallest design first and compare the real dimensions before repeating it. Keep the three objects separate for placement and care unless a complete display design intentionally joins them. Tiny stems and connections still require secure finishing, and the group is decorative rather than a set of tested toys.
13. Single large display pumpkin
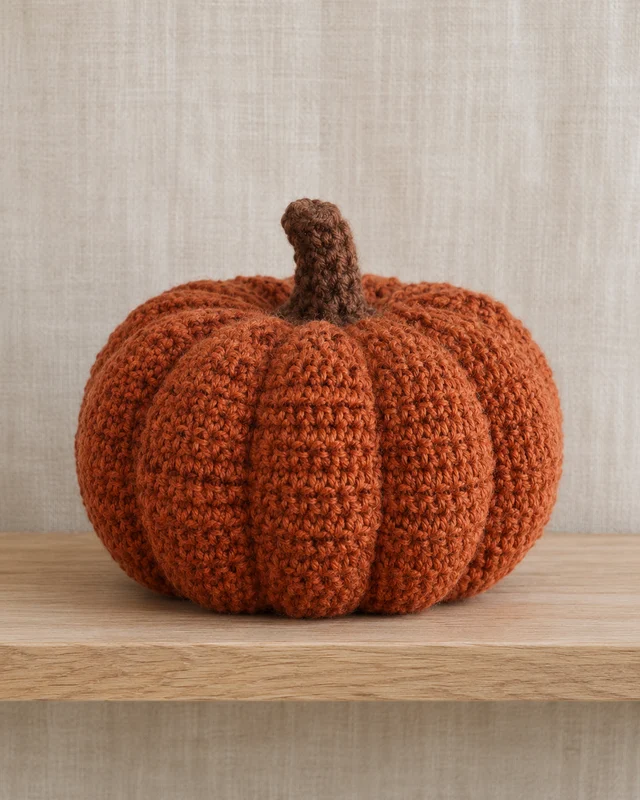
A larger pumpkin can act as the anchor for a quiet shelf arrangement. Measure the actual shelf depth and usable height before choosing the pattern. Its base should rest naturally without leaning against another object for support. Keep the surrounding display sparse enough to show the form, and use the full construction record when planning filling, closure and care instead of guessing from the outer size.
A motif and a container need different instructions
Do not turn a filled ornament into a coaster by pressing it flat, or infer an opening from a closed pumpkin photo. Choose a complete construction for the actual purpose. The fall color-and-texture guide helps compare surfaces without losing that practical distinction.
14. Flat pumpkin applique
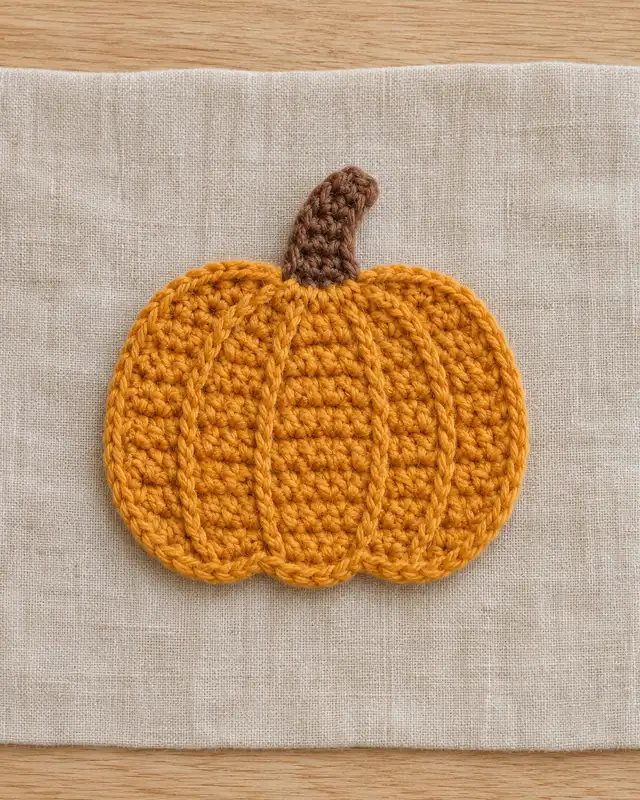
A flat applique offers the pumpkin outline without a filled body. Keep the stem and lower curves clear after finishing, then choose a base that can support the attachment. The motif may suit a bag or wall panel, but the actual receiving fabric matters. Try a representative join first so the patch lies naturally rather than pulling its new background into the pumpkin’s contour.
15. Pumpkin coaster outline
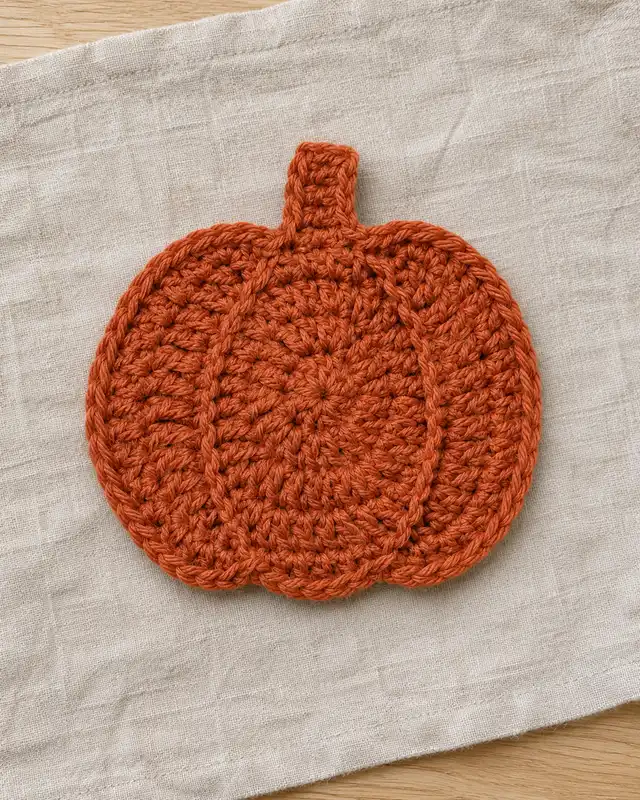
A pumpkin-shaped mat needs its usable center to remain flat and continuous. Keep decorative segment lines shallow enough for the actual cool object it will support, and assess any stem extension as part of the outer footprint. The motif is a visual choice rather than proof of heat protection or waterproofing. Follow a complete flat-mat construction instead of flattening a filled ornament design.
16. Pumpkin wall square
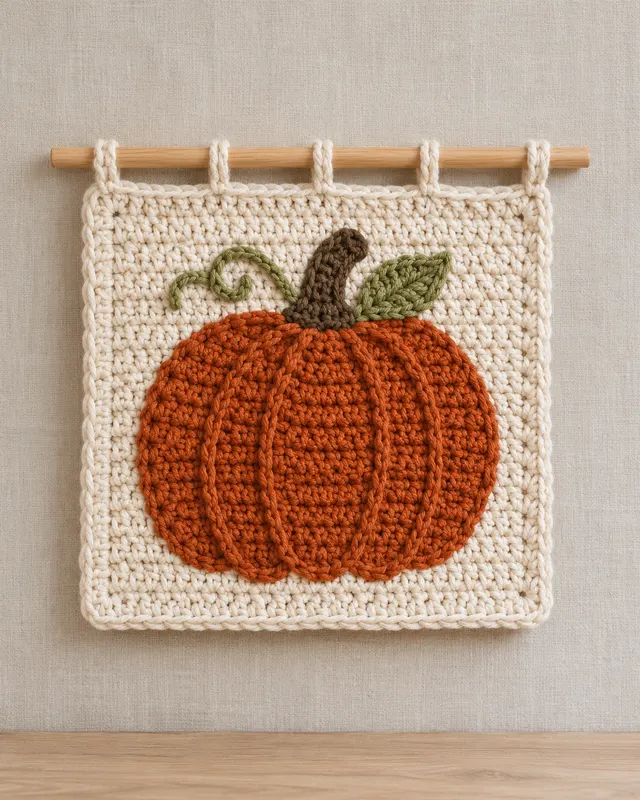
A pumpkin on a wall square gains a clear boundary around the seasonal motif. Compare the completed patch with the panel before deciding its position. Support the upper edge through a suitable dowel arrangement, and keep the applique attachment independent of the hanging connection. A broad plain margin can make the outline readable from a distance without needing a larger or more complicated pumpkin.
17. Pumpkin pocket panel
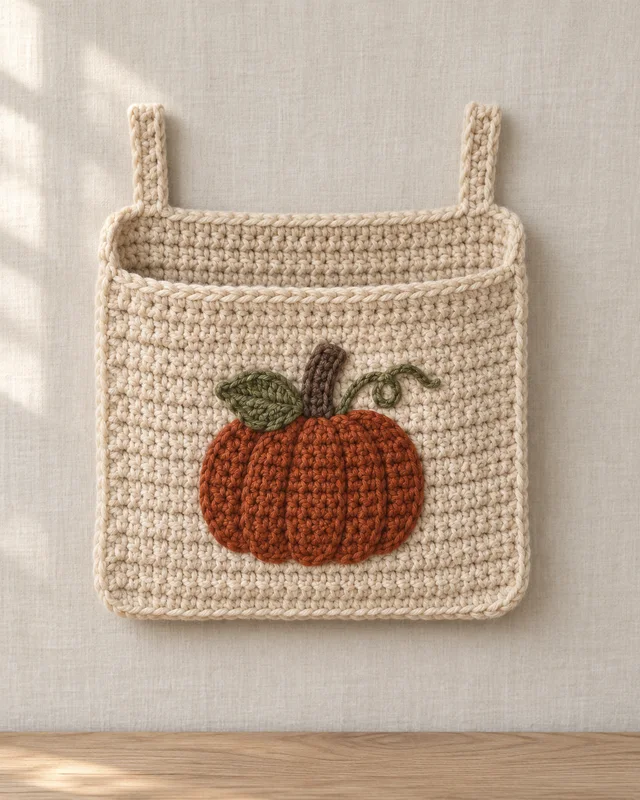
A shallow pocket panel lets a pumpkin patch decorate a working opening. Decide whether the pocket is purely visual or will hold specific lightweight contents before choosing the body and mount. Keep the patch clear of the opening edge. The hanging tabs and pocket seams need their own suitable construction; a securely sewn pumpkin cannot provide support for a different part of the panel.
18. Pumpkin napkin band
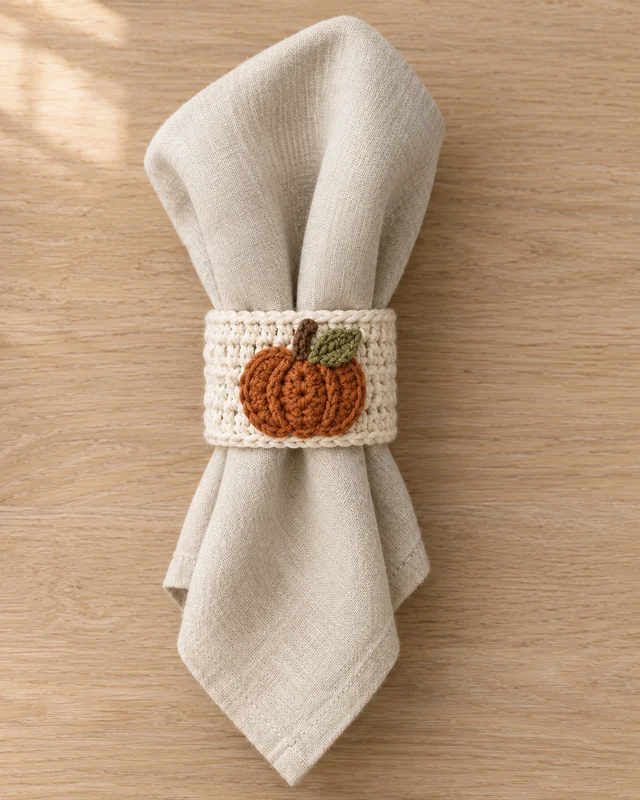
A flat pumpkin patch can give one napkin band an autumn accent while keeping the ring itself simple. Fit the completed band around the folded napkin, then position the patch where it will remain visible. Keep the join smooth and the stem low. Make a complete sample before planning a set, since a bulky applique can change how easily the band slides off for use.
19. Pumpkin basket form

A pumpkin-like basket uses ribbed walls while leaving the top open. Judge it first as a container: the base, usable opening and actual contents still need to suit one another. The seasonal outline is an outer feature, not a carrying specification. Keep the rim accessible and assess the empty basket on the intended dry surface before choosing what it will hold or adding another decorative layer.
20. Lidded pumpkin container
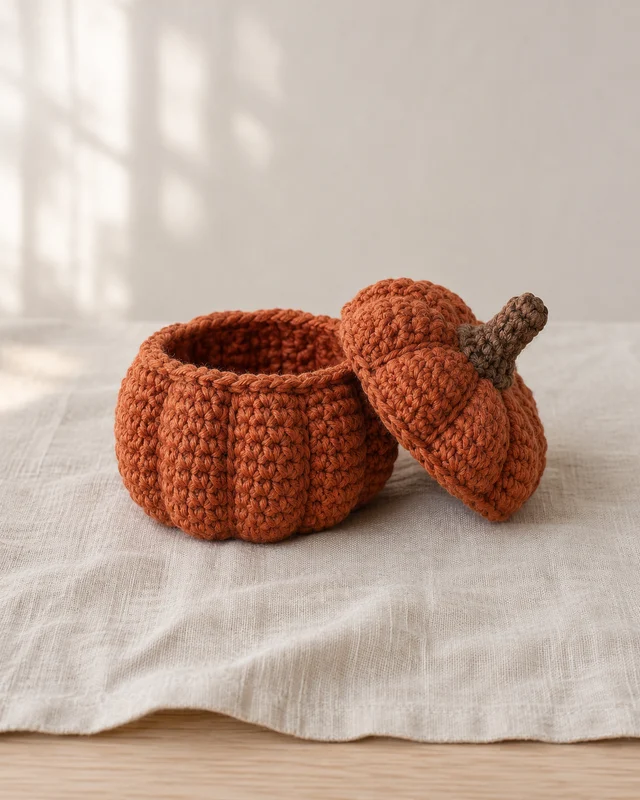
A separate pumpkin lid gives the container two pieces that must fit after compatible care. Measure the actual finished opening and lid rather than assuming their planned round counts guarantee a match. Keep the stem attachment secure without making it the only way to lift a tight lid. A decorative container still needs appropriate contents, and loose small items may require separate inner containment.
Use the remaining contrasts in one manageable display
21. Half-pumpkin shelf accent

A flat-backed pumpkin can sit close to a wall where a fully rounded piece would project too far. Use a complete construction for that profile so the front and rear settle together. Compare its resting base with the actual shelf depth. The wall is part of the intended placement, but it should not be used to hide an unfinished closure or force the pumpkin into a different shape.
22. Patchwork-color pumpkin
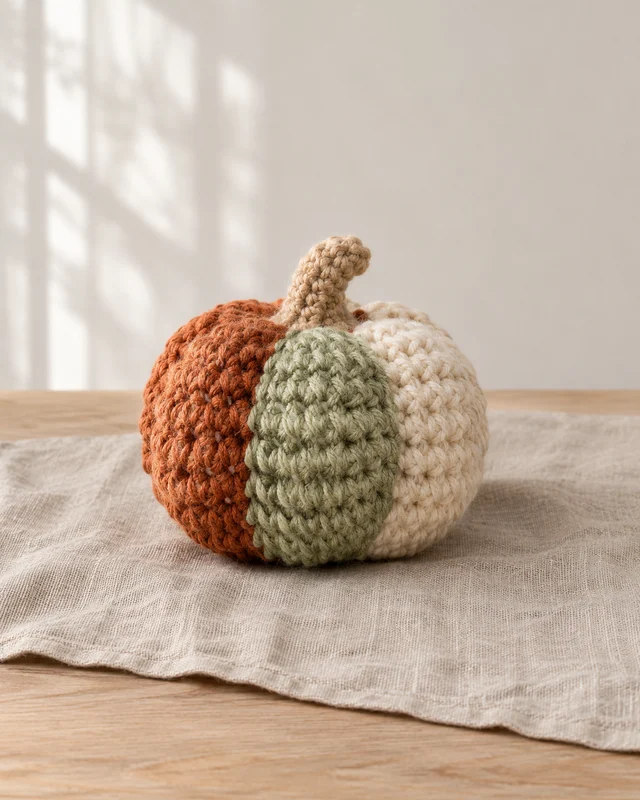
Broad patchwork colors can give one pumpkin a planned palette rather than a scattered collection of scraps. Lay out the color order and reserve enough yarn for the joins before assembling the body. Compatible finished fabric matters at every boundary. If one remnant’s fiber or care is unknown, keep that uncertainty in mind instead of assuming a muted color automatically makes it suitable for the filled decoration.
23. Lace-overlay pumpkin
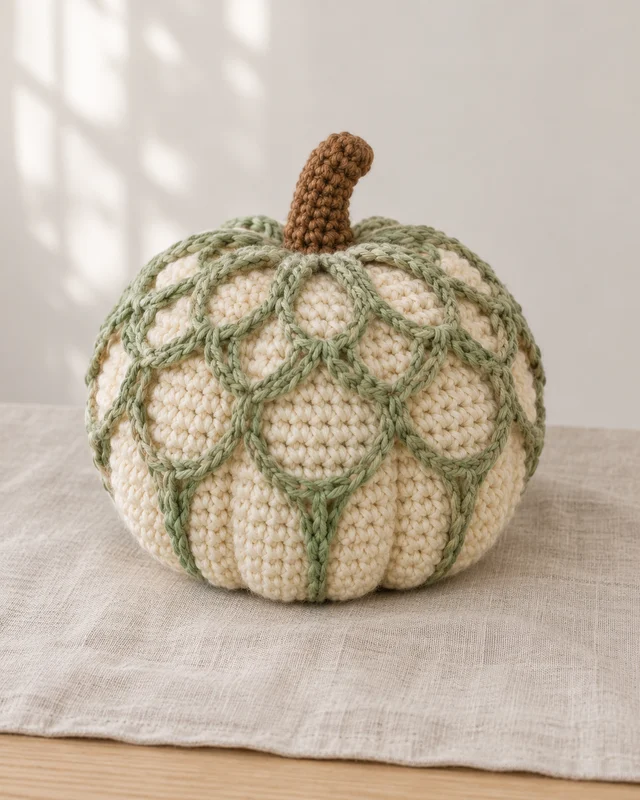
An openwork overlay creates a second visible surface over a closed pumpkin. Fit it to the completed body without pulling the underlying segments out of shape. The two layers should be removable or cared for through a clear compatible method. Keep the overlay’s connection simple enough to inspect, and avoid treating its decorative tension as a way to correct a body that was made to the wrong dimensions.
24. Velvety-looking yarn pumpkin
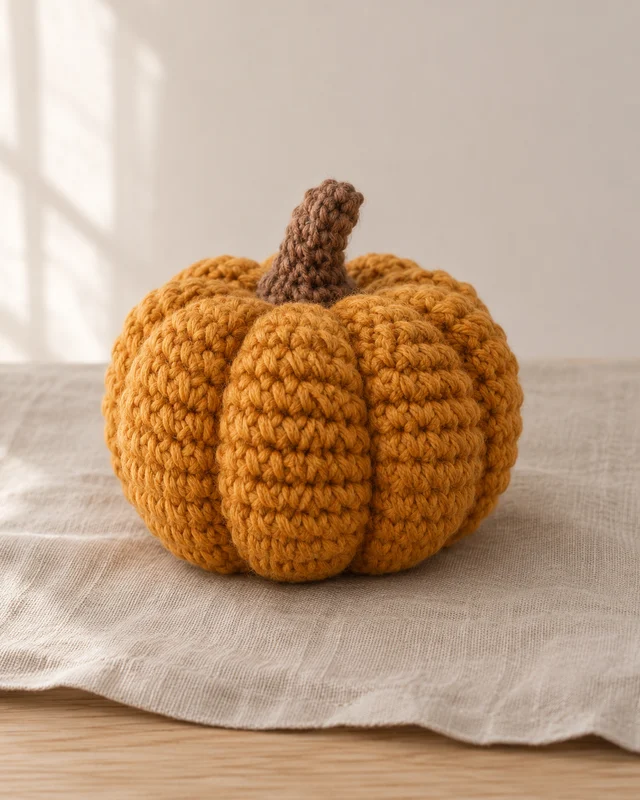
Plush-looking yarn can soften the outline and make stitch detail less visible. Choose a complete pattern suited to that material and pay attention to counts while they are still easy to track. The surface may make later inspection harder, so finish closures and the stem carefully. A soft appearance is a style characteristic, not evidence that the object is suitable for children or a particular handling use.
25. Pumpkin-and-leaf set
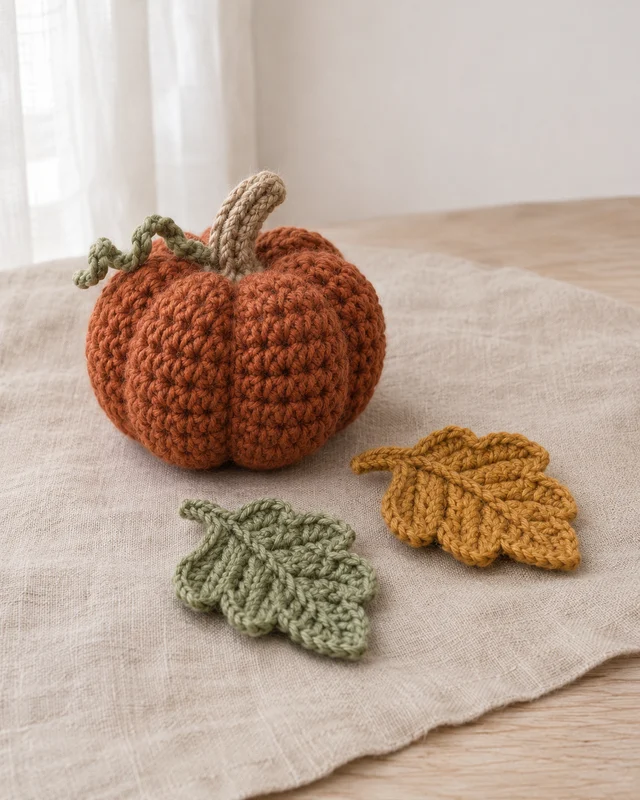
A pumpkin beside detached leaves makes a small arrangement that can change from year to year. Finish the pieces separately and compare their scale on the actual surface before deciding the final spacing. The leaves can remain flat while the pumpkin supplies depth. Store the arrangement record with the construction notes so the separate parts can be handled, cleaned and replaced without inventing their original relationship.
Keep enough space for the whole object
Measure the complete footprint, including a leaf, stem or separate lid, and assess its real resting position. Keep care and storage with the construction notes. The seasonal storage guide helps prevent a dimensional pumpkin from being treated like a flat panel when the display is put away.
- How to Choose Fall Crochet Colors and Textures
Choose fall crochet colors and textures through a room anchor, clear palette roles, small comparable samples and an actual material record.
- 13 Cute Crochet Halloween Gift and Treat-Bag Ideas
Compare 13 crochet Halloween gift and treat-bag ideas, with practical notes on openings, lining, separate packaging and reusable presentation.
- 23 Crochet Autumn Table Decor Ideas
Find 23 crochet autumn table decor ideas across runners, mats, napkin bands and small containers, with flatness, fit and care in view.
- 19 Crochet Witch Hat Design Ideas
Browse 19 crochet witch hat design ideas for decorative displays, comparing cone shapes, brim footprints, bands and flat motif alternatives.
- 15 Crochet Fall Garland Ideas for Mantels
Explore 15 crochet fall garland ideas for mantels, with notes on leaf shapes, geometric motifs, color rhythm, connections and real display space.
- 17 Crochet Bat Ideas for Halloween Displays
Compare 17 crochet bat ideas for Halloween displays, including wing shapes, contrast, mounted panels, garlands and small paired motifs.
- 21 Crochet Ghost Decoration Inspirations
Explore 21 crochet ghost decoration inspirations by outline, display method, backing, attachment and useful seasonal scale.
- Fall and Halloween Crochet Ideas for Cozy Seasonal Decor
Plan fall and Halloween crochet by room, object role and palette, with routes to seven idea collections and practical color and storage guides.
- How to Plan and Store Seasonal Crochet Decorations
Plan and store seasonal crochet decorations with clear removal, compatible care, supported shapes, identified parts and a useful next-season inventory.