In this article
A pile of granny squares can become many different blankets before the first join is made. Changing the grid, the placement of colour or the joining line can alter the whole composition without requiring every motif to be different. These nineteen arrangements focus on those larger decisions, from a simple straight set to layouts that need carefully measured fillers or rotating motifs. Use the images to choose a direction, then build a square-by-square plan with your actual finished samples. The illustrations are conceptual, not tested assembly diagrams. Matching dimensions, compatible edge counts and a clear joining method matter more than copying the exact number of squares visible in a picture.
Quick picks
For a first layout, choose an equal straight grid. For a strong colour plan, compare diagonal bands and the centre diamond. For more assembly, examine the mixed-size direction.
Before you choose
- Make and finish several representative squares before calculating the blanket size.
- Include the width of joins and separators, not just the area of individual motifs.
- Keep a labelled plan and count colour groups before buying the full yarn quantity.
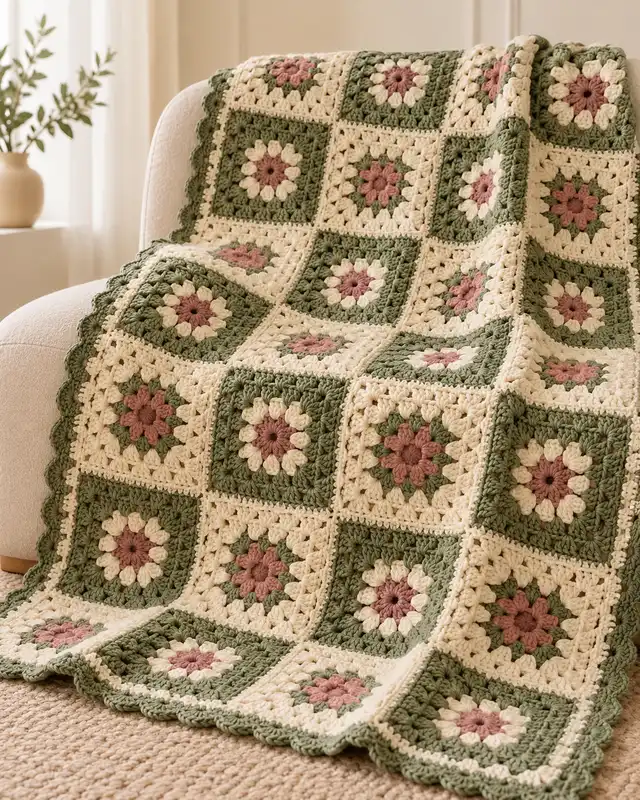
1. Straight-set equal squares
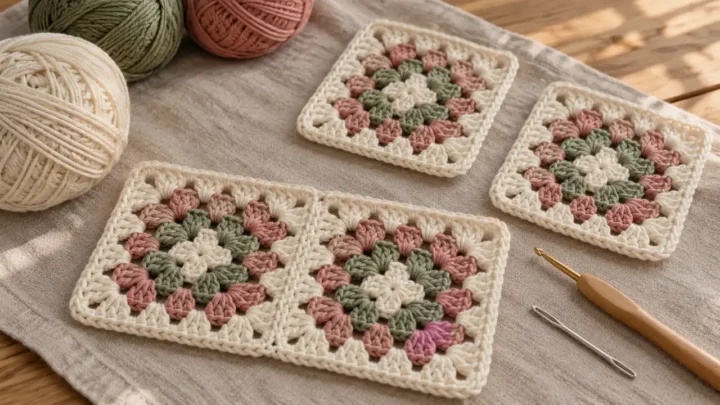
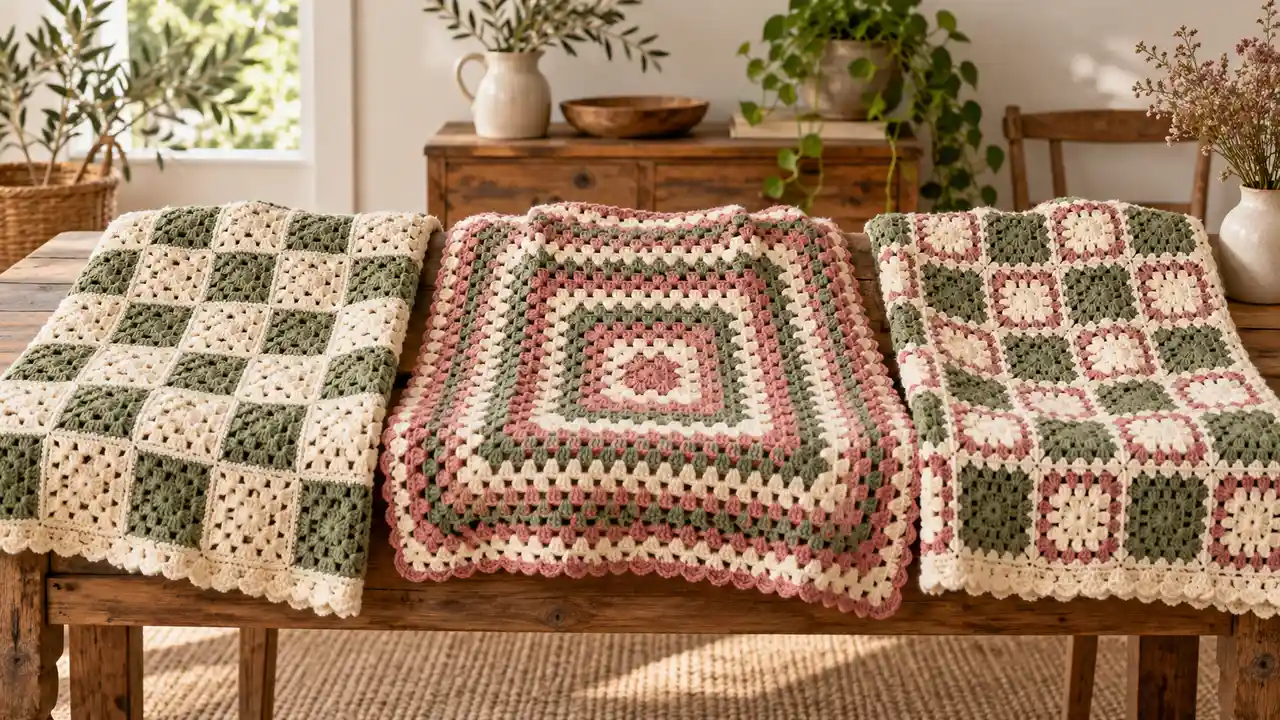
An even straight-set grid is the clearest place to begin arranging granny squares. Matching cream and sage motifs let the joining lines stay quiet. Make several squares before calculating the final grid, because your actual finished dimensions determine the layout. Check that corners and edge counts align, then label rows during assembly so the planned order does not become mixed up.

2. One oversized central square
One oversized growing square replaces many small joins with a single expanding motif. The cream, sage and rose rounds draw attention towards the centre. This is a construction choice as well as a colour idea, so use a pattern written for a large square. Check corners and measure the developing shape regularly instead of assuming each new round will remain flat automatically.

3. Checkerboard placement
Alternating light and dark centres creates a checkerboard without changing the square motif itself. Cream and sage make the placement easy to read from a distance. Lay out every finished square before joining, and photograph or sketch the order for reference. A consistent outer round helps the grid feel unified, while a mistaken placement can interrupt the rhythm across an entire row.
4. Diagonal colour bands
Diagonal colour bands make a straight grid feel as though it moves across the blanket. The cream, sage and rose centres supply the effect; the squares can still join in ordinary rows. Plan the complete arrangement on paper before making all motifs. Count how many centres each diagonal needs, since edge bands usually contain fewer squares than those crossing the middle.
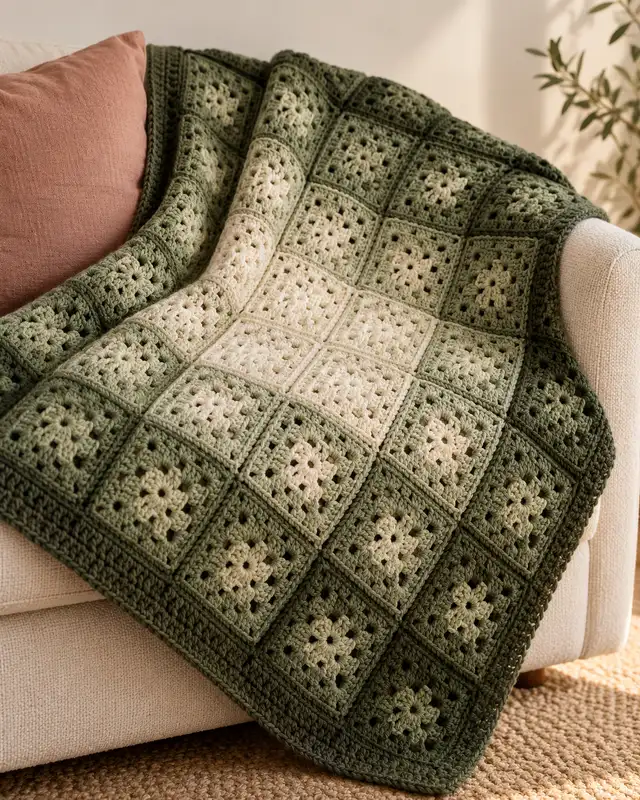
5. Ombre rows
An ombre arrangement changes tone gradually by row rather than within each square. The cream-to-sage direction offers a calm gradient while keeping the motif recognisable. Place the actual yarns together in daylight and test adjacent shades before committing. Calculate the number of squares in each colour group from the layout, then include the common outer rounds and joining yarn separately.
6. Framed center panel
A darker rectangular frame can give the centre of a blanket a deliberate boundary. Sage-centred squares surround a cream field in this concept, keeping the rest of the grid straightforward. Draw the frame on a square-by-square plan so its corners and widths stay consistent. Check the number of contrasting motifs needed before buying yarn rather than estimating from the overall blanket area.

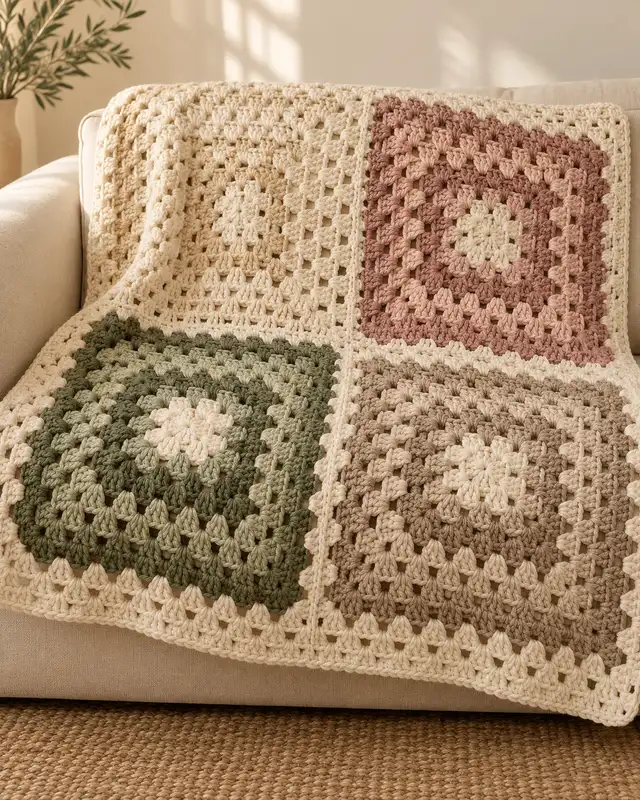
7. Four-quadrant layout
Four colour quadrants create a strong arrangement using the same repeated square. Cream, rose, sage and oatmeal divide the surface into larger regions. Decide where the quadrants meet and whether the joining colour should emphasise or soften that centre. Make a small mock-up first; four attractive yarns can look unbalanced if one dark section dominates the finished blanket.
8. Alternating large and small squares
Combining larger motifs with small fillers changes the scale of a granny-square blanket. The arrangement needs a planned grid so the pieces meet cleanly. Do not assume that two small squares will equal one large square once joins are added. Work and finish representative pieces, measure their assembled width, and choose a construction plan that accounts for all connecting edges.

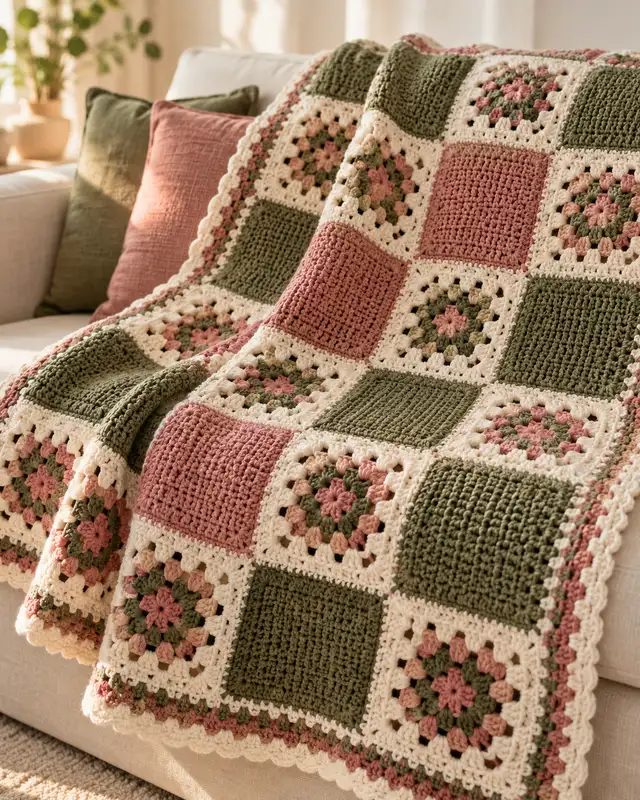
9. Solid-and-open alternation
Alternating solid-looking squares with more open granny motifs makes texture part of the arrangement. The contrast is different from simply changing colours. Use compatible patterns and check their finished size, edge count and drape before joining. A shared yarn does not guarantee matching dimensions, so assemble a small trial group and inspect how the different surfaces behave beside one another.
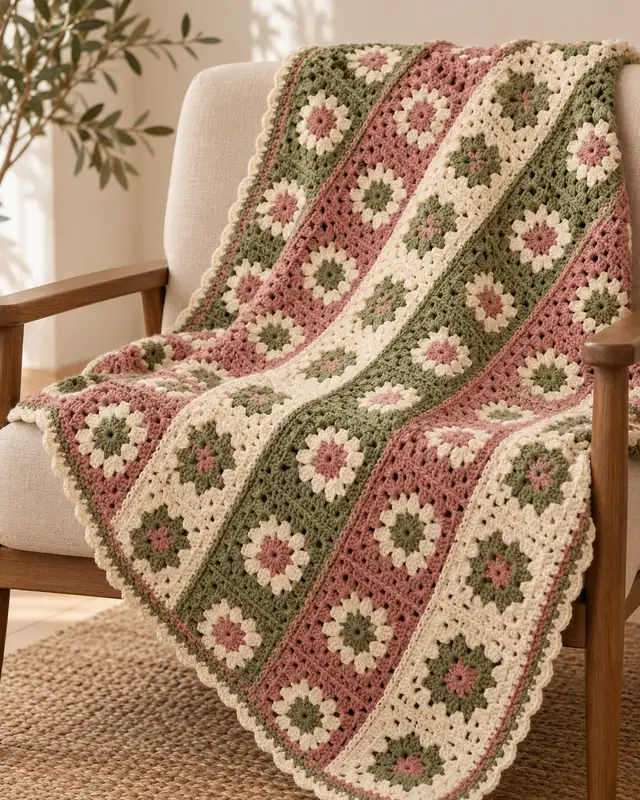
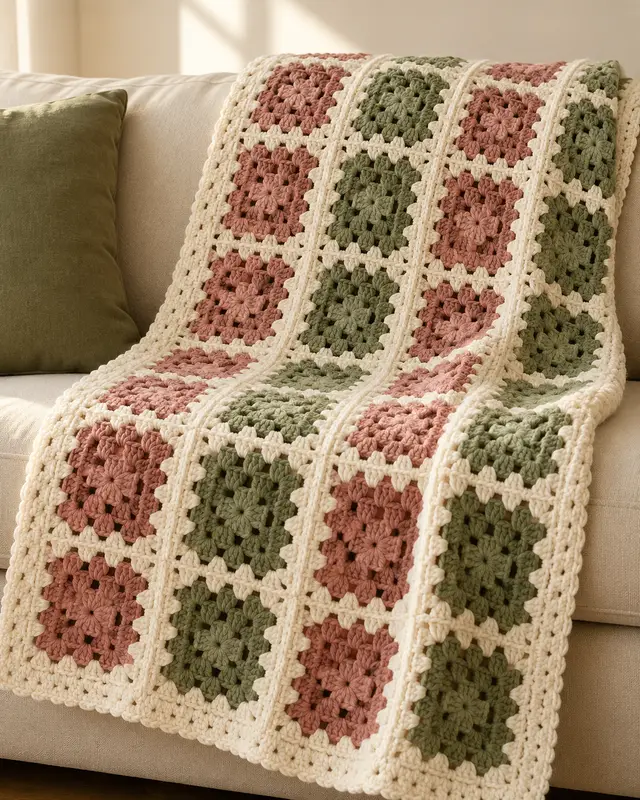
10. Warm-cool column layout
Warm rose and cool sage columns create long bands while a shared cream outer round holds the grid together. Decide which way the blanket will usually be displayed before choosing the column direction. Lay out the actual pieces and check the contrast from a distance. This makes colour placement the main task, leaving the motif construction consistent throughout the larger project.
11. Border-led unity
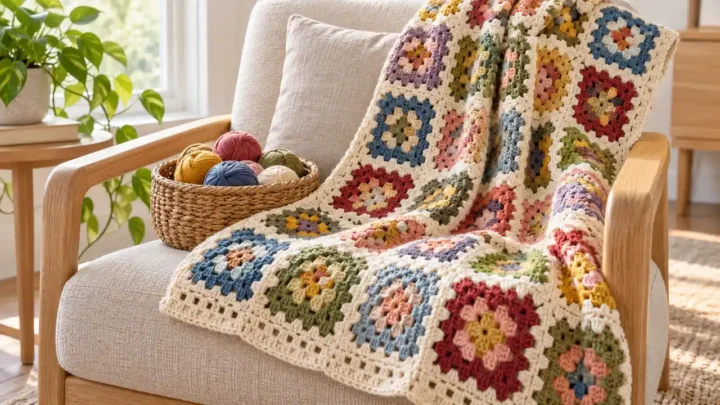
A broad matching cream outer round can unify a varied collection of muted centres. This is useful when you want a patchwork mood without a visually busy joining line. Keep records of the yarns and motif dimensions as you make them. The outer round still has to fit the same square structure; adding extra rounds at random can create incompatible edges.

12. Cross-shaped accent
A broad plus-shaped accent gives a plain grid one recognisable focal form. Sage-centred squares make the shape stand out against cream without introducing a different motif. Sketch the arrangement at the actual row-and-column count before starting. Even and odd grid sizes place the centre differently, so check the planned proportions rather than assuming any collection of squares will produce the same balanced shape.

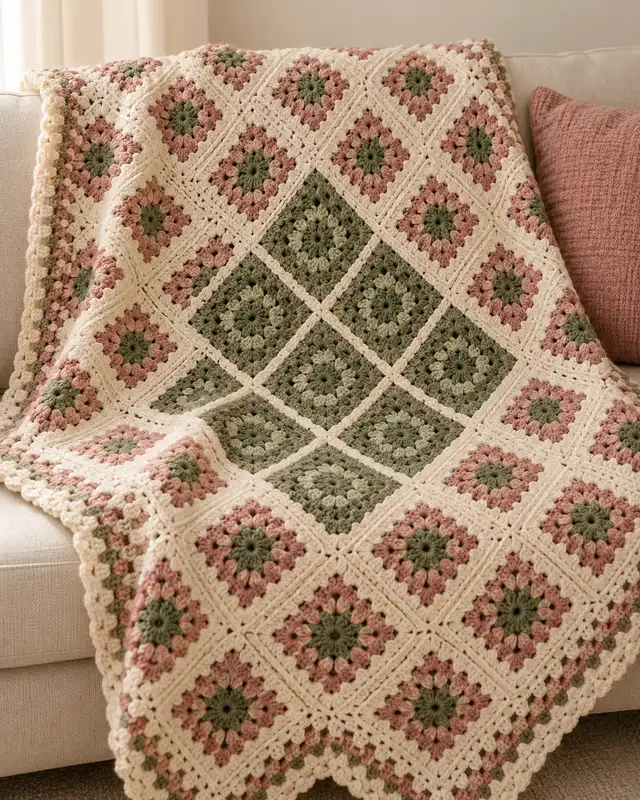
13. Central diamond placement
A central diamond can be created through colour placement inside an ordinary straight grid. The sage field grows and then narrows across successive rows, surrounded by cream squares. Mark every row on the plan and count each colour group separately. The layout is graphic, but its construction need not involve diagonal seams; keep the distinction clear when choosing a pattern or joining method.
14. Offset brick arrangement
Staggered rows suggest brickwork and change the rhythm of equal square motifs. The offset edges need a considered solution, such as correctly sized filler panels in a complete design. Check that solution before making a large pile of squares. This is a more involved layout choice than a straight grid, because the blanket's outer boundary and joining sequence must still form a coherent shape.
15. Nine-patch groups
Grouping motifs into larger three-by-three blocks gives a blanket two visible scales. Cream separating bands can make each nine-patch group read as a panel. Plan the number of groups and their finished dimensions before choosing a total size. The separator fabric and joins take space and yarn, so include them in the calculation rather than multiplying only the measurements of one square.

16. Perimeter colour ring
A ring of rose motifs around a cream centre creates a perimeter accent without adding a separate wide border. Map the corners carefully so the ring has a consistent thickness. Count the perimeter squares from the finished grid plan, remembering that corner pieces belong to two visual edges but are made only once. Lay out the full arrangement before permanent joining begins.

17. Scattered accent squares
A few sage and rose accent squares can make a mostly cream blanket feel relaxed rather than regimented. The placement should still be intentional: check whether the accents look balanced when the blanket is viewed from a distance. Move the actual motifs around before joining, then save a reference photo. A restrained palette allows irregular spacing to be the feature instead of an accidental colour shortage.

18. Window-frame joining lines
Deep olive joining lines turn the connections between muted motifs into a visible window-frame grid. This makes the join a design element rather than something to hide. Sample the chosen joining method and check how much ridge or thickness it creates. The dark line can sharpen every irregular edge, so consistent square dimensions and careful corner alignment are particularly important.

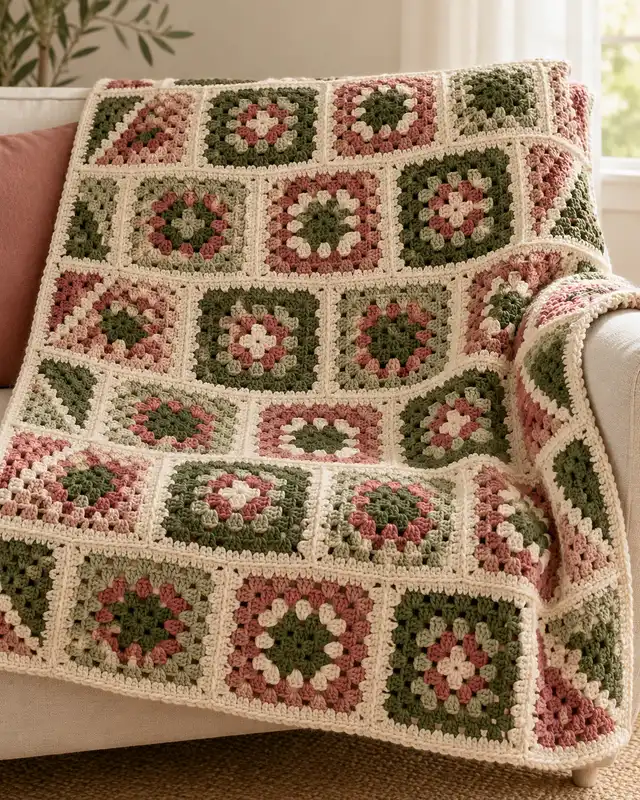
19. Rotating corner accents
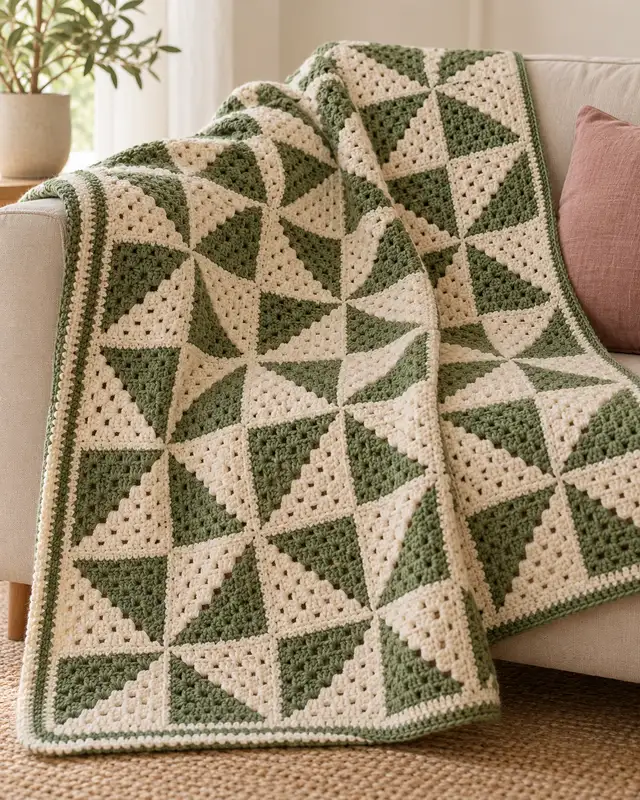
Rotating half-colour motifs can build larger pinwheel-like groups across the blanket. The cream and sage direction uses orientation as well as colour placement, so mark the top edge of each planned square. Choose a motif pattern that actually produces the intended half-colour division. A layout image can suggest the composition, but it cannot establish the correct colour-change positions or seam structure.
Choose the direction that fits your project
Start with a layout that suits the motifs you can make consistently. If the square pattern is already demanding, keep the arrangement simple. If you enjoy planning, use colour placement or a visible joining line to create interest while repeating a familiar motif. Test a small assembled group before committing every piece to the full layout.
Try the layout before joining every square
Lay out finished squares on a floor or table and take a photo before you join them. Move a few colors around and compare the arrangements from a distance. Label rows or gather each row separately when you are happy with the placement.
Join a small group before committing to the whole blanket. Check that the edges meet without pulling and measure the width added by seams or separators. For mixed-size layouts, calculate with finished samples and compatible edge counts rather than the picture alone.
Frequently asked questions
How many granny squares do I need for a blanket?
Start with the finished blanket measurements and the size of a finished square. Include the joins and border in your calculation. Mixed-size layouts also need a plan for how the edges meet.
Should I finish or block squares before joining them?
Follow the pattern and fiber-care instructions. Measure representative finished squares before planning the layout so differences in size do not come as a surprise during joining.
How can I keep a busy color palette balanced?
Repeat a few colors across the layout, or give the squares a shared joining color. Photograph two or three arrangements before choosing; the full grid often reads differently from a single square.
Frequently asked questions
Are these complete patterns?
No. The entries help you choose an idea and compare its demands. Follow a complete pattern with dimensions, material quantities and construction instructions before making the object.
Can I use a different yarn?
Check the pattern’s permitted substitutions and required gauge. A different fibre, thickness or hook can change the feel and dimensions. Make a suitable sample before deciding on a full quantity.
How long will a project take?
That depends on size, the actual pattern, your experience and its finishing work. Plan around the tasks you already know, leaving extra time for new techniques and assembly rather than treating a title as a time guarantee.
What should I learn next?
Use the crochet blanket planning guide to choose a route, then look for the blanket yarn guide. For another design comparison, explore 25 living-room blanket ideas.
- How to Join Granny Squares and Finish Blanket Edges
Plan a granny-square blanket join with a four-square practice sample, seam checks, junction guidance and a deliberate foundation for the blanket border.
- 27 Scrap-Yarn Crochet Blanket Ideas for Leftover Yarn
Plan 27 scrap-yarn crochet blanket layouts, from motifs to stripes and panels, with practical checks for compatibility, usable lengths, joins and borders.
- 23 Textured Crochet Blanket Ideas with Raised Stitches
Compare 23 raised-texture crochet blanket ideas, from ribs and waffles to cables and motifs, with useful checks for weight, reverse sides and joins.
- 15 Striped Crochet Blanket Color Combinations
Explore 15 striped crochet blanket palettes with clear color roles, contrast and stripe-width ideas, plus a practical way to test a repeat before starting.
- 17 Chunky Crochet Throw Ideas for Cozy Bedrooms
Explore 17 chunky crochet throw ideas for a cozy bedroom, from ribbed bed-end accents to patchwork blankets, with practical notes on weight and finishing.
- How to Choose Blanket Yarn, Hook Size and Yardage
Choose blanket yarn and a hook using your pattern and a finished swatch. Learn a practical way to estimate yardage, borders and the number of balls to buy.
- Crochet Blanket Ideas: Style, Size and Skill Guide
Choose a blanket direction by the way it will be used, the construction you enjoy and the material decisions that determine its finished feel.
- 25 Modern Crochet Blanket Ideas for Living Rooms
For restrained pattern, compare the quiet grid and windowpane direction. For bold shape, shortlist the offset blocks. For tactile depth, investigate a ribbed or waffle-style surface.
- 21 Crochet Baby Blanket Ideas for Beginners
For a first rectangular project, compare the plain keepsake and broad bands. For a joining lesson, look at the four-panel direction. Save diagonal construction until you can follow its shaping.