In this article
A crochet bat is recognized through its wings before a face is added. Broad scallops, narrow tips and a compact center create different silhouettes, while the background determines whether those shapes can be seen. A simple outline with enough space around it can be more effective than a highly detailed motif crowded into a display.
The seventeen concepts here explore flat shapes, supported surfaces and modest dimensional accents. They are not countable pattern charts or evidence of a tested attachment. Choose complete instructions for the actual construction and keep mounting, backing and finishing in the same plan. The pictures cannot establish stiffness, hidden joins or a load limit for a cord, wing or display connection.
Make two complete wings readable first
Keep the outer silhouette distinct on the intended background, with enough room around the tips. A counted pattern determines the actual shaping; the illustration does not. The fall and Halloween hub helps choose whether the finished bat belongs on a wall, panel or another object.
1. Flat broad-wing bat
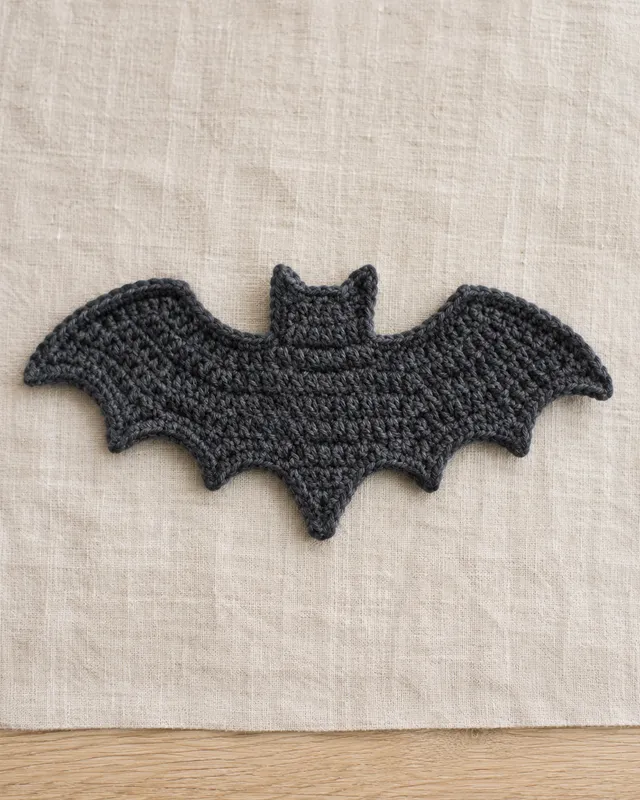
Broad scalloped wings make a bat recognizable before any facial detail is added. Keep both sides balanced through the complete shaping sequence and finish the central body clearly. Compare the silhouette against the intended background, not only on the worktable. A flat motif needs its own suitable attachment if it will hang, with the wings supported rather than expected to hold their shape through a single tight center stitch.
2. Small rounded-wing bat
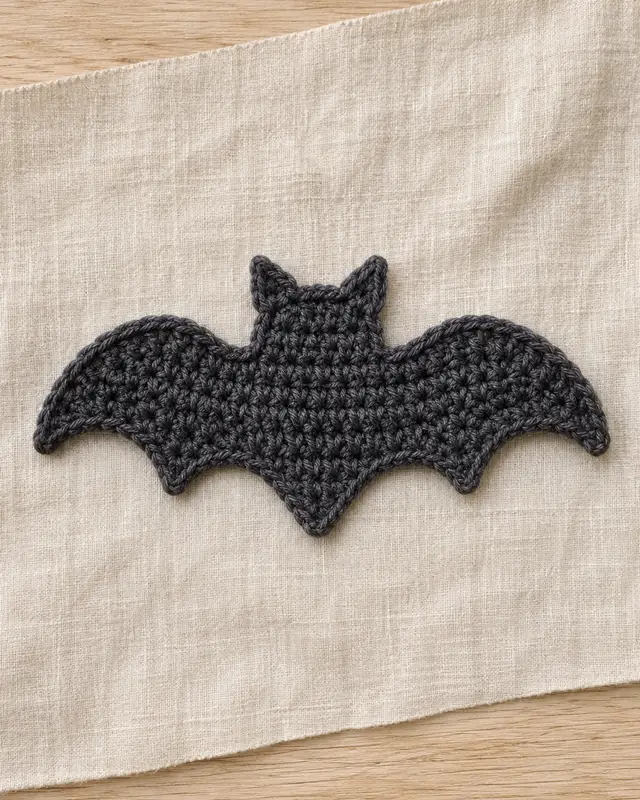
Rounded short wings give a small bat a compact, softer outline. The ears and wing curves should stay distinct after compatible finishing. Make the full sample before reducing its scale, because narrowing one area can erase the shape that identifies the motif. A small complete bat can be useful on a panel or card-sized display where a wider silhouette would crowd the surrounding space.
3. Long-wing bat

Long narrow wings create a strong horizontal accent and need room around their tips. Measure the intended panel or shelf span before choosing the motif size. Keep the center compact without drawing both wings inward during assembly. If the finished ends curl, inspect the fabric and finishing method rather than stretching them across a mount that was not designed to carry that tension.
4. Rust accent bat
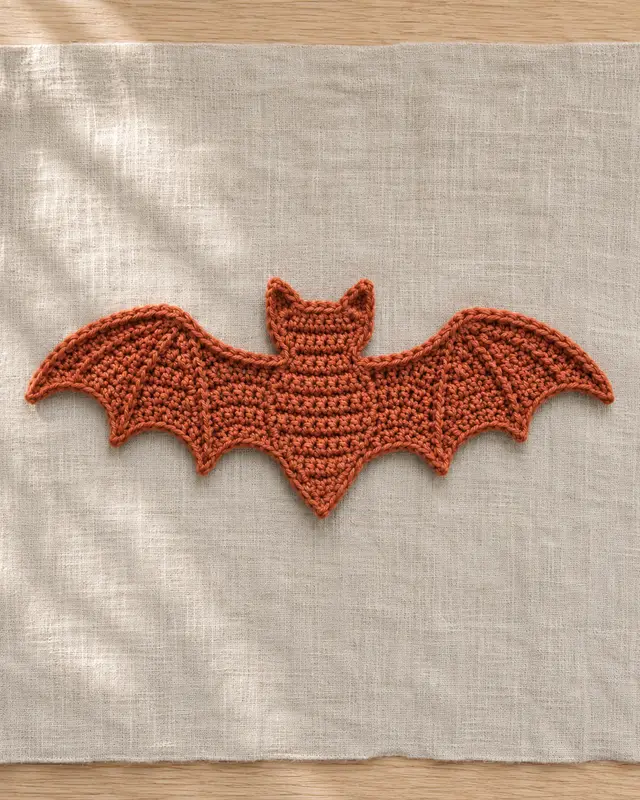
A rust bat can connect Halloween shapes with a broader autumn palette. The warm color works best when the outline remains simple enough to read without charcoal detailing. Compare the finished motif with cream, oatmeal and dark backgrounds before settling its location. The color change does not create a new construction, so choose it for an actual display role instead of making a second copy with no intended place.
5. Cream silhouette bat

A cream silhouette can be effective on a dark field where a charcoal bat would disappear. Keep the ears, wing tips and lower curves distinct against that background. A pale yarn also makes finishing ends easier to notice before the piece is mounted. If a backing is added, choose a compatible support that lets the motif rest naturally rather than pulling its perimeter into a different outline.
6. Two-tone wing bat
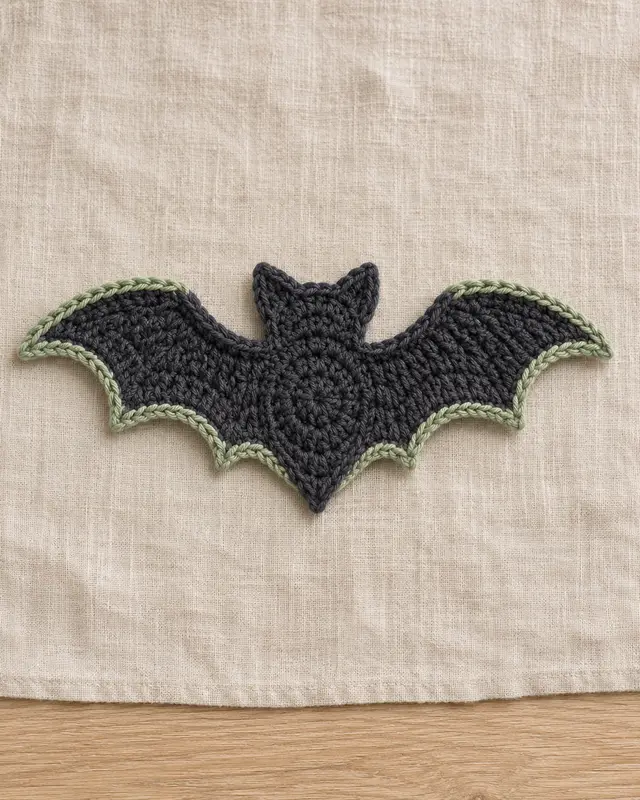
A narrow contrast edge can trace the wings while the center stays quiet. Make the entire shaping-and-border transition in a sample, because a tight edge can draw the tips inward. Keep the two yarns compatible in finished fabric and care. The accent should clarify the silhouette on the actual background, not become a thick ridge that changes how the piece can be attached or stored.
7. Ribbed wing bat
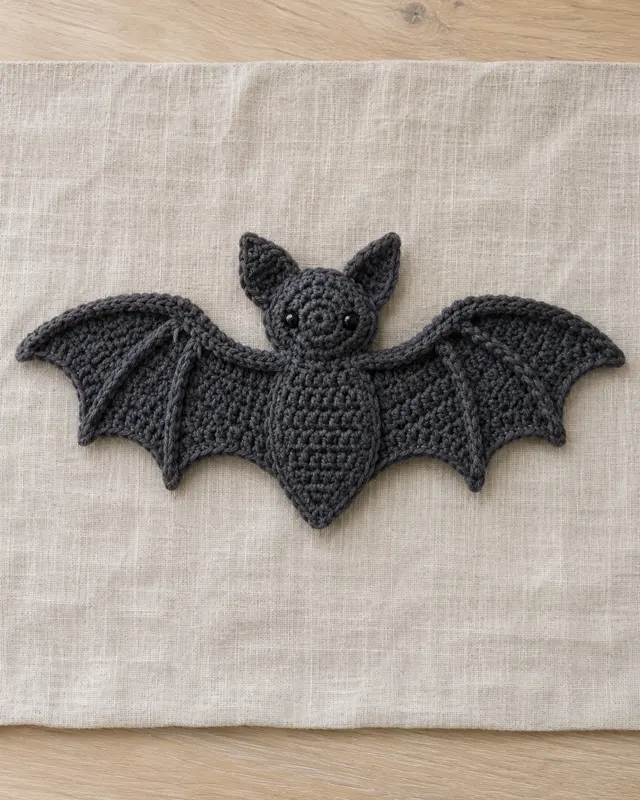
Shallow wing ribs give the bat a directional texture without adding a separate frame. Follow the real stitch sequence rather than copying the illustrated rib count. Check that the completed wings still lie in the intended plane after finishing. Raised lines are a visual feature here; they do not establish stiffness or make the motif suitable for hanging unsupported across a span.
Let a panel or frame support the motif
8. Openwork bat panel
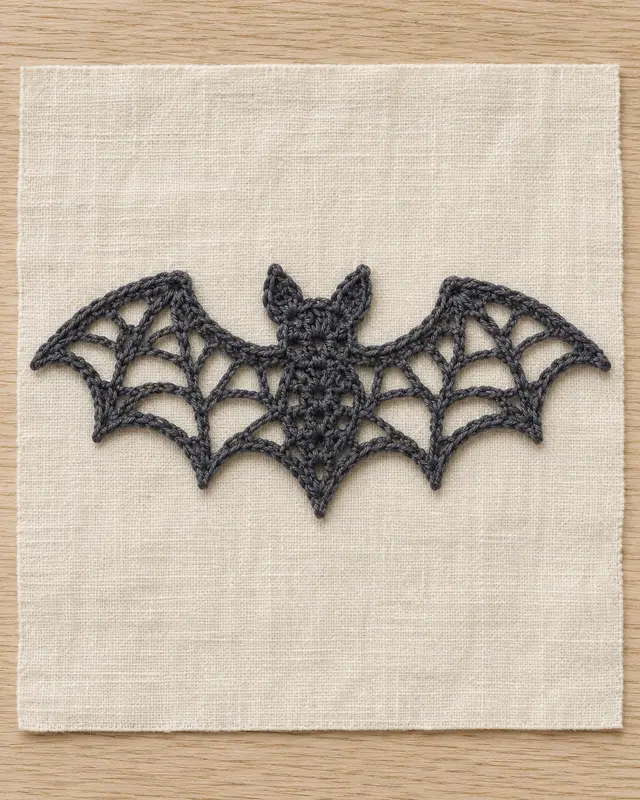
Openwork wings can become clearer over a plain pale backing. Choose the background and motif together so the holes form a deliberate pattern instead of visual noise. Support the finished crochet through an appropriate attachment, leaving its outline unstretched. A backing changes the display construction and care needs, so plan access to both layers before permanently enclosing the edges in a frame.
9. Bat wall hoop
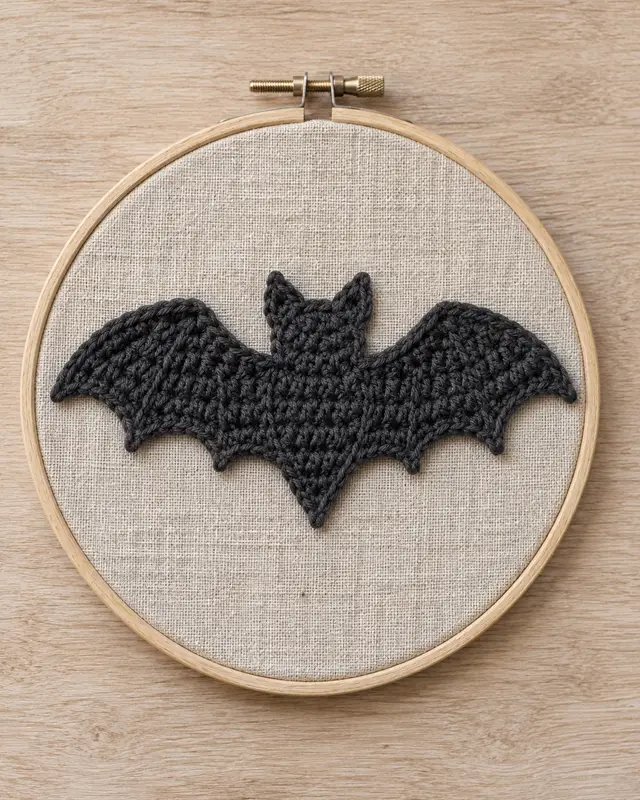
A wall hoop gives a small bat a defined place without asking the motif to support itself. Prepare the fabric background, finish the applique and compare its position before attachment. Keep the wings clear of the hoop edge so their full outline remains visible. The hoop should carry a completed textile arrangement rather than supply tension to fix a misshapen or unfinished crochet bat.
10. Framed bat square
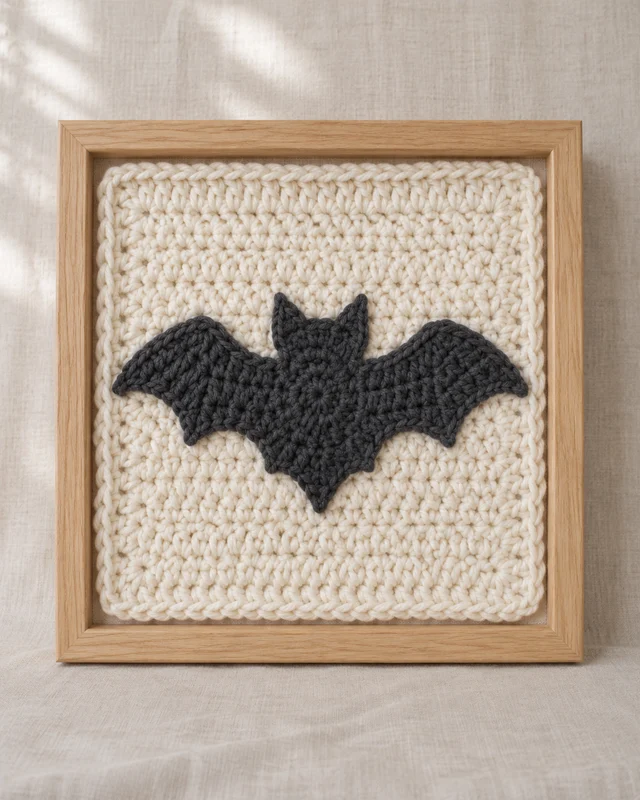
A framed square creates a graphic contrast between a pale panel and dark wings. Measure the real frame opening after the crochet is finished, then choose a margin that keeps the bat from touching the border. Mount the textile through a suitable removable method. A compact display can remain interesting with one strong silhouette, leaving the frame and background quiet enough for it to read.
11. Bat pocket panel
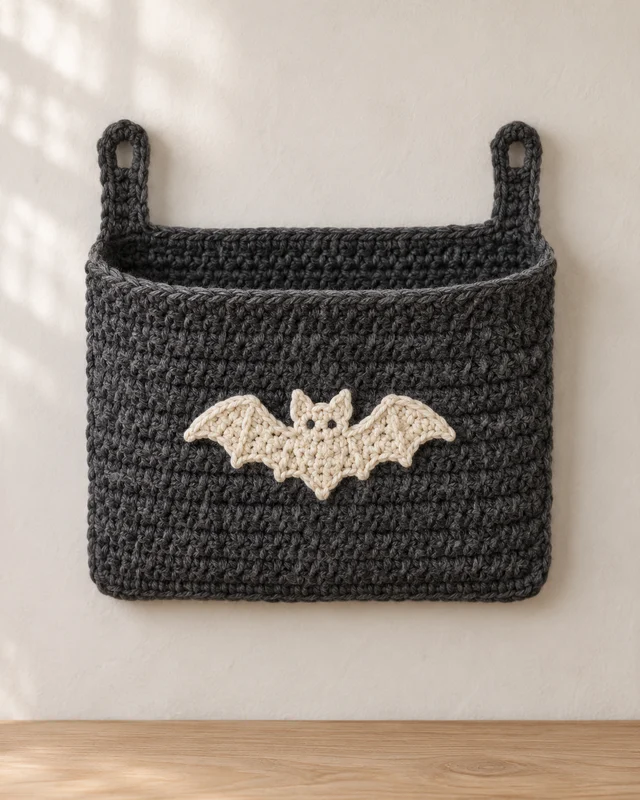
A bat patch can decorate a shallow wall pocket without becoming its support. Keep the pocket opening accessible and decide what, if anything, it will contain. The panel seams and hanging tabs must suit that actual purpose. Attach the finished patch to the body with its wings supported, and inspect the reverse before closing a lining or mounting the whole piece where repairs become difficult.
A wing tip is a shape detail, not an assumed mount
Use the complete design’s supported connection and assess the whole display. Keep a front-facing decorative line separate from evidence about the reverse, join or carrying point. The palette guide can clarify the silhouette without adding another narrow attachment.
12. Bat bunting trio
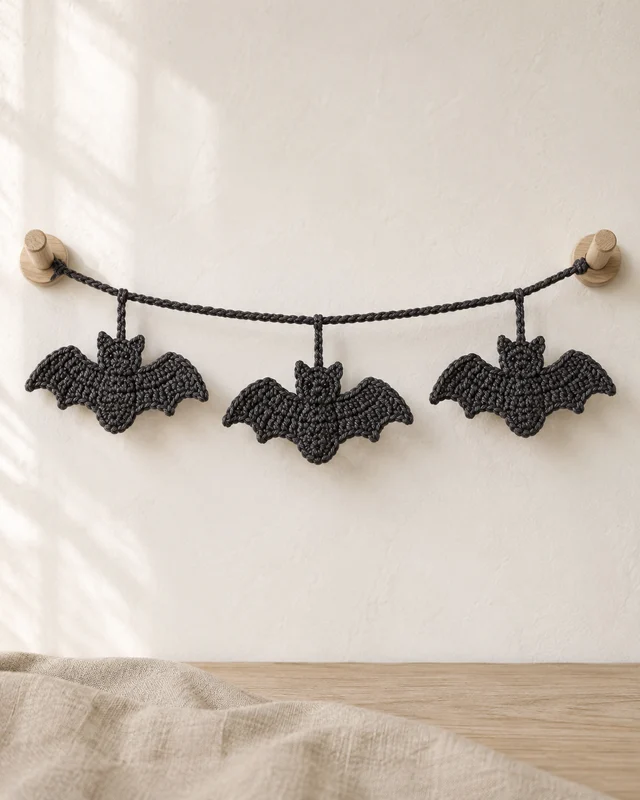
A trio of bats turns wing widths and spacing into the main composition. Complete the motifs before choosing the gaps so their real dimensions guide the row. Keep attachments short and supported at appropriate points. A cord suitable for one small flat piece is not automatically suitable for a longer assembled strand, so assess the actual garland and its end mounts as a complete display.
13. Padded small bat

A padded bat uses a closed body and flatter wings with different fabric jobs. Follow a complete construction for their connection and keep any filling appropriately contained. Stitched details can keep the face restrained without separate decorative hardware. The finished object is a display concept; its soft appearance does not establish toy suitability or prove that a narrow wing joint will withstand repeated pulling.
14. Bat bag patch
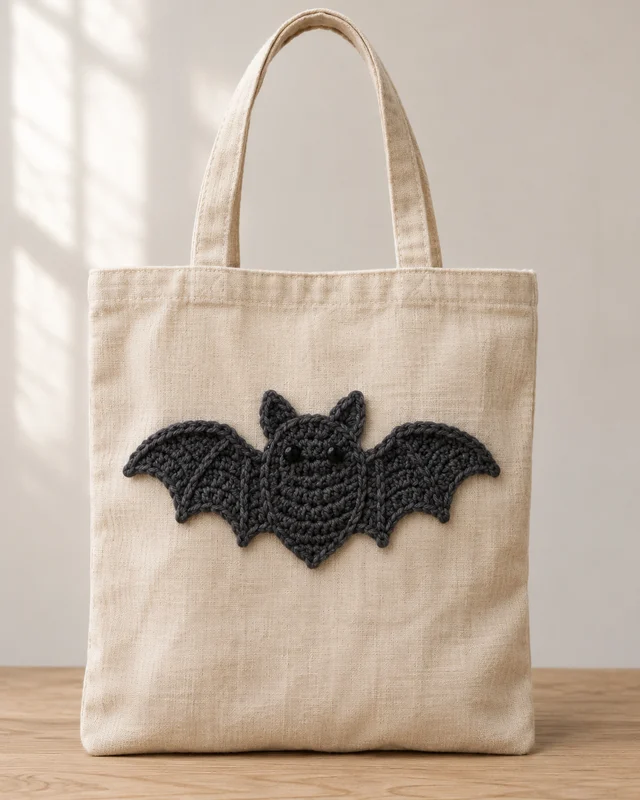
A flat bat patch can sit on a tote where the wings remain visible during ordinary use. Compare the finished motif with the bag laid naturally rather than stretched flat to a different width. Support the patch perimeter through an appropriate attachment. The bag’s handles, seams and capacity remain independent decisions; an added silhouette is decoration rather than a repair for a worn carrying surface.
15. Bat-and-moon duo
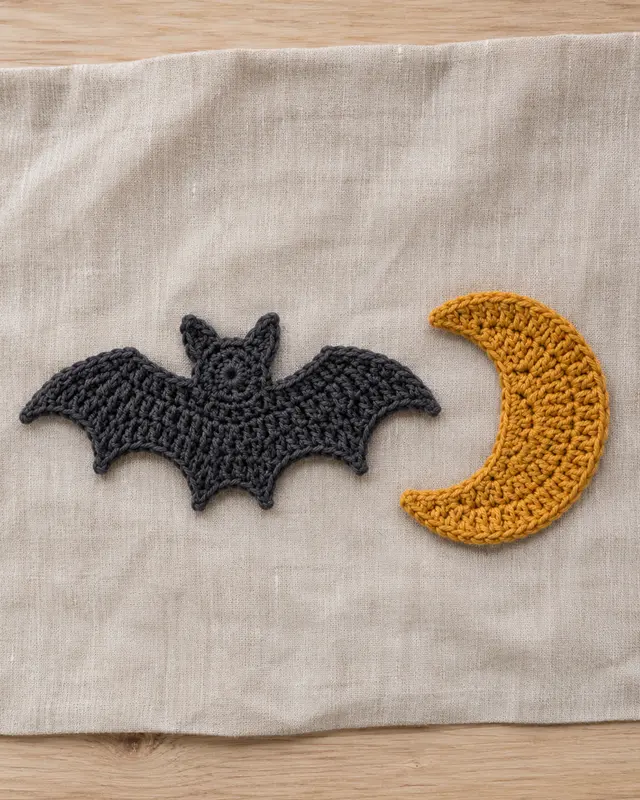
A bat beside a crescent moon lets a warm background motif frame a darker silhouette. Finish the two shapes separately and try their spacing at the intended viewing distance. Their different widths may call for overlapping only in the composition, not in the actual attachment. Plan a suitable support for each piece, keeping the visible arrangement distinct from assumptions about hidden joins or hanging strength.
16. Corner bat hanging
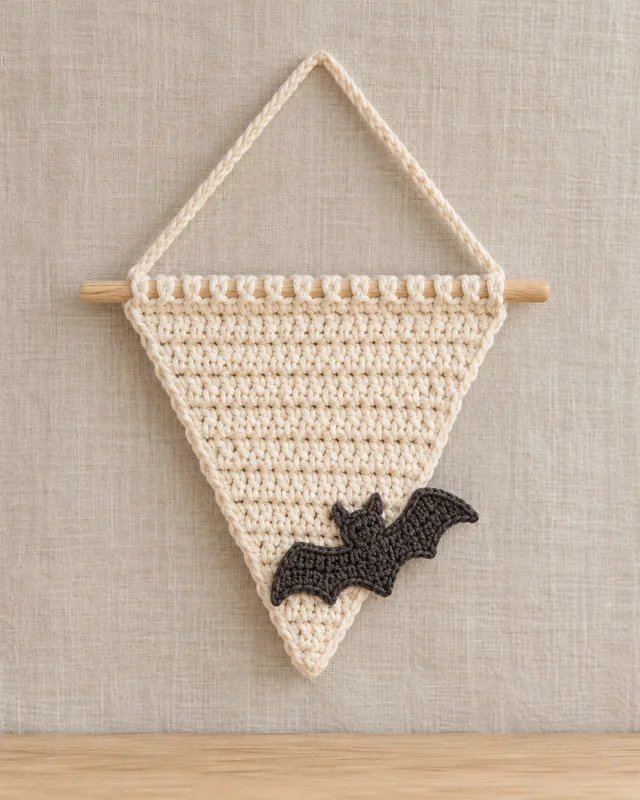
A corner bat can give a small triangular banner an off-center focal point. Leave enough plain fabric around the patch that the triangle’s outer shape still reads clearly. The upper tabs need to support the complete banner evenly. Position and attach the finished bat after the receiving panel has settled, rather than using the patch to cover a pulling corner or an uneven side edge.
17. Mini bat pair

A pair in different sizes shows how the same outline changes its role in a display. Use complete designs or supported size variations rather than shrinking counts by guesswork. Compare both finished motifs together before choosing where their tips will point. Keeping the color constant makes the scale difference easy to see, while separate storage support can prevent one small wing from becoming creased beneath the other.
Turn over the actual finished display
Inspect the perimeter, reverse, joins and ordinary hanging angle before adding it to the room. Keep the real support method and compatible care in the record. The seasonal storage guide helps keep broad wings supported when the decoration is removed rather than folding them tightly beneath another piece.
- How to Choose Fall Crochet Colors and Textures
Choose fall crochet colors and textures through a room anchor, clear palette roles, small comparable samples and an actual material record.
- 13 Cute Crochet Halloween Gift and Treat-Bag Ideas
Compare 13 crochet Halloween gift and treat-bag ideas, with practical notes on openings, lining, separate packaging and reusable presentation.
- 23 Crochet Autumn Table Decor Ideas
Find 23 crochet autumn table decor ideas across runners, mats, napkin bands and small containers, with flatness, fit and care in view.
- 19 Crochet Witch Hat Design Ideas
Browse 19 crochet witch hat design ideas for decorative displays, comparing cone shapes, brim footprints, bands and flat motif alternatives.
- 15 Crochet Fall Garland Ideas for Mantels
Explore 15 crochet fall garland ideas for mantels, with notes on leaf shapes, geometric motifs, color rhythm, connections and real display space.
- 21 Crochet Ghost Decoration Inspirations
Explore 21 crochet ghost decoration inspirations by outline, display method, backing, attachment and useful seasonal scale.
- 25 Crochet Pumpkin Decor Ideas for Fall
Compare 25 crochet pumpkin decor ideas, from shaped shelf pieces to flat motifs, small containers and autumn display pairings.
- Fall and Halloween Crochet Ideas for Cozy Seasonal Decor
Plan fall and Halloween crochet by room, object role and palette, with routes to seven idea collections and practical color and storage guides.
- How to Plan and Store Seasonal Crochet Decorations
Plan and store seasonal crochet decorations with clear removal, compatible care, supported shapes, identified parts and a useful next-season inventory.