In this article
A crochet stitch name tells you something about how a fabric is made, but it does not tell you everything about how the finished piece will feel. Yarn, hook size, tension and the placement of each stitch all contribute. Before choosing an elaborate texture, it helps to recognise the basic vocabulary and decide what you want the fabric to do.
This guide is a map of essential stitches and the techniques that build on them. Use it to select a starting lesson, compare dense and open fabrics, and plan a small sample before committing to a larger project. Start with a linked lesson to learn the movements, then try a swatch before choosing a larger project.
What belongs in Stitches & Techniques?
This topic covers more than a list of stitch names. It includes recognising loops, reading abbreviations, understanding repeats, keeping edges even and selecting a finishing method. Those skills connect the stitch you make with the shape you want. A decorative surface is much easier to manage when you can already find the next stitch and check a row count.
Think of three separate decisions: the stitch or repeat, the place where the hook enters and the shape of the project. Changing the insertion point can change a fabric even when the named stitch stays the same. Working in rounds also introduces decisions that are absent from a flat practice rectangle. Learn one change at a time so you can identify its effect.
Essential stitch names: check the terminology first
CrochetNyla uses US terminology. English-language patterns may instead use UK terms, and the same word can describe a different stitch. In particular, US double crochet is UK treble crochet. Check the terminology statement and any special-stitch key before following a pattern.
| US term | Common US abbreviation | UK equivalent |
|---|---|---|
| Chain | ch | Chain |
| Slip stitch | sl st | Slip stitch |
| Single crochet | sc | Double crochet |
| Half double crochet | hdc | Half treble crochet |
| Double crochet | dc | Treble crochet |
| Treble crochet | tr | Double treble crochet |
The naming equivalents above are supported by the Craft Yarn Council’s Standards & Guidelines reference. They are a reading aid, not instructions for forming the stitches. Keep the terminology of one pattern consistent rather than translating a few words and leaving the rest unchanged.
Choose a stitch family by project and current skill
| Your aim | A useful direction to investigate | What to check in a sample |
|---|---|---|
| Practise finding the next stitch | A basic stitch repeated in flat rows | Can you identify both edges and keep the stated count? |
| Make a fabric with fewer gaps | A closely worked fabric suited to the project | Does the sample remain comfortable and flexible enough for its use? |
| Explore drape or open spaces | A pattern that deliberately combines taller stitches or chain spaces | Are the holes, drape and finished dimensions appropriate? |
| Add ridges or surface detail | A repeat that changes insertion points or combines stitches | Can you locate the repeat after turning the work? |
| Finish a simple edge | A border written for your shape and stitch count | Does it lie flat around straight sections and corners? |
These are selection questions rather than promises about a particular stitch. The same repeat can feel stiff in one yarn and soft in another. A sample lets you compare the fabric you actually make with the object you have in mind. For a first attempt, choose clear row-by-row instructions instead of a texture identified only from a photograph.
Start here: tutorials before texture collections
- Find the basic reading key. Check terms such as chain, stitch, row, round, repeat and skip in the pattern you are using.
- Follow a single-stitch lesson. Concentrate on where to insert the hook and how the stitch is completed. Do not change yarn and hook halfway through the sample.
- Learn how that lesson treats its edges. Note the turning-chain rule and the location of the first and final stitch.
- Repeat and check. Count each row and compare the count with the instructions before adding another.
- Try one new feature. A different insertion point, a small repeated combination or a simple edging gives you one change to evaluate.
Use the Stitches & Techniques archive for published technique lessons and collections. A collection is helpful when you want to compare looks; a tutorial needs to explain the repeat, turning instructions and checkpoints. If those foundations are new, begin with Beginner Projects and make a small flat piece first.
- How to Fasten Off, Weave in Ends and Fix Uneven Edges
Learn to fasten off, weave in crochet ends and diagnose uneven edges, with clear checks before cutting, trimming or adding a border.
- 23 Decorative Crochet Stitch Combinations for Throws
Find 23 crochet stitch combinations for throws, pairing plain fabric with ribs, cables, bobbles, mesh and motifs while planning stable transitions.
- 19 Openwork Crochet Stitch Ideas for Lightweight Projects
Browse 19 openwork crochet ideas, from mesh and V stitches to loop lace, with practical notes on tools, openings, shaping and finished drape.
- 13 Dense Crochet Stitches for Bags and Home Decor
Compare 13 compact crochet fabric options for bags and home decor, with practical checks for gaps, flexibility, seams, lining and construction.
- 15 Crochet Stitches for Cozy Winter Projects
Explore 15 crochet stitches and textures for winter projects, with practical comparisons of relief, drape, bulk, repeat reading and sample checks.
- 21 Crochet Border and Edging Ideas for Blankets
Compare 21 crochet blanket borders, from narrow frames to shells, picots and sampler bands, with useful checks for corners, spacing and flatness.
- 25 Crochet Stitches and Texture Ideas to Explore
For a quiet surface, compare the basic rows and linen direction. For relief, look at ribs and raised blocks. For open space, investigate V-stitch and shell repeats.
- 17 Crochet Stitches for Beginners to Practice
Begin with a chain and plain single crochet rows. Compare half double crochet next. Save grouped repeats and openwork until keeping a steady count feels comfortable.
- Single and Half Double Crochet: Step-by-Step Lessons
Learn the difference between US single and half double crochet, with small-row practice, loop-count checkpoints and clear edge-counting conventions.
Reading a repeat without losing your place
Before starting, identify the smallest group of instructions that repeats and where the repeat stops. Patterns may use brackets, parentheses or asterisks, so read the author’s notes. Mark the end of a repeat on a practice row if it helps you check your position. Do not assume that every special symbol has the same meaning in every publication.
Some repeats need a specific foundation count, sometimes described as a multiple plus extra chains. Those extra chains may serve an edge or turning instruction. Use the formula in the actual pattern, then check the first completed row before deciding the repeat fits. Adding one chain to a guessed count can shift every later row.
Yarn, hooks and a comparison sample
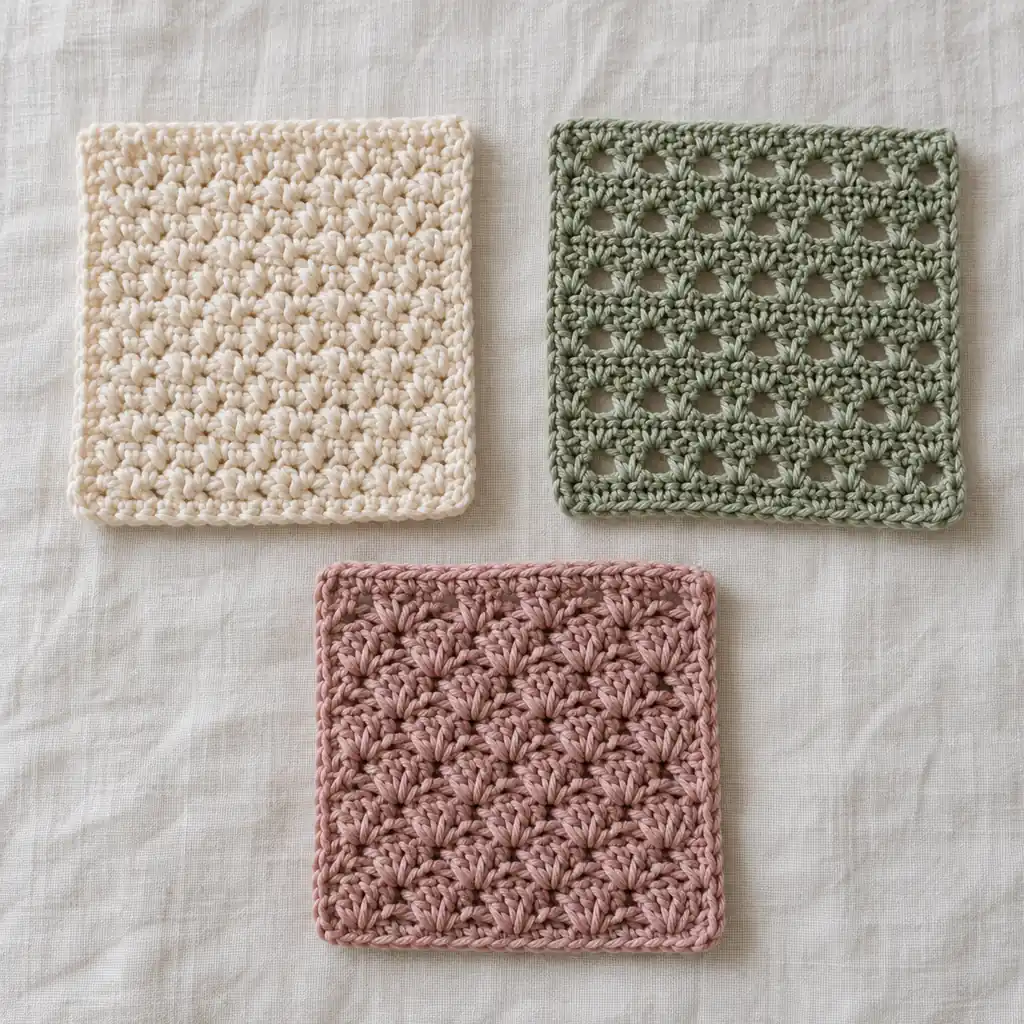
A smooth, reasonably light-coloured yarn makes it easier to inspect the top loops and edges. Keep the same yarn and hook when comparing two practice fabrics, then note what changed. If the materials change as well, it becomes harder to tell whether the stitch choice or the yarn caused the difference.
Choose the size in millimetres when comparing hooks. The Craft Yarn Council explains in its hook sizing guidance that letters and numbers can vary between manufacturers. For a project with a stated gauge, make and measure a suitable swatch rather than relying on the hook label alone.
- Record the yarn name, fibre and weight category; keep the label.
- Record the hook size in millimetres and the terminology of the instructions.
- Write down the sample’s stitch and row counts before measuring it.
- Follow the project’s washing or blocking instructions when the gauge calls for a finished sample.
- Compare width, height, drape and the spaces between stitches, not just the appearance of one row.
When you need to change materials, browse Yarn, Hooks & Supplies. When the sample is for a particular object, read that pattern’s material requirements before buying a full quantity. A beautiful texture is only useful if its fabric suits the project.
Questions and common stitch mistakes
Why do two examples of the same stitch look different?
First compare the yarn, hook, tension and insertion point. Then check whether one example uses a repeated combination rather than a single stitch on every row. Lighting can also hide or emphasise texture. Judge the instructions and a sample instead of expecting an image alone to identify construction.
Why are the edges leaning even though I recognise the stitch?
Check the count and turning instructions. An extra edge stitch, a missed final stitch or a shifted repeat can change the shape. Review the earliest row where the edge begins to move. If counts stay correct, inspect whether the pattern intentionally offsets its stitches or whether your tension has changed.
Can I swap single crochet for double crochet in a pattern?
A direct swap can change height, width, drape and the way shaping works. Use a design written for the stitch you want, or treat the change as a new design that requires sampling and recalculation. For a fitted item, a casual stitch substitution is especially likely to alter the result.
Is a textured stitch always more difficult?
A texture may repeat only a short sequence, while a plain-looking design may have demanding shaping. Read the whole set of skills rather than judging the surface. If a repeat is new, practise it on a small sample until you can find your place after putting the work down.
How do I choose a border?
Look for instructions that explain how the border attaches to the existing fabric and handles corners. The number of stitches along an edge affects whether the border lies flat. Try it on a sample first and follow the pattern’s own adjustments rather than forcing a decorative repeat into any available count.
More guides and a useful next step
Choose one familiar stitch and one new feature to compare in small samples. Keep notes so the useful result can be repeated. Continue through Stitches & Techniques for the next lesson, use Beginner Projects when you want a manageable object to practise on, and explore Crochet Patterns when you are ready to apply that fabric to a project.