In this article
A crochet hook is more than the size printed on its handle. The head, throat, working shaft and grip each give you something different to compare, while the actual yarn and stitch determine how useful that comparison is. Looking at one feature at a time is easier than buying a whole set because one shape is described as universally comfortable.
These fifteen features form an original comparison checklist, not a product ranking, medical claim or sizing chart. Illustrations show general tool concepts and cannot establish dimensions, smoothness or durability. Check the actual maker’s information, use the appropriate metric reference and work a modest comparable sample. Keep the successful tool with the project record instead of identifying it later from handle color or a photograph.
1. Head profile
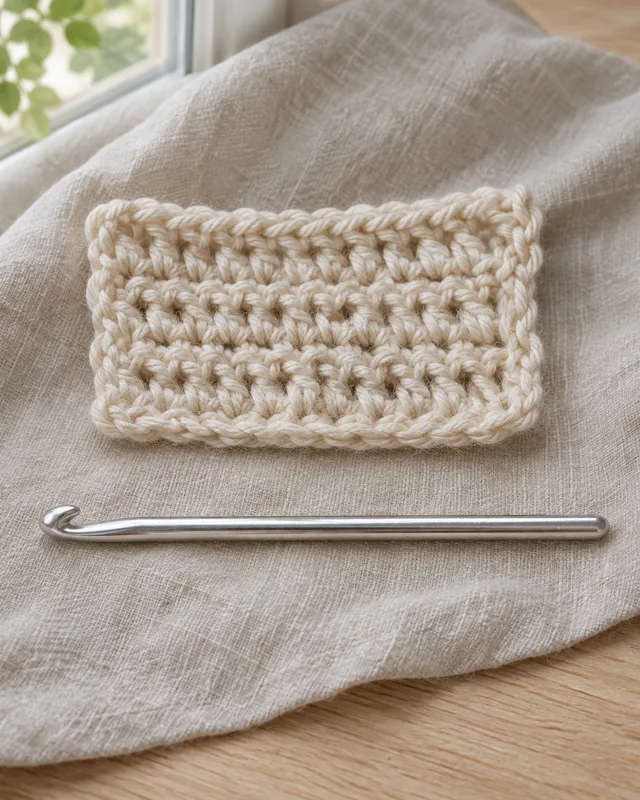
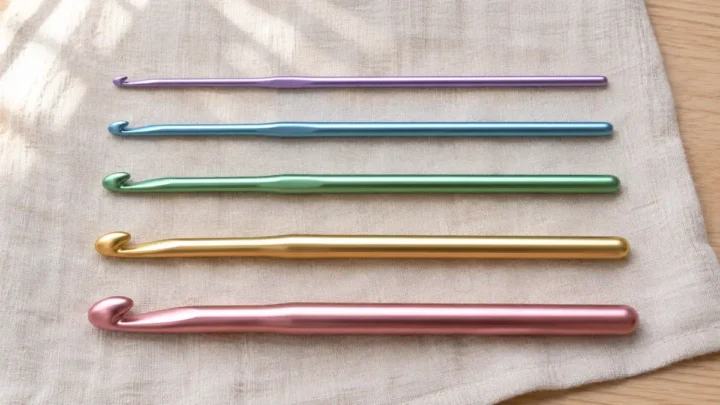
Start by looking at the head from the side, where the tip and the space below it can be compared clearly. Different profiles may feel different when entering a stitch or drawing a loop through. Try the actual hook with the intended yarn rather than choosing a universal best outline. Keep the shaft size and stitch sample consistent so the comparison is about the head, not several changed variables.
2. Tip roundness

A rounded tip and a more pointed-looking tip can meet yarn differently, but the photograph cannot show their actual edge finish. Inspect the real tool for roughness and try a small ordinary stitch sequence. Notice whether the yarn separates or catches during your own handling. A good comparison uses the same yarn and intended stitch, with the result judged by the fabric and control rather than appearance alone.
3. Throat shape

The throat beneath the head is where yarn is caught before being drawn through a loop. Compare its shape on the actual tools without assuming a deeper-looking opening is always better. Work several representative stitches and notice how the hook enters, catches and releases the yarn. Keep the trial modest and controlled, because a close photograph does not establish smoothness or predict your particular working motion.
4. Working shaft length

Exposed working length matters when a stitch holds several loops or your grip sits close to the head. Compare the usable shaft before it meets the handle, not only the hook’s total length. Try the actual technique called for by the project. A broad handle can be comfortable for one person while leaving insufficient working room for a different stitch, so the complete tool and task need to be considered together.
5. Shaft diameter reference

Use the actual metric size supplied by the tool maker and the pattern as the starting reference. The handle’s width and a photograph’s apparent scale do not identify the working shaft diameter. Keep a record of the specific hook used for a successful sample. Letter and number labels can differ, and steel hook sizing needs its own reference rather than an assumed extension of a regular-hook sequence.
Compare one variable with the same small task
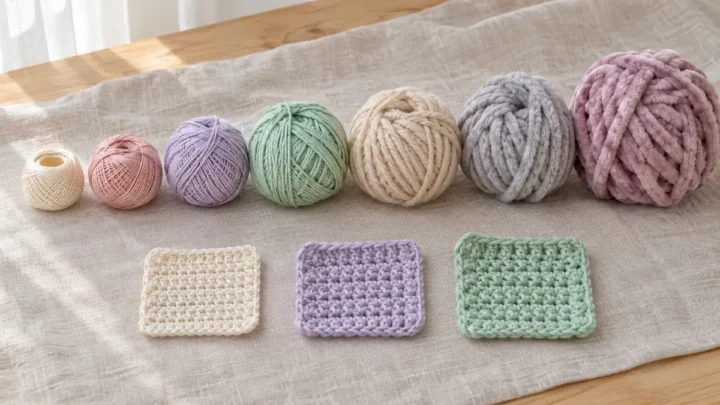
Use the actual intended yarn and stitch, holding the relevant size and sample method comparable. Notice entering, catching and releasing the yarn rather than choosing a best shape from an illustration. The yarn-and-hook hub connects that comparison with the complete project and finished fabric.
Compare the part of the tool that meets the hand
6. Thumb-rest position

A thumb rest can give one grip a clear reference point while feeling unnecessary to another maker. Compare where it sits relative to the head and your ordinary hand position. Try a small sample without forcing a new grip just to match the tool’s shape. The feature is worth noticing as part of the whole hook, with no claim that a particular flattened area guarantees comfort or prevents pain.
7. Handle width

A wider handle changes the part of the tool held in the hand, not necessarily its working shaft size. Compare tools with the actual same metric working size if you want to isolate that difference. Notice clearance for your fingers and the stitches you make. A large grip is not automatically more suitable for every hand or project, so a controlled sample is more useful than an ergonomic label alone.
8. Handle cross-section

Round and flattened handles can settle differently in an ordinary grip. Look at the complete cross-section and try the hook through a representative stitch sequence rather than judging only the top face. Keep the yarn and sample comparable. The useful question is whether the tool rotates and rests as you want during that task, without promising a medical benefit or a universal improvement from one particular handle shape.
9. Overall handle length

Overall handle length can matter when the end meets the palm or when a tool must fit a travel roll. Compare the real length alongside the working shaft and your normal grip position. A longer body is a feature rather than an automatic upgrade. Try the actual hook before choosing several sizes, and check that any storage arrangement protects the head without bending or pressing the handle.
10. Surface finish

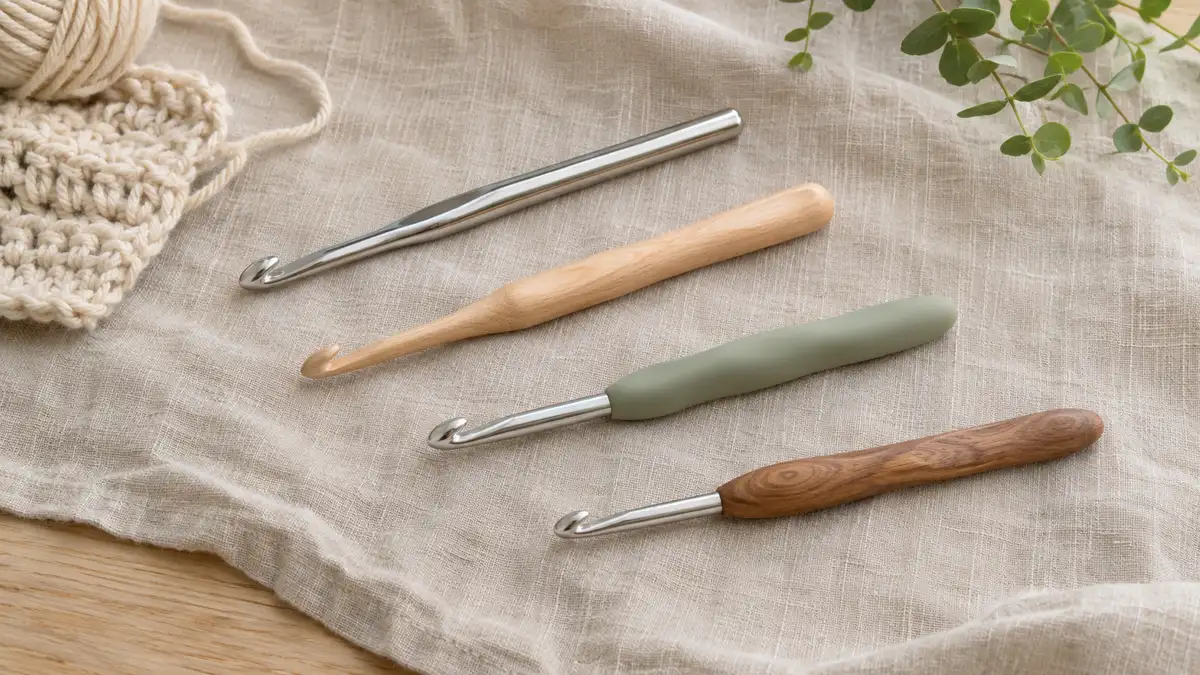
Material and surface finish can change how yarn moves across a tool, but a shiny photograph cannot establish the actual feel. Inspect for rough areas and work a small sample with the intended yarn. Compare the resulting stitches as well as the motion. Metal, wood and bamboo versions should be judged as real finished tools, with their makers’ care instructions kept separate from assumptions based on material names alone.
11. Handle texture

A textured handle can offer a different contact surface from a smooth one. Check the actual texture depth and where it meets your fingers during ordinary work. Avoid assuming more texture always means better control. A short comparable trial can show whether the ridges suit your grip, while the tool’s working head and shaft still need to match the pattern and produce the intended finished fabric.
12. Tip-to-handle junction

The junction between a metal shaft and a separate handle deserves a close look before purchase or use. Inspect the actual connection for movement, gaps or rough edges, following the maker’s guidance rather than attempting an improvised repair. Try ordinary stitches with the intended yarn. A neat-looking join in an illustration cannot prove durability, and a decorative handle should not hide a damaged or unstable working tool.
Keep comfort claims specific to the real trial
A broad handle or flattened rest can feel different without being a universal improvement or a medical benefit. Inspect the actual tool and follow its maker’s information. Stop treating a product shape or label as evidence that it will suit every grip, stitch or working motion.
13. Size identification habit

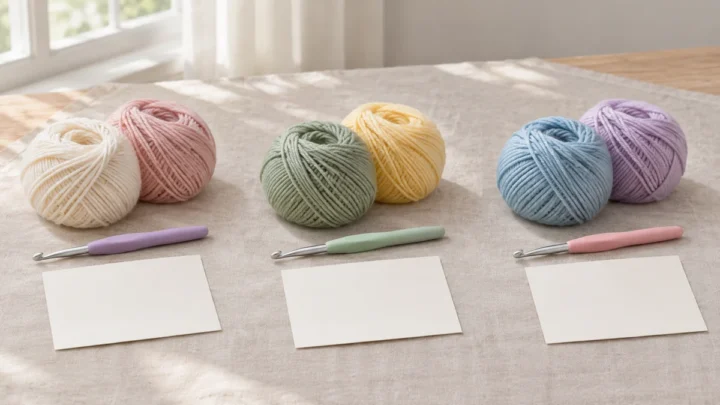
Readable size information is useful only when it can be connected to the hook you actually used. Keep its packaging or make a project note with the maker’s metric designation, especially if the marking is small or wears away. This illustration uses blank materials rather than a size chart. Confirm a doubtful tool through an appropriate manufacturer reference instead of guessing from handle color or memory.
14. Specialty working length

Some techniques need a different working length or construction from an ordinary single-ended hook. A Tunisian project may hold many loops and require a suitable long or cabled tool specified by its instructions. Read that requirement before buying a set. The longer example here identifies a feature to compare; it does not mean every project called crochet can be worked interchangeably on any hook shape or length.
15. Protective storage fit

A protective roll should fit the actual tools without pressing their heads into a seam or forcing the handles into narrow slots. Check access as well as containment, leaving each hook easy to identify and remove. Keep the roll and tool care compatible. A well-organized set can help preserve a successful project reference, but the storage arrangement does not determine the correct hook size or replace a finished gauge sample.
Save the hook reference with the finished sample
The Craft Yarn Council hook reference helps identify size vocabulary. Keep the actual maker’s metric designation and the specific successful tool in the project record. A chart, handle color or photograph cannot replace a representative finished sample, and specialty techniques may require a different working construction.
- Yarn Weights Explained: Match Yarn to Project and Gauge
Understand yarn-weight categories 0–7, separate package mass from thickness and compare actual yarn, hook and finished gauge before substituting.
- 15 Crochet Starter Kit Ideas for Different Project Goals
Plan 15 crochet starter kits around specific project goals, with notes on complete patterns, suitable yarn, hook choice and finishing needs.
- Crochet Hook Size Chart: US, Metric and UK Reference
Compare selected crochet hook sizes in metric, US and UK references, with source notes, steel-hook distinctions and practical gauge guidance.
- 21 Useful Crochet Accessories for Organized Projects
Find 21 useful crochet accessories for organized projects, with task-specific notes on markers, finishing tools, records and contained storage.
- 11 Crochet Tools That Help with Stitch Counting
Compare 11 crochet counting aids, from start markers to manual counters and line guides, with clear routines for recording and verifying progress.
- 19 Crochet Storage Ideas for Yarn and Hooks
Explore 19 crochet storage ideas for yarn and hooks, from active-project trays to sample files, with practical access and material-care notes.
- 17 Yarn Types for Crochet Blankets and Throws
Compare 17 yarn types for crochet blankets and throws through actual labels, construction, care and finished fabric samples.
- 13 Yarn Choices for Crochet Bags and Accessories
Compare 13 yarn choices for crochet bags and accessories, including cords, ribbons and blends, with notes on gauge, joins and complete construction.
- Crochet Yarn and Hook Guide for Different Project Types
Compare crochet yarn and hooks by project type, actual labels, metric references and complete fabric samples, with useful tools and reading routes.