In this article
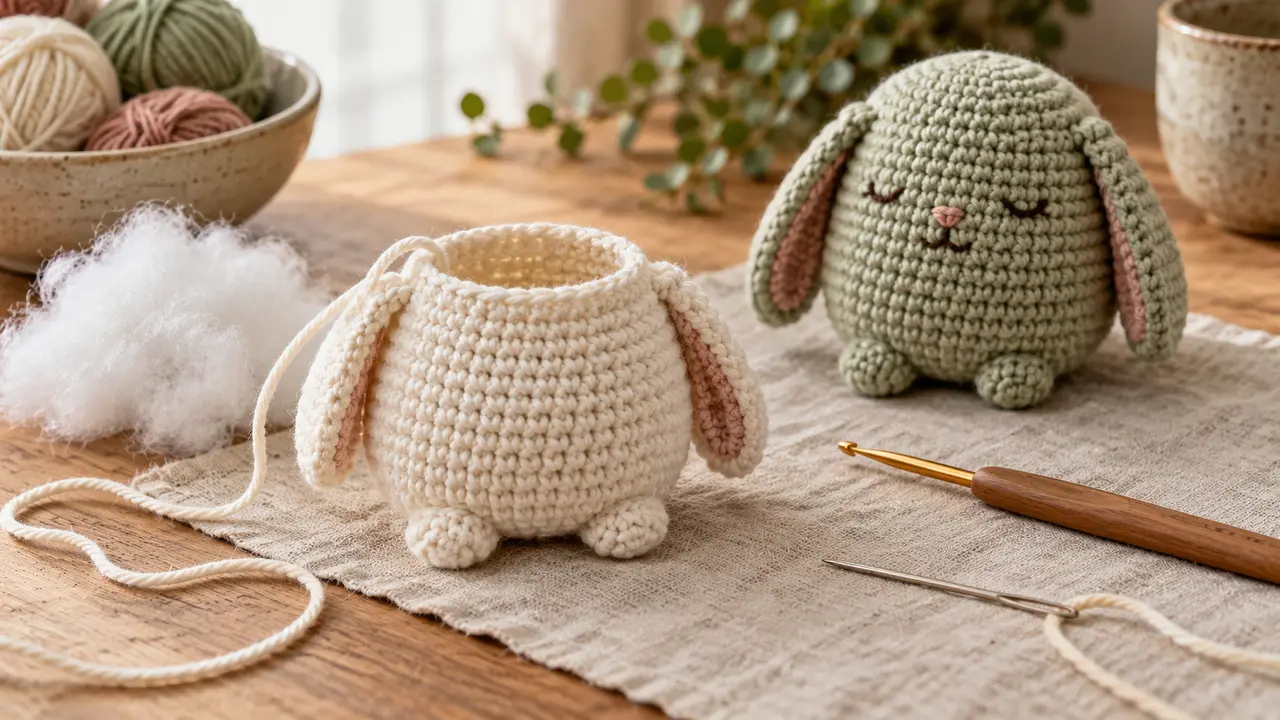
Even stuffing helps a crochet animal keep the shape designed into its stitches. It cannot correct a missing round, a different gauge or a seam joined in the wrong place. Start by checking the crocheted pieces, then add the filling gradually and inspect the shape while you can still adjust it.
This guide offers a planning and inspection routine for following a complete amigurumi pattern. It does not replace the pattern’s shaping, filling amounts or assembly order. A round body, narrow limb and flat ear may need different treatment, so resist the idea that every part should feel equally firm. Decide on the intended use before choosing materials, and keep any supplied yarn and filling care information with the project.
Before the first round: mark the filling points
Mark which pieces are filled, which remain flat and which need an unfilled section near a join. Note the points where the pattern tells you to add filling before an opening becomes too small. Some components are attached during the rounds, while others are sewn after closure. That order affects your access to the inside and the way the parts can be secured.
Gather the specified filling, a suitable yarn needle and the tools named in the instructions. Keep loose fiberfill contained while you work and tidy it away between sessions. Avoid adding unplanned pellets, wire, magnets or other weighting materials to solve a shaping problem; those changes introduce a different construction that needs its own appropriate design.
Inspect the empty shape before reaching for fiberfill
Count the rounds and stitches where practical, compare paired parts and look for unexpected gaps. Check that yarn ends are handled as the pattern directs. If the empty piece already leans or has a missing section, correct that before filling. A larger amount of fiberfill can make a problem more visible by stretching the surrounding fabric.
Use the actual yarn, hook and gauge information in the pattern. The Craft Yarn Council yarn categories help identify a materials category, but a category alone does not establish a particular stuffed fabric’s density. Check your own sample rather than substituting on appearance alone.
While the opening is wide: distribute small portions
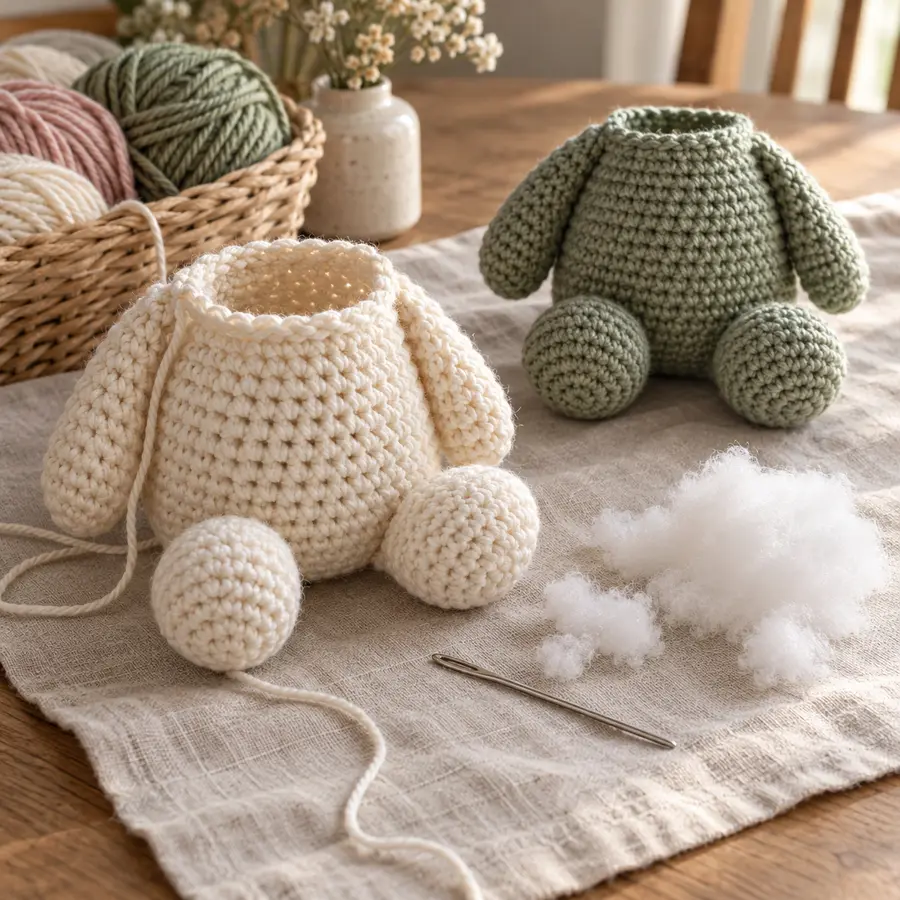
Separate a modest amount of filling rather than pushing one large compressed lump into the center. Place it into the areas the pattern tells you to fill, then add more in stages. Check the outline from the front, side and underside while the opening is accessible. The objective is the designed contour, not the greatest firmness you can force into the piece.
Pause before closing to feel for hollow areas or hard clumps. Reposition the filling gently instead of pulling aggressively on the crochet surface. If white filling becomes visible through enlarged gaps, adding more will not solve it. Remove some, check the stitch count and fabric, and return to the pattern’s recommended materials and gauge before deciding what needs to change.
For another explanation of distributing small portions and varying firmness by component, see Supergurumi’s stuffing tutorial. Keep your own pattern’s filling and assembly directions as the instructions for the actual project.
Flexible ears and narrow limbs need their own plan
A narrow leg or tail may be hard to reach near its closed end. Follow the pattern’s timing so you add any required filling before access is lost. Use only appropriate blunt tools specified or compatible with the instructions, and keep them from piercing or stretching the stitches. Tiny pieces can take patient work even when the main body is simple.
Flat ears, flippers or folded upper limb sections may intentionally remain empty. Filling them like the body can stop them hanging or bending as intended. Compare the written directions for each component. If the design uses one part to lie against another, check that relationship before assuming a fuller shape would look better.
Pause with the parts side by side
Place ears, arms, legs or flippers next to each other and compare their finished dimensions and orientation. Matching stitch counts do not guarantee matching pieces if the tension or filling changed. Inspect their curve as well as length. Solve a noticeable mismatch while both parts remain separate instead of sewing one in place and trying to make the other look the same afterward.
Use the pattern’s placement guidance and mark temporary positions safely. Check the body from more than one angle before securing the joins. Keep any temporary pins or markers accounted for and remove them when their job is done. A front-facing picture can hide a tilted seam or an attachment that sits too far forward on one side.
At the last opening: close, then check the joins
Before the last closure, inspect the inside access, remaining yarn ends and filling distribution. Follow the actual closing method and leave the yarn length it requires. Pulling very tightly on the final opening can distort nearby stitches; forcing a knot into the center is not a substitute for the specified finish. Check the whole contour again after the seam is secure.
Attach embroidery and separate components in the planned order. Keep facial stitches short and secure rather than leaving long loops. For a child’s toy, assess the complete design, materials, attachments and intended recipient; one feature such as stitched eyes does not establish suitability. A decorative figure should be presented for that purpose rather than assumed to be a tested toy.
Troubleshoot the cause before adding more filling
- Lumps: reopen while possible and redistribute small portions instead of compressing a larger mass into the center.
- Leaning body: check shaping and attachment placement before treating the base as a filling problem.
- Stiff floppy ears: check whether the pattern intended them to remain partly or entirely unfilled.
- Visible filling: inspect fabric density, stitch gaps and overfilling before continuing.
- Mismatched limbs: compare tension, dimensions, orientation and filling before reworking the join.
Three checks after assembly
Firmness follows the component
Follow the pattern and intended use. The target is a stable designed shape without stretched gaps or hard clumps. A neck, broad body and flexible limb may have different requirements.
The stitch structure still owns the shape
Filling can influence the contour, but it cannot replace correct increases, decreases, gauge or assembly. Inspect the empty piece and compare the instructions before trying to correct every problem with more filling.
Care belongs to the whole object
Use the care limits of all the actual materials and any pattern instructions. Yarn, filling, embroidery and added components may have different requirements. Do not assume a machine-washable yarn makes every assembled object machine-washable.
Choose a manageable next animal
Use the bunny shapes to compare ears and posture, the cat collection for resting and sitting silhouettes, or the frog and turtle ideas for limbs and shell construction. Choose one new demand, keep notes of the materials and inspect the shape before the last opening closes.
- How to Read Amigurumi Rounds and Track Stitch Counts
Read amigurumi rounds with clear repeat arithmetic, first-stitch markers, round records and practical checks for increases, decreases and count errors.
- 23 Mini Amigurumi Ideas for Keychains and Bag Charms
Browse 23 mini amigurumi keychain and bag charm ideas, from animals to fruit and simple shapes, with attachment and finishing notes for adult accessories.
- 13 Farm Animal Crochet Toy Inspirations
Compare 13 farm animal crochet toy inspirations by pose, silhouette, texture and assembly, with guidance on selecting an appropriate complete design.
- 15 Woodland Animal Amigurumi Ideas
Find 15 woodland animal amigurumi ideas distinguished by tails, ears, poses and texture, with practical notes on assembly and choosing a complete design.
- 17 Crochet Cat Plush Ideas for Cat Lovers
Compare 17 crochet cat plush ideas, including loaf cats, sleeping shapes, shelf-sitters and cushions, with useful guidance on faces, patches and assembly.
- 21 Crochet Frog and Turtle Character Ideas
Explore 21 crochet frog and turtle character ideas, from tiny pond frogs to domed-shell turtles, with practical notes on limbs, shells and assembly.
- 19 Crochet Bunny Ideas for Gifts and Decor
Explore 19 crochet bunny ideas, from pocket rabbits to floppy-ear figures and cushions, with practical notes on proportions, shaping and finishing.
- Amigurumi Animal Ideas for Crochet Makers
Explore amigurumi animal ideas by shape and skill. Compare simple bodies, assembly, stuffing and embroidered features before choosing your next crochet animal.
- 25 Cute Crochet Animal Ideas for Beginners
Browse 25 cute crochet animal ideas for beginners and next-step makers. Compare simple bodies, shaping, assembly and embroidered details before choosing a pattern.