In this article
A practice project is most useful when you know what you are trying to improve. A small square can reveal a changing row count; a narrow strip can help you resume work after a break; a simple join can show whether two individually neat pieces work together. The object is a place to observe a skill, not a test of how quickly you can finish.
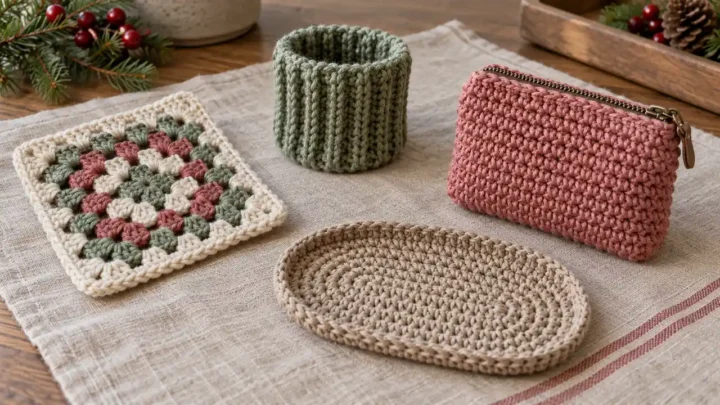
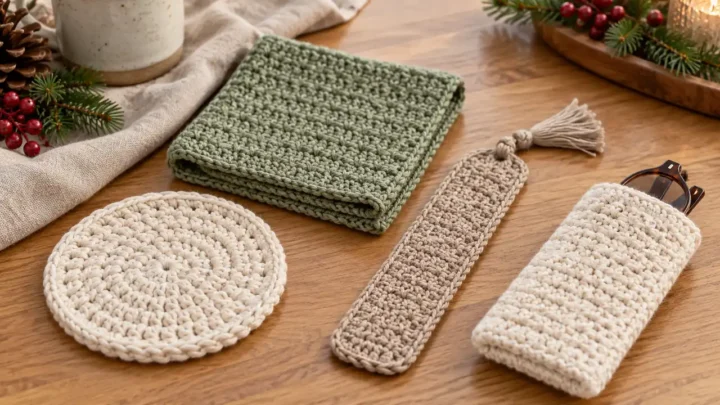
These seventeen ideas move from small flat samples toward basic shaping and assembly. Choose a complete pattern or suitable exercise for the actual stitches, and keep the first version easy to see. The pictures show possible forms rather than exact instructions. Work on one difficulty at a time, inspect a finished sample and use what it tells you to choose the next task.
Let one small result choose the next exercise
Pick the difficulty you can name: finding the row edge, counting through an interruption, shaping a corner or joining two pieces. Keep other variables familiar. After the exercise, decide what the sample shows before starting a larger version.
- Count and inspect before adding another decorative step.
- Keep the same materials while comparing two attempts.
- Choose a supported exercise rather than inventing stitch counts from a picture.
Steady the basic motions
1. Straight-row coaster
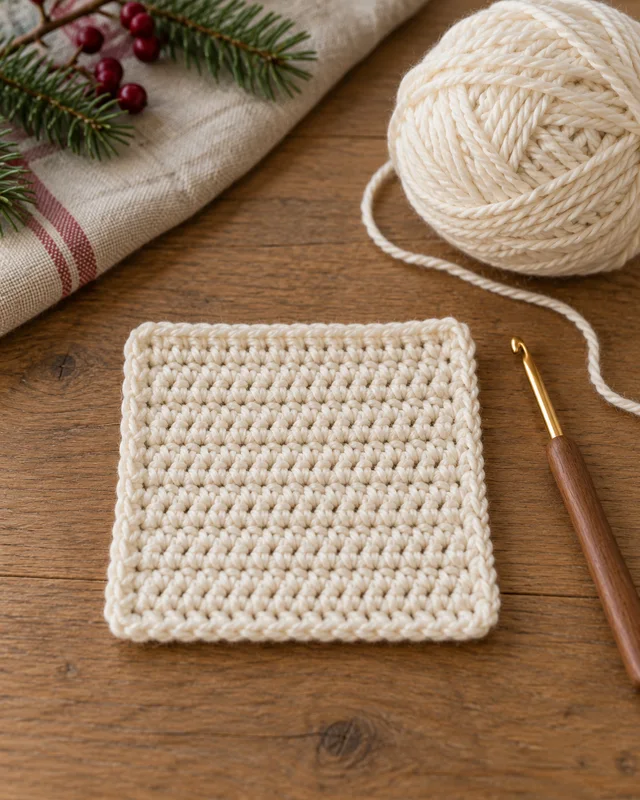
A small straight-row coaster gives you a short distance over which to notice an accidental increase or missed edge stitch. Mark the first and last stitches as your pattern directs, then compare the width after each row. The aim is a consistent rectangle before an elaborate border. Choose a plain visible yarn so you can examine the top loops without fighting a fuzzy surface.
2. Narrow counting strip
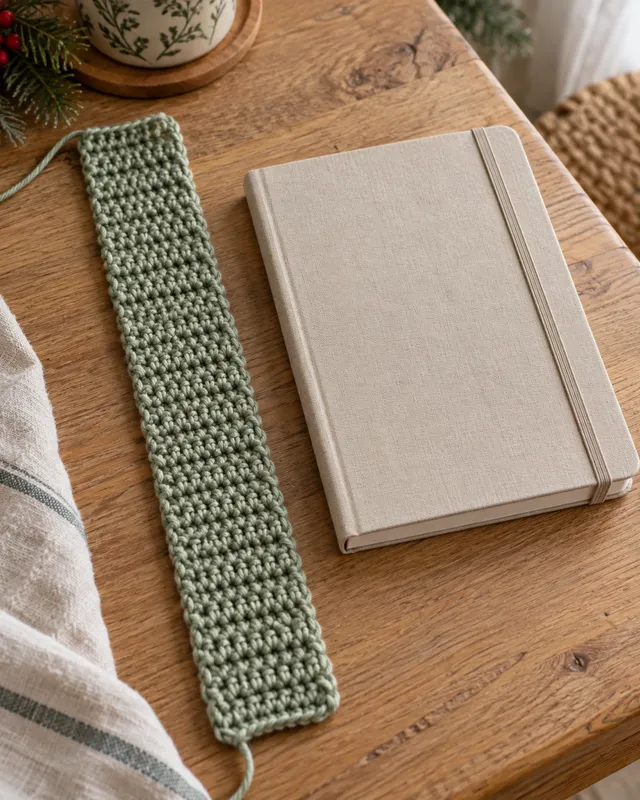
A narrow strip makes counting rows feel less like a large commitment. Keep a simple record of each completed row and compare it with the visible fabric before carrying on. This is useful when you tend to remember the number differently after an interruption. Stop at the length specified by a suitable practice pattern rather than turning the strip into an improvised fitted accessory.
3. Two-stitch sampler cloth

Two stitch textures in one cloth let you compare their height, density and edges using the same materials. Follow a sampler pattern that explains the transition instead of assuming both sections need an identical stitch count. Pause at the change and look at whether the width stays consistent. The contrast is a learning aid; it should not conceal an unresolved increase or decrease.
4. Turned-edge bookmark
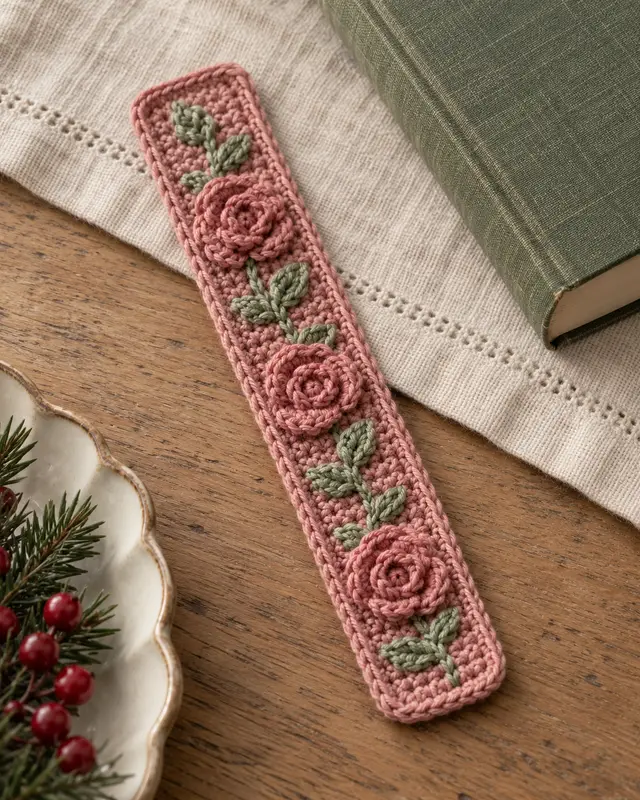
A narrow bookmark puts attention on the side edges and the finish at each end. Use a pattern that produces a genuinely thin fabric for the intended book. Check the last stitch of every row and inspect the corners before adding a border. The project is small enough to review closely, making it useful when your middle rows look steady but the outer edges keep changing.
5. Round-start coaster

A round coaster moves the practice from turning rows to following a circular repeat. Use the pattern’s starting method, marker position and increase schedule rather than a guessed rule from the photograph. After each round, lay the work down and check its outline. If it cups or ripples unexpectedly, compare the count and instructions before adding more rounds or trying to flatten it forcefully.
Watch corners, edges and changes
6. Corner-turning square
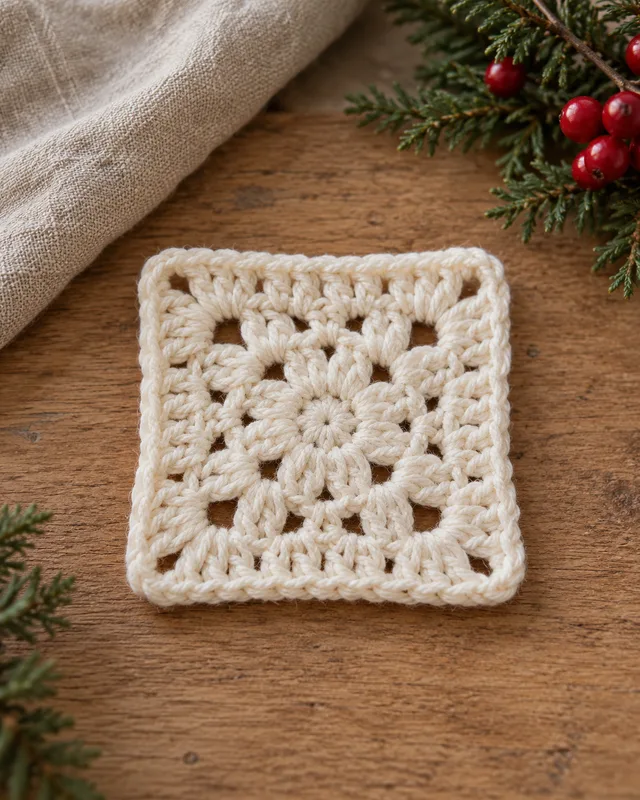
A center-out square makes four corners into clear counting landmarks. Check the instructions for each corner and the spaces between them, then compare all four sides at the end of the round. This is a useful way to see why an increase belongs in a particular position. A squared outline depends on the actual repeat; it is not created by stretching a round piece into corners.
7. Simple stripe swatch
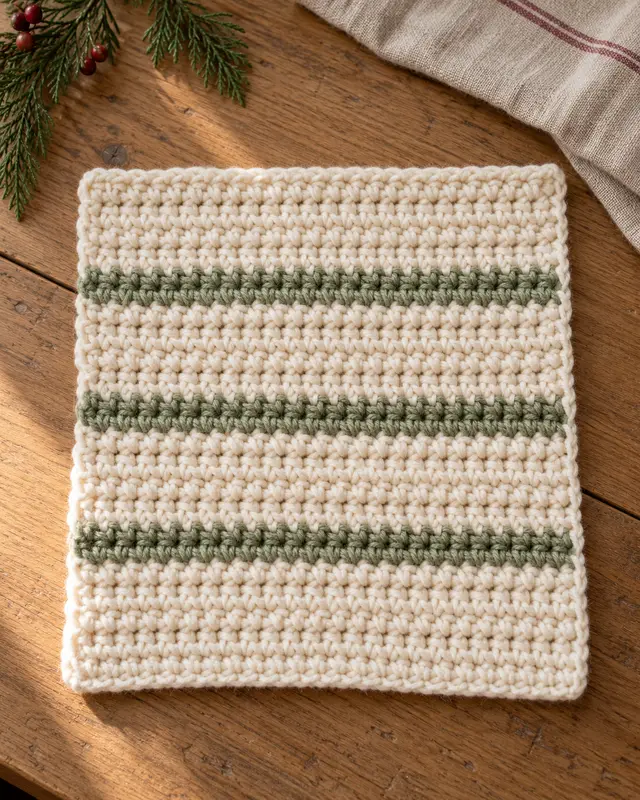
A simple striped sample gives color changes a small, inspectable setting. Keep the main stitch familiar and follow a pattern-supported way to introduce the new yarn. Look at the transition from both sides before making more bands. Record how you handled the ends, since tidy color placement and secure finishing are separate tasks that both affect the completed piece.
8. Joined two-panel sleeve
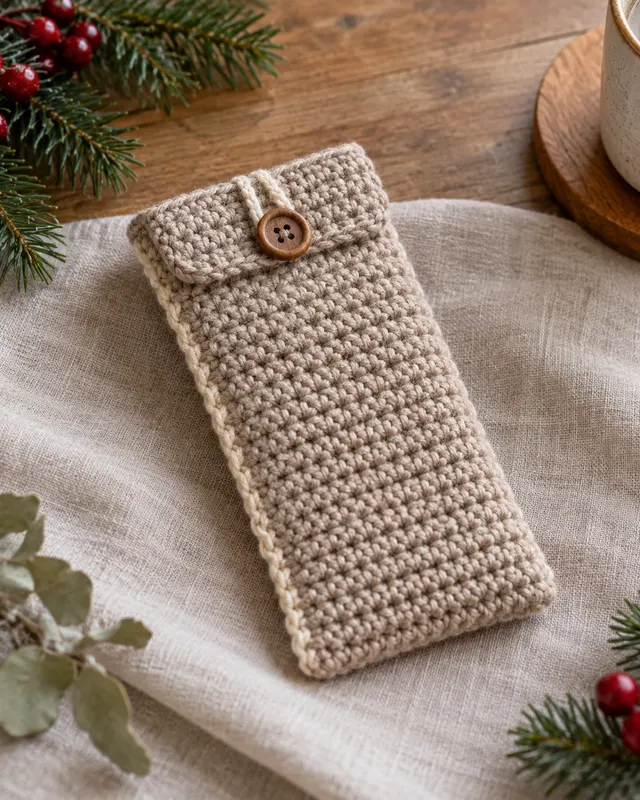
A two-panel sleeve adds a joining seam to familiar rectangles. Make the panels to the same finished measurements and test the intended object before closing the last edge. Work a short sample join first if the seam is new. The learning goal is even alignment without gathering, so avoid adding a flap or lining until the basic pair of panels fits together neatly.
9. Bordered practice square

A plain border gives you practice moving from straight sides into corners. Read the border’s stitch placement and corner instructions before beginning. Check each side as it is completed rather than leaving all assessment to the end. A border can frame a good practice square, but it should not be used to hide a changing row count or force an uneven center into shape.
10. Ribbed rectangular band

A ribbed band introduces deliberate changes in stitch placement while keeping a rectangular outline. Use instructions that identify the required loops or posts clearly, and practice the repeat over a small width. Compare the reverse side and edge before increasing the length. This is a study of a particular crochet texture, not a reason to identify a stitch solely from its ribbed appearance in a picture.
11. Small mesh sample

A small mesh sample makes the spaces as important as the stitches. Mark the repeat boundaries and count the required chains or stitches as the pattern specifies. Compare the opening sizes before continuing. If a space has disappeared or grown, correct it in that row rather than hoping a border will make the grid regular later. Keep the first sample small enough to inspect without losing your place.
12. Basic triangle study

A simple triangle helps you see the effect of planned increases or decreases on an edge. Choose a practice pattern that states where the shaping happens and how the turning chain is treated. Lay the work flat after a few rows and compare the slopes. The learning target is a controlled outline, so keep color changes and decorative edging out until the basic shape is consistent.
Connect the pieces into a complete result
13. Two-square mini mat

Joining two squares turns a pair of small samples into a useful test of seam tension. Finish both pieces consistently and align their corresponding edges before beginning. Look at whether the join lies flat or pulls the middle upward. If it is too tight, review the joining method on a short section before repeating it; matching square sizes alone does not guarantee a comfortable seam.
14. Drawcord test pouch

A drawcord pouch adds an opening and a closure to a familiar small fabric. Read the cord-channel instructions and test them before the side seams make access awkward. The cord should move without dragging the crochet out of shape. This is a next step after steady rows, since the opening, joins and finishing all need attention even when the main body is a plain rectangle.
15. Folded rectangle basket
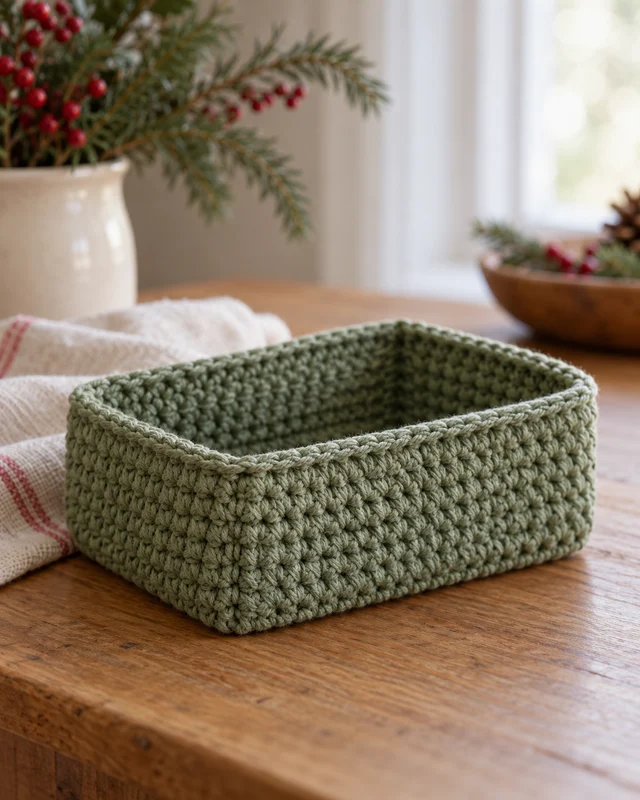
A folded rectangle can become a shallow basket through its corner joins. The original fabric needs even dimensions before those corners are brought together. Use a pattern that explains their placement and check the base on a flat surface. The exercise shows how assembly changes a flat piece into volume; adding more height is less useful than understanding why the first corners sit correctly.
16. Button-loop sample flap

A small flap sample isolates a button loop without requiring a whole bag. Match the loop to the actual button and follow a suitable attachment method. Open and close it gently after finishing to see whether it pulls the fabric or slips loose. Keep the sample as practice until the closure works reliably, and remember that a decorative button introduces a separate joining task.
17. Finished sampler panel
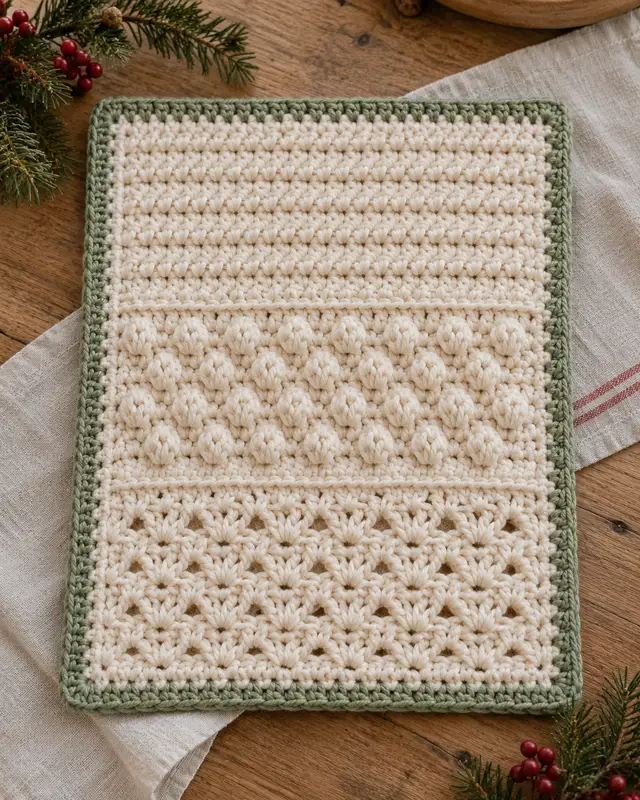
A finished sampler panel brings several small lessons into one object: steady edges, a planned texture change and a neat border. Use a coordinated sampler pattern rather than combining unrelated swatches without matching their measurements. Inspect the joins between sections as carefully as the sections themselves. Keep a note of what improved, then choose the next practice task from the remaining difficulty rather than starting everything again.
Keep a finished sample as a reference
A useful sample is one you can return to with its yarn, hook and notes. Write down the actual problem that improved and the one that remains. Compare it with the next attempt under the same conditions. A plain sample that explains an edge is more useful than several decorative pieces whose counts you never checked.
For the starting motions, use the slip-knot and chain guide. For a different route after steady rows, compare the skill-building project ideas.
- 25 Crochet Project Ideas for Learning New Skills
Choose from 25 crochet skill-building project ideas, from color changes and shaped samples to zips, lining, textures and fitted basket lids.
- How to Hold Yarn, Make a Slip Knot and Start a Crochet Chain
Learn to hold crochet yarn, make an adjustable slip knot and build a short chain, with practical counting and troubleshooting checks.
- 19 Beginner Crochet Projects That Make Useful Gifts
Explore 19 useful crochet gift projects with a beginner focus on steady fabric, simple assembly, fit and a complete finish before wrapping.
- 11 Crochet Mistakes Beginners Can Avoid with Better Setup
Avoid 11 common crochet setup mistakes with practical checks for yarn visibility, hooks, counting, working space, finishing tools and care information.
- 13 Small Crochet Project Ideas for One Ball of Yarn
Compare 13 small crochet project ideas for a single yarn ball, with a practical yardage-first approach to size, paired pieces, finishing and fit.
- Crochet Supplies for Beginners: A Simple Starter Kit
Start with one useful yarn-and-hook pairing, a few finishing tools and a pattern you can follow. Add specialist supplies when a real project needs them.
- How to Crochet for Beginners: A First-Project Guide
Choose a manageable first crochet project, understand the supplies you need and build a learning path without buying a cupboard full of yarn.
- 15 Easy Crochet Project Ideas for Beginners
Start with the practice square for counting, the washcloth for a useful rectangle or the envelope pouch when you are ready to fold and join.
- 21 Small Crochet Projects for a Creative Weekend
For the simplest outline, shortlist the page marker or small cloth. For a useful organiser, compare the notions pouch and hook roll. For a decorative project, consider a very short garland.