In this article
Learning a new crochet skill does not require making the largest possible project that uses it. A color-change coaster, a small oval base or a single lined sleeve can give one unfamiliar action a clear setting. The useful question is what you want to practice, then how small a complete project can make that practice visible.
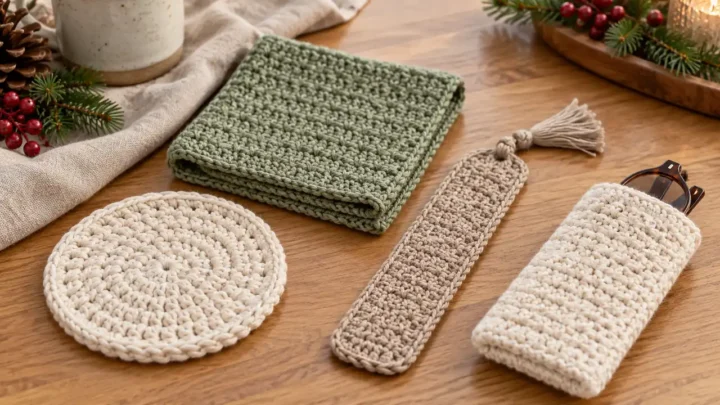
These twenty-five directions move beyond basic repetition into controlled shaping, texture and finishing. They are not all first-project choices. Keep the rest of the construction familiar when you introduce a new demand, and use a complete pattern for the actual counts and assembly. The photographs help compare forms rather than demonstrate exact stitch sequences. Read the whole design, make a sample and choose the next skill from your current comfort level.
Control the shape before adding complexity
1. Color-change coaster

A single broad color band makes a new color-change method easy to inspect. Keep the coaster’s main stitch familiar so the transition is the one new skill. Compare both sides and secure the ends using the chosen pattern’s instructions. Before adding several stripes, check whether the first change leaves a gap, bulky knot or uneven edge. A small sample gives you a useful place to correct that specific problem.
2. Circle with a controlled edge
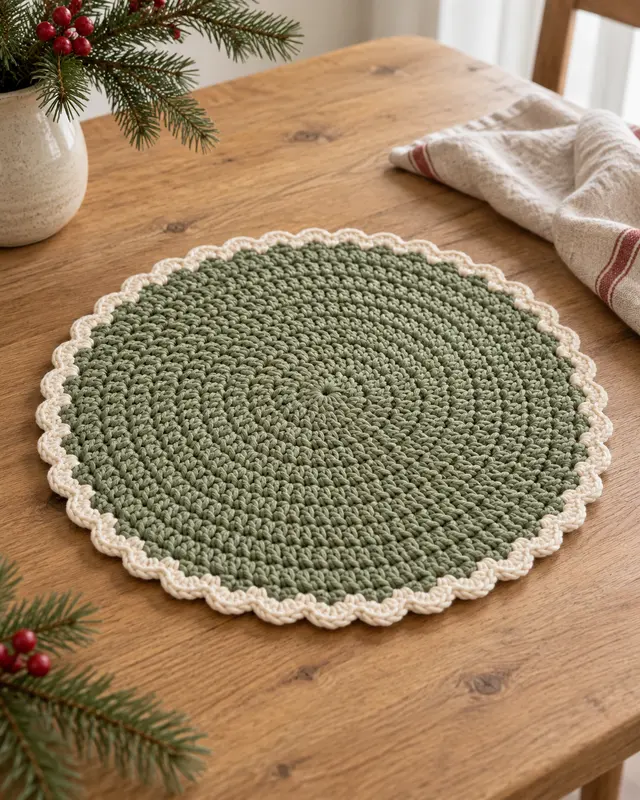
A round mat develops your ability to follow planned increases and judge an edge. Use a complete pattern with a clear starting method and repeat. Lay the work flat at regular points and compare it with the expected shape. If it cups or ripples unexpectedly, inspect the count and tension before adding another decorative round. The aim is control of the circle rather than a larger object at any cost.
3. Granny-style center square
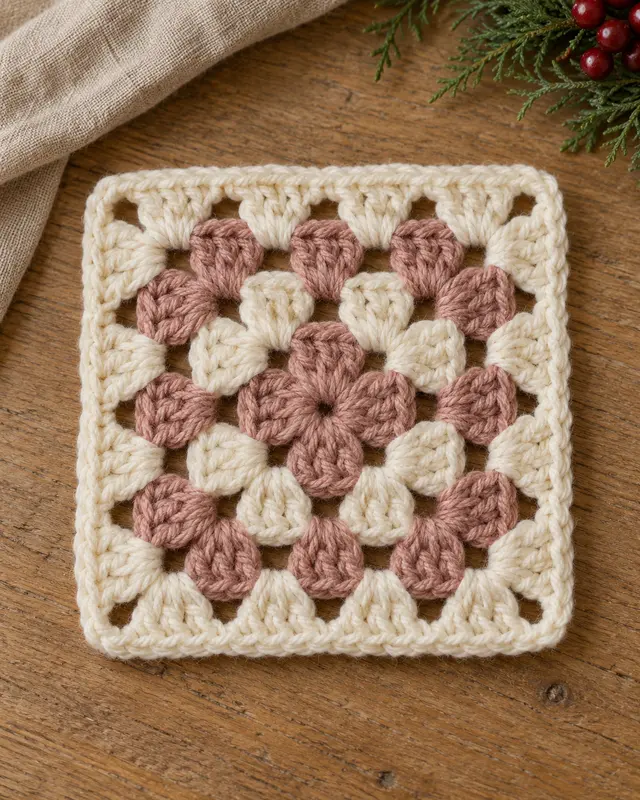
A granny-style center square introduces repeated groups and deliberate corner spaces. Read the pattern’s terminology and round transitions before starting, and compare all four sides as you work. A familiar-looking motif still needs exact instructions. Use visible yarn and keep the color scheme simple for the first version so you can concentrate on identifying the corners and the spaces between the groups.
4. Ribbed cuff sample

A ribbed cuff gives a small setting for learning a specific loop or post placement. Follow the written texture instructions and inspect the reverse as well as the front. The finished strip or loop should maintain its width without an improvised edge correction. Fit belongs to the actual pattern, so do not judge the result only by how pronounced the ribs look in a photograph.
5. Triangle corner study

A triangle study makes planned shaping visible along two slopes. Choose a pattern that explains where the changes occur and how its turning chain is counted. Compare the edges after a few rows, then add the supported border only when the outline is steady. This is useful practice for reading shaping instructions, not a reason to assume every triangle grows by the same stitch rule.
6. Small oval base

An oval base introduces a shape that turns around two ends rather than a single circular center. Follow the increase positions in a suitable pattern and keep track of the starting point. Check the outline flat before building any walls. A small base sample can prepare you for a bag or basket, but its finished width and length must suit the later project rather than a guessed photograph.
7. Joined motif mat

A four-motif mat makes matching and joining the main new skills. Finish each square consistently and compare their dimensions before assembly. Try the chosen seam on two small edges first, looking for pulling or bulk. The project is complete when the joined surface lies as intended and all ends are secure, not merely when the four individual squares have been crocheted.
Give openings and assembly their own projects
8. Straight zip pouch

A straight zip pouch pairs familiar rectangular panels with a measured opening. Choose the zipper to suit the completed fabric and read its attachment method before closing the sides. Use a practice seam if sewing is new to you. A small zip can demand patience, so treat this as a finishing lesson rather than assuming the pouch’s modest dimensions make every stage easy.
9. Lined slip sleeve

A lined sleeve introduces a second material whose dimensions must fit the finished crochet. Follow a suitable pattern and leave room for the lining’s seams without gathering the outer shell. Test the actual contents before closing the last edge. The goal is a smooth usable interior; adding a lining does not automatically provide impact protection or correct a badly fitted outside shape.
10. Boxed-corner pouch

Boxed corners change a flat pouch into one with a defined lower depth. Read the assembly order and mark the corners before stitching them. Compare both sides and check the base on a level surface. This is a useful next step once straight seams are reliable, but the depth must come from the chosen design rather than folding an arbitrary amount out of each corner.
11. Pocketed book sleeve

A patch pocket teaches placement and a second accessible opening. Fit the sleeve first, then use the pattern’s instructions to position the pocket while its reverse is still reachable. Check the pocket with the intended object before securing every edge. Keep its size modest enough for the sleeve and avoid treating one additional pocket as a cure for an outer cover that does not fit.
Make texture and shaping visible in a sample
12. Gentle chevron panel

A gentle chevron panel makes increases and decreases part of a repeated visual rhythm. Read an entire repeat and check its stitch multiple before beginning. Keep track of the peaks and valleys while the sample is still short. A zigzag photograph cannot supply their positions, and a border will not reliably correct a repeat that is already gaining or losing stitches along its edges.
13. Raised-post texture square

Raised columns give you a reason to distinguish a post from an ordinary top-loop insertion point. Use clear instructions for the actual crochet texture and keep the first sample small. Check the reverse and finished width because raised stitches may change the fabric’s density. This study can prepare you for a textured bag or cushion once the placement feels consistent through several repeats.
14. Small bobble panel

A few bobble rows let you learn a raised detail without making the whole panel heavily textured. Work the complete bobble instruction and its surrounding stitches in a sample first. Compare the spacing and the reverse side before repeating it. Raised details add yarn and bulk, so the pattern should account for them rather than adding extra stitches wherever the surface looks empty.
15. An open-mesh sampler

An open-mesh sampler shifts attention to chains, spaces and repeat boundaries. Mark a full repeat and compare the opening sizes after each row or round. Correct a missing space while you can still find the error easily. Use the written design to establish the mesh, since similar-looking open fabrics can have different stitch structures and different transitions at their edges.
16. Scalloped border study

A scalloped border builds on a plain center while introducing a counted edge repeat. Match the repeat to the actual side length and follow the corner treatment. Work one side before committing to the whole perimeter if the technique is unfamiliar. A flaring or tight border needs a count and tension check, not stronger finishing pressure to force it into a flat shape.
17. Curved flap pouch
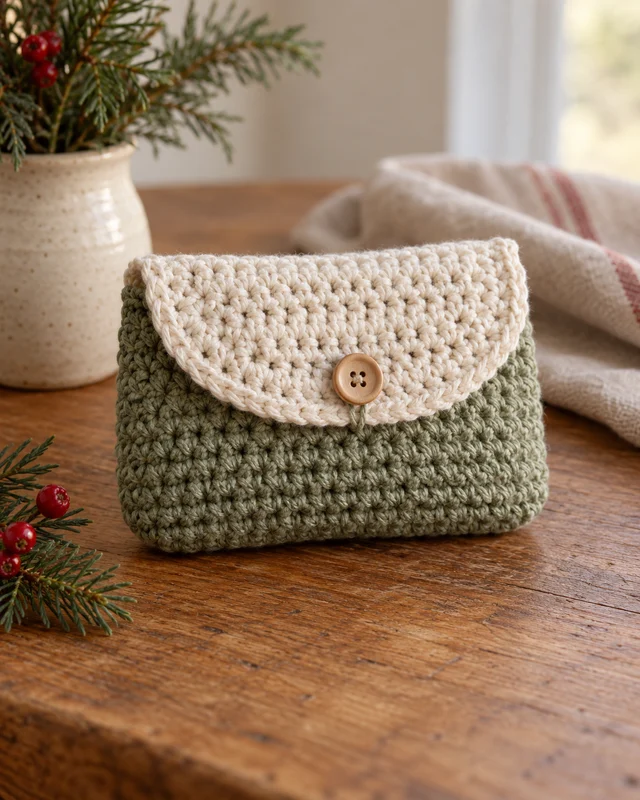
A curved flap adds shaping to a familiar small pouch. Choose a complete pattern that coordinates the curve, opening and closure instead of attaching an unrelated rounded motif afterward. Check the flap’s reach over the finished contents and test any button loop. Keep the body simple so you can focus on the new shape and the way it meets the front of the bag.
18. Two-piece soft figure

A two-panel soft figure makes a small silhouette through shaping and a perimeter join. Match the panels at every projecting point before adding the filling the pattern specifies. Keep the first figure restrained so the seam and outline remain easy to inspect. A bird-shaped decorative sample can be a useful assembly lesson without pretending it is a tested child’s toy or an exact pattern inferred from an image.
Use a small study before a larger commitment
19. Basic amigurumi sphere

A plain amigurumi sphere introduces working in rounds, distributed increases, decreases and a filled closure. Use a complete beginner pattern and check each stage before the opening becomes small. Add filling gradually as directed and inspect the shape from several angles. The first goal is an even supported form, so leave elaborate facial details and separate limbs for a later project.
20. Long strap test

A long strap sample tests whether you can maintain an even narrow width over distance. Follow a suitable bag pattern for its actual construction and attachment before turning the sample into a carrying accessory. Compare how the fabric behaves with the intended use, and inspect the joins. A broad-looking crochet strip does not establish a load rating or make an improvised attachment reliable.
21. Three-color stripe strip

Three broad color sections let you plan yarn changes while keeping the fabric itself familiar. Decide their order before starting and record the transition method used in the first change. Compare the joins on both sides and secure ends without bulky lumps. Use compatible materials and a supported pattern rather than combining unrelated leftovers solely because their colors look good together.
22. Shaped leaf motif

A shaped leaf gives a small setting for increases, decreases and a tapered outline. Read the whole motif before starting and check how the central line and edges are formed. The photograph suggests a leaf shape, not exact stitch counts. Keep the first leaf plain enough that you can see the shaping, and compare its two sides before adding it to a larger decorative arrangement.
23. Fold-over collar study

A folded collar-like strip shows why the reverse and fold line matter in a textile. Choose a supported practice design and examine the fabric on both faces before making it longer. A thick join or uneven edge can become more visible after folding. Treat the sample as a construction study first; an actual wearable collar needs its own fit, closure and complete instructions.
24. Textured panel join

Joining two different textures teaches you to compare measurements rather than stitch counts alone. Finish both panels according to compatible care instructions and inspect their edges before choosing the seam. If one fabric stretches or shrinks differently, address that in the samples. The join should connect compatible pieces, not force an unequal pair into the same length through excessive tension.
25. Fitted basket lid
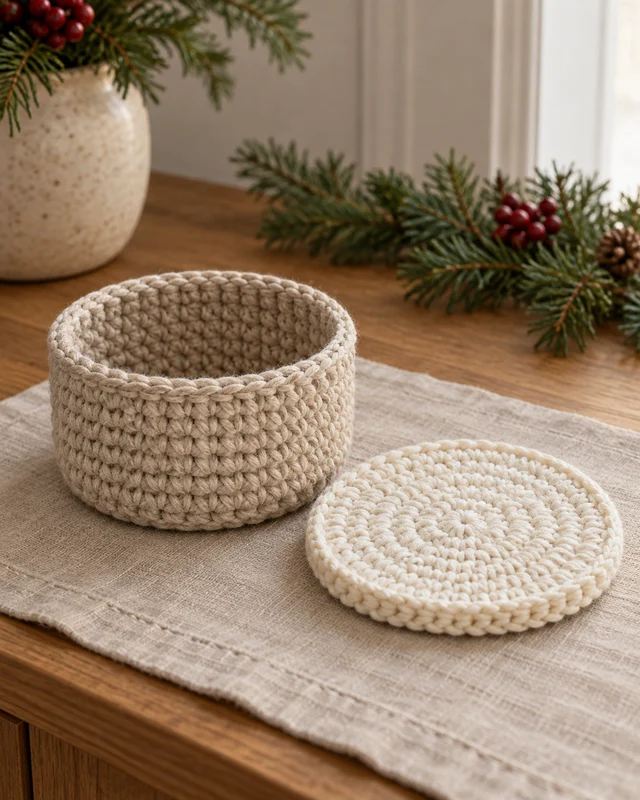
A separate basket lid brings fitting into a small rounded project. Finish the basket first and follow a pattern that explains how the lid relates to its actual opening. Check the edge and removal clearance before adding any decorative detail. A lid that looks similar in diameter can still be awkward if its thickness or rim does not suit the body beneath it.
Three routes out of the sampler pile
If color changes are the new skill
Keep the outline and main stitch familiar. Compare the first transition from both sides, then decide whether another band or a longer repeat would teach you anything new. More colors are not automatically more useful practice.
If the fabric is the new skill
Compare density, drape, reverse side and finished measurements. A raised texture and a plain panel may need different counts to reach the same size. Keep the material information with the sample so the next project begins with a usable reference.
If assembly is the new skill
Choose a small object whose joins stay accessible until the fit is checked. Finish the sample seam, lining or closure before making every other component. The crochet and the finishing are both parts of the learning goal.
For a smaller starting point, return to the basic practice projects. Use the finishing and uneven-edge guide when it becomes available, or the beginner planning guide to choose a complete next project.
- How to Hold Yarn, Make a Slip Knot and Start a Crochet Chain
Learn to hold crochet yarn, make an adjustable slip knot and build a short chain, with practical counting and troubleshooting checks.
- 19 Beginner Crochet Projects That Make Useful Gifts
Explore 19 useful crochet gift projects with a beginner focus on steady fabric, simple assembly, fit and a complete finish before wrapping.
- 11 Crochet Mistakes Beginners Can Avoid with Better Setup
Avoid 11 common crochet setup mistakes with practical checks for yarn visibility, hooks, counting, working space, finishing tools and care information.
- 13 Small Crochet Project Ideas for One Ball of Yarn
Compare 13 small crochet project ideas for a single yarn ball, with a practical yardage-first approach to size, paired pieces, finishing and fit.
- 17 Crochet Practice Projects for Learning Basic Stitches
Find 17 crochet practice projects organized around useful skills: steady rows, counting, shaping, borders and simple joins, with clear checks for progress.
- Crochet Supplies for Beginners: A Simple Starter Kit
Start with one useful yarn-and-hook pairing, a few finishing tools and a pattern you can follow. Add specialist supplies when a real project needs them.
- How to Crochet for Beginners: A First-Project Guide
Choose a manageable first crochet project, understand the supplies you need and build a learning path without buying a cupboard full of yarn.
- 15 Easy Crochet Project Ideas for Beginners
Start with the practice square for counting, the washcloth for a useful rectangle or the envelope pouch when you are ready to fold and join.
- 21 Small Crochet Projects for a Creative Weekend
For the simplest outline, shortlist the page marker or small cloth. For a useful organiser, compare the notions pouch and hook roll. For a decorative project, consider a very short garland.