In this article
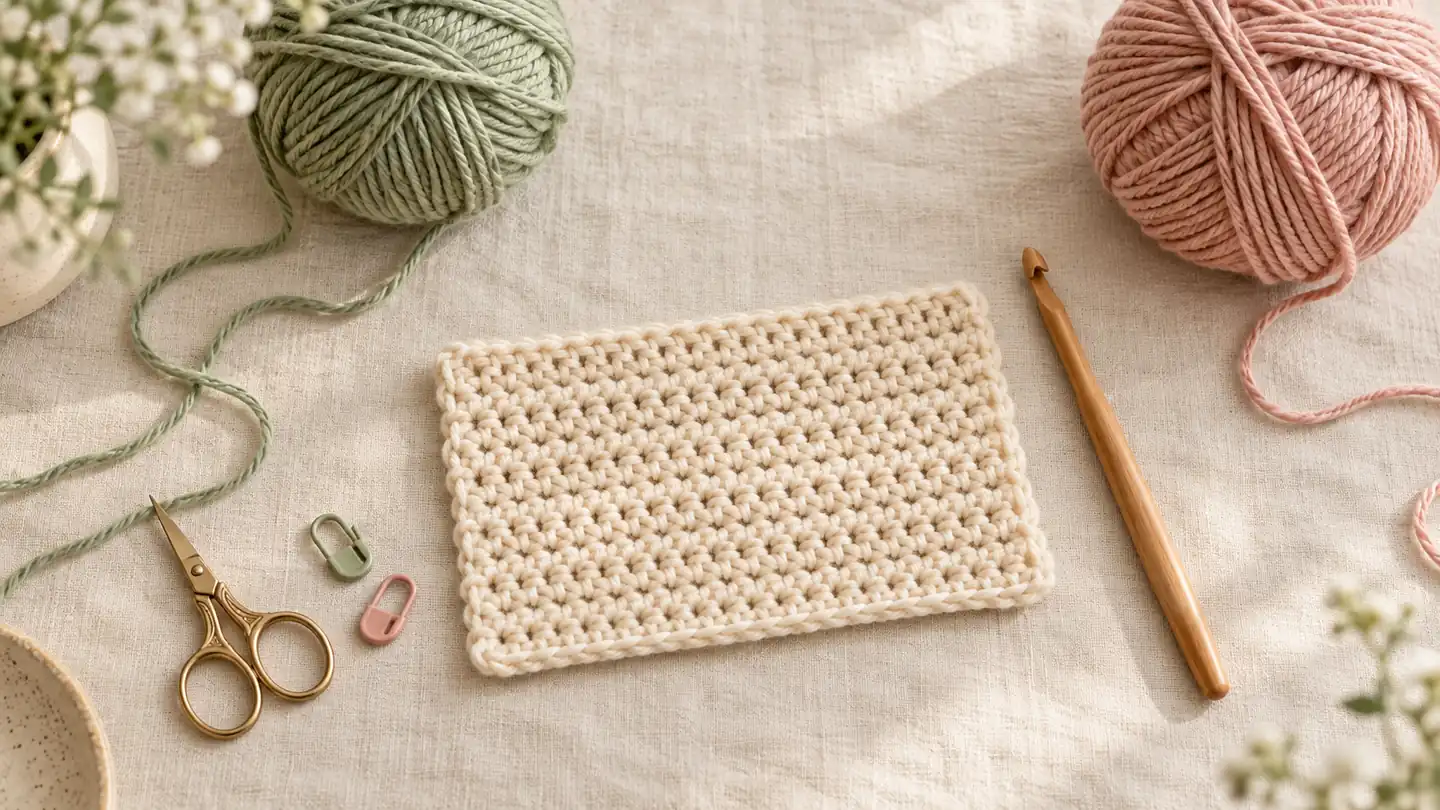
Your first crochet project should make it easier to see what your hands are doing. A small, flat piece in a light, smooth yarn gives you room to practise without also solving shaping, colour changes and assembly. You do not need to choose a blanket, buy a large hook set or finish something useful on your first attempt.
This guide helps you decide where to start, which supplies deserve a place in a small starter kit and how to judge whether a project fits your present skills. It is a route through beginner crochet rather than a complete pattern. Use a project’s own instructions for its stitch counts, dimensions and finishing, then return here when you are ready to choose the next challenge.
What belongs in a beginner crochet project?
Look beyond the word “easy” in a title. A suitable first project has a short list of familiar actions, clear instructions and a result that does not depend on exact body measurements. You should be able to identify the beginning and end of a row, check the stitch count and understand what the next row asks you to do.
Flat practice pieces, simple rectangles and some straightforward squares can provide that space. A tiny animal may use little yarn but still require working in a spiral, increasing, decreasing, stuffing and joining parts. Likewise, a small flower can introduce several different stitch heights in a single round. Size and difficulty are separate questions.
- Prefer a clear shape: a rectangle makes changes in width easier to notice.
- Keep the first fabric simple: one basic stitch lets you concentrate on counting and finding the next insertion point.
- Read the whole pattern first: check for unfamiliar abbreviations, a required gauge and extra finishing steps.
- Choose a forgiving purpose: a practice square can be useful learning even when its edges need work.
Choose your first project by the skill you want to practise
| Project direction | What it helps you notice | Check before choosing |
|---|---|---|
| Practice rectangle | How each row begins and ends; whether your stitch count stays steady | Use written instructions that explain the turning chain and first stitch. |
| Simple coaster | Counting, keeping a small shape even and weaving in ends | Choose a flat version with minimal shaping; consider the surface and the yarn’s care instructions. |
| Small cloth | Repeating a stitch across several rows and judging the feel of the fabric | Check that the fibre and washing instructions suit the intended use. |
| Simple scarf | Maintaining a repeat over a longer distance | It is straightforward in shape but uses more yarn and time than a practice square. |
| Joined squares | Making matching pieces and learning a separate joining method | Start after you can repeat the same dimensions; joining adds another skill. |
Pick the row of this table that matches a question you want to answer. If you keep losing the last stitch, another simple rectangle is a more useful next step than a decorative edging. If your rows are steady but your pieces vary in size, compare your swatches before committing to a joined project.
Start here: a learning route before the inspiration gallery
- Read a yarn label and the pattern key. Identify the fibre, yarn weight, suggested hook and terminology. Put the pattern’s special abbreviations beside you.
- Learn to make a starting loop and chain. Keep this separate from choosing a finished object. A tight foundation can make the next row frustrating.
- Practise one basic stitch in rows. Follow a reliable lesson that shows the first and last stitch. Use removable markers when those positions are hard to find.
- Count after each row. Catching a change now is easier than unpicking a large piece later.
- Finish the sample. Fastening off, securing the ends and checking care instructions are part of completing a project.
- Choose one useful object. Keep the familiar stitch and shape, then add just one new feature when you feel ready.
For the vocabulary behind those lessons, use the Craft Yarn Council’s crochet abbreviations reference. It lists standard US abbreviations, while an individual designer’s key explains special terms. A reference list helps you read instructions; it does not replace a demonstration when a hand movement is unfamiliar.
Find beginner collections and essential tutorials
The Beginner Projects archive is the home for published starter-project collections and supply guides. Look there for ideas when you can already follow the stitches a project uses. For a new technique, go to Stitches & Techniques and choose a lesson with instructions, rather than judging construction from an inspiration image.
- 25 Crochet Project Ideas for Learning New Skills
Choose from 25 crochet skill-building project ideas, from color changes and shaped samples to zips, lining, textures and fitted basket lids.
- How to Hold Yarn, Make a Slip Knot and Start a Crochet Chain
Learn to hold crochet yarn, make an adjustable slip knot and build a short chain, with practical counting and troubleshooting checks.
- 19 Beginner Crochet Projects That Make Useful Gifts
Explore 19 useful crochet gift projects with a beginner focus on steady fabric, simple assembly, fit and a complete finish before wrapping.
- 11 Crochet Mistakes Beginners Can Avoid with Better Setup
Avoid 11 common crochet setup mistakes with practical checks for yarn visibility, hooks, counting, working space, finishing tools and care information.
- 13 Small Crochet Project Ideas for One Ball of Yarn
Compare 13 small crochet project ideas for a single yarn ball, with a practical yardage-first approach to size, paired pieces, finishing and fit.
- 17 Crochet Practice Projects for Learning Basic Stitches
Find 17 crochet practice projects organized around useful skills: steady rows, counting, shaping, borders and simple joins, with clear checks for progress.
- Crochet Supplies for Beginners: A Simple Starter Kit
Start with one useful yarn-and-hook pairing, a few finishing tools and a pattern you can follow. Add specialist supplies when a real project needs them.
- 15 Easy Crochet Project Ideas for Beginners
Start with the practice square for counting, the washcloth for a useful rectangle or the envelope pouch when you are ready to fold and join.
- 21 Small Crochet Projects for a Creative Weekend
For the simplest outline, shortlist the page marker or small cloth. For a useful organiser, compare the notions pouch and hook roll. For a decorative project, consider a very short garland.
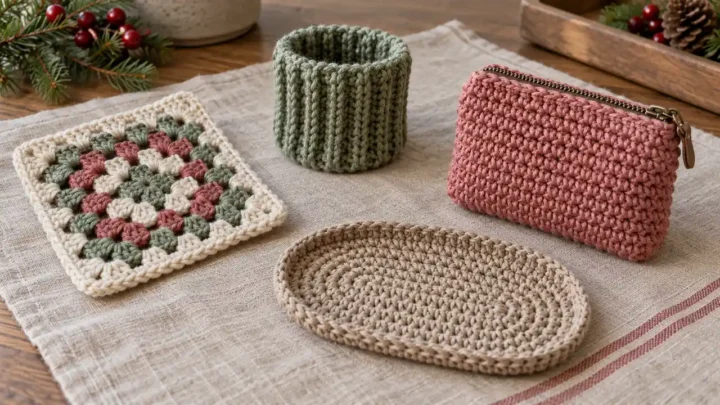
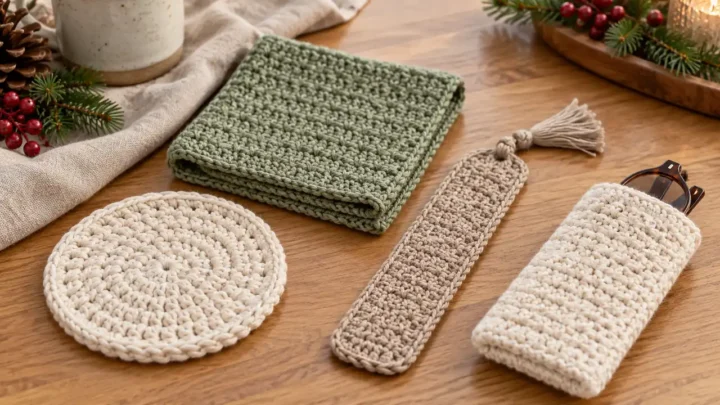
A useful way to browse a collection is to shortlist two projects, read their requirements and choose the one with fewer unfamiliar decisions. Save the other idea for later. A photo can suggest colour and mood, but the pattern needs to tell you how much yarn to buy and how the object is made.
Yarn, materials and a small starter kit
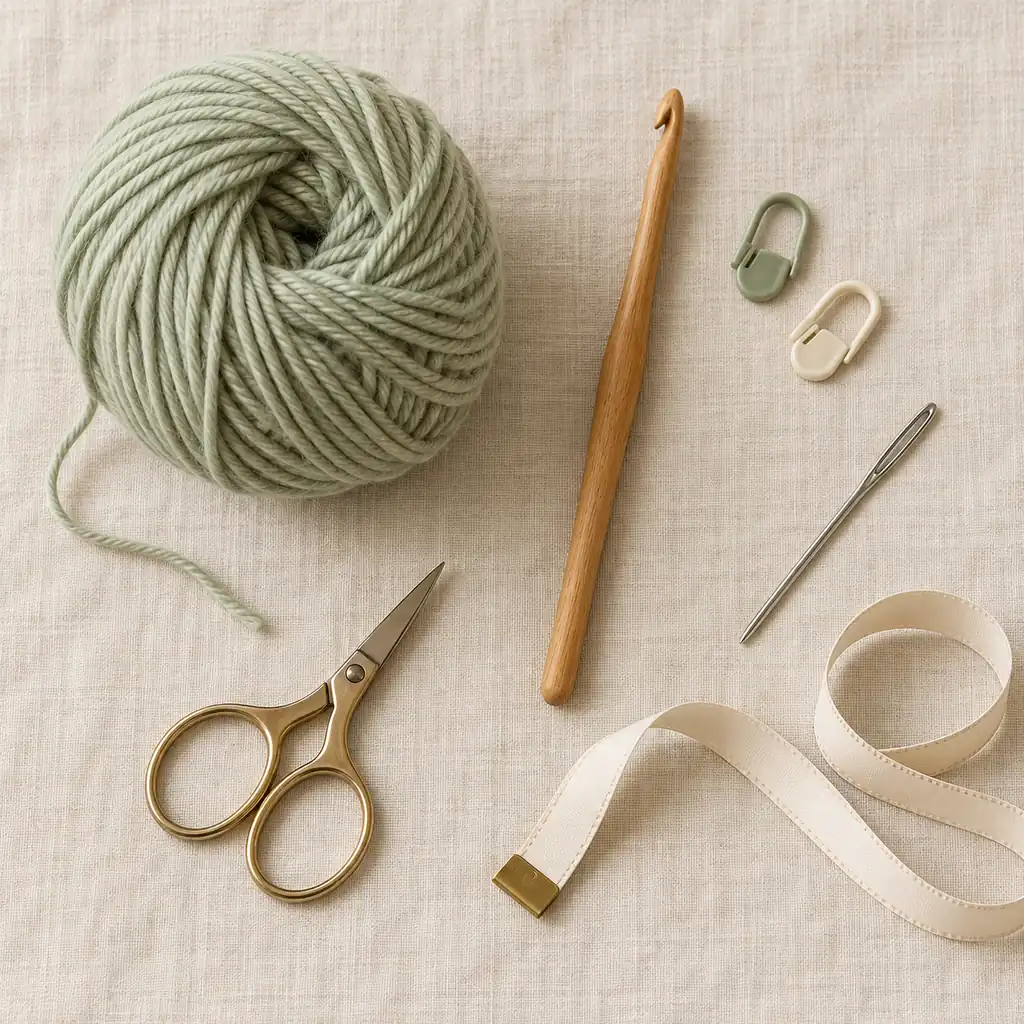
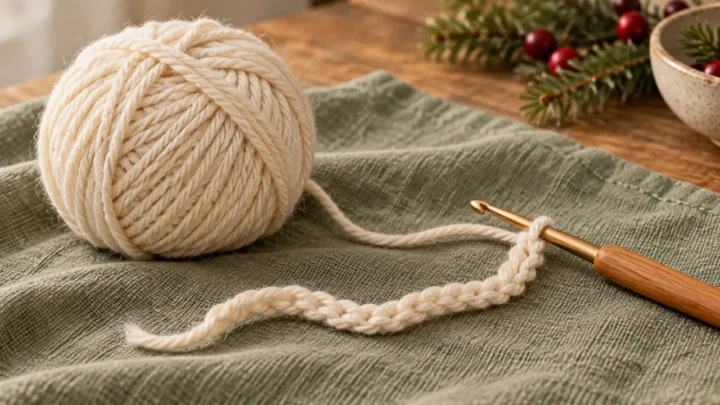
For a first practice piece, consider a smooth, light-coloured yarn whose separate loops are easy for you to see. Very dark shades, fuzzy surfaces and strongly changing colours can make counting harder. Buy a small amount for practising before you buy a project quantity. The best starting material is one you can see clearly, undo when needed and handle comfortably.
Use the hook size specified by the pattern. For practice without a pattern, the yarn label’s suggested hook is a starting point. Yarn weight describes a thickness category rather than the weight of the ball; the Craft Yarn Council’s yarn-weight guide also explains that its hook ranges are guidelines. The fabric you make and the project’s required gauge still matter.
- One suitable crochet hook, with its size in millimetres clearly identified.
- A small amount of smooth yarn and its label, kept together.
- Removable stitch markers, especially for the first and last stitch.
- Scissors and a suitable blunt yarn needle for securing ends.
- A tape measure or ruler, plus somewhere to record your stitch count and hook size.
There is no need to choose every tool in advance. Try one hook before buying a set. The Yarn, Hooks & Supplies archive will collect material comparisons as they are published. No shopping link is necessary to start practising.
Questions and mistakes to work through
Why is my rectangle getting narrower or wider?
Compare the stitch count at the end of each row with the instructions. Missing an edge stitch can reduce the count; working into an extra position can add one. Mark the first and last stitches according to the lesson you are following. If the count stays correct but the width changes, look at how tightly you are holding and forming the stitches.
Does the turning chain count as a stitch?
Sometimes it does, and sometimes it does not. Read the pattern notes rather than applying one rule to every stitch. This detail affects where the first stitch goes and whether you work into the turning chain at the opposite edge. Write the rule beside your row count until it becomes familiar.
Do I need to match gauge for a first practice square?
A free practice sample can help you learn without aiming at a finished size. A pattern that specifies gauge is different: compare a suitable swatch with its stated measurements before assuming your object will fit. Gauge becomes especially important for garments, matching pieces and planned dimensions.
Should I start with a large hook and very thick yarn?
Large materials are not automatically easier. Very thick yarn can make a small object bulky, while a heavy hook may feel awkward. Choose a pairing you can manage comfortably and that lets you distinguish the stitches. The pattern, label and a small sample are better guides than size alone.
How quickly should I expect to finish?
Allow your first sessions to be practice. A familiar maker’s completion time includes skills you are still building. Instead of measuring progress by hours, look for a steady stitch count, edges you can explain and the ability to notice and correct a mistake.
More guides and your next step
Begin with one small rectangle, keep the yarn label and note the hook size. When you can repeat its width, choose a simple object from Beginner Projects. When you want to change the surface of the fabric, explore Stitches & Techniques. When a material choice is the obstacle, return to Yarn, Hooks & Supplies. Each route answers a different question, so you can build the next skill without changing everything at once.